
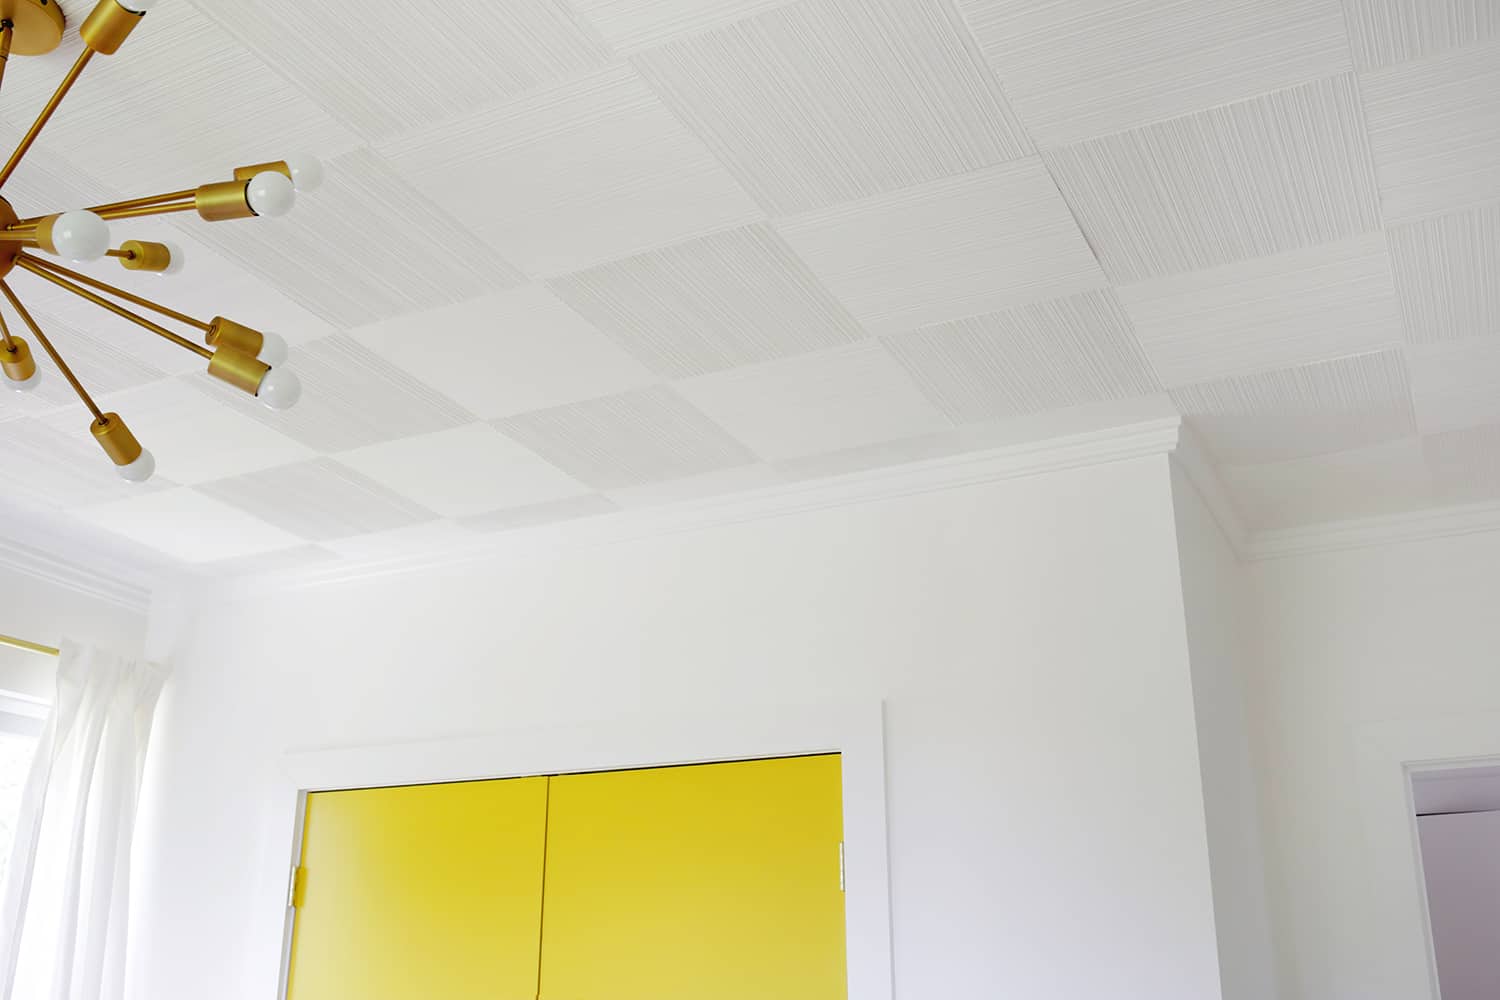
 One of the things I didn’t know I would be doing in our new home (among many other things) was installing moldings. We have a unique ceiling situation in some of our rooms with some vintage Weldtex ceiling panels, so a molding is a must in some rooms as you have to hide a fairly large gap between the wall and the panels to get this seamless effect between the two (and it also hides some wall damage in the fragile plaster above). I did some trim with skirting boards, and when I started getting some quotes to install moldings in our bedroom, I thought, “I bet I can!” All in all, it turned out really well, so I’ll share some of my tips with you guys …

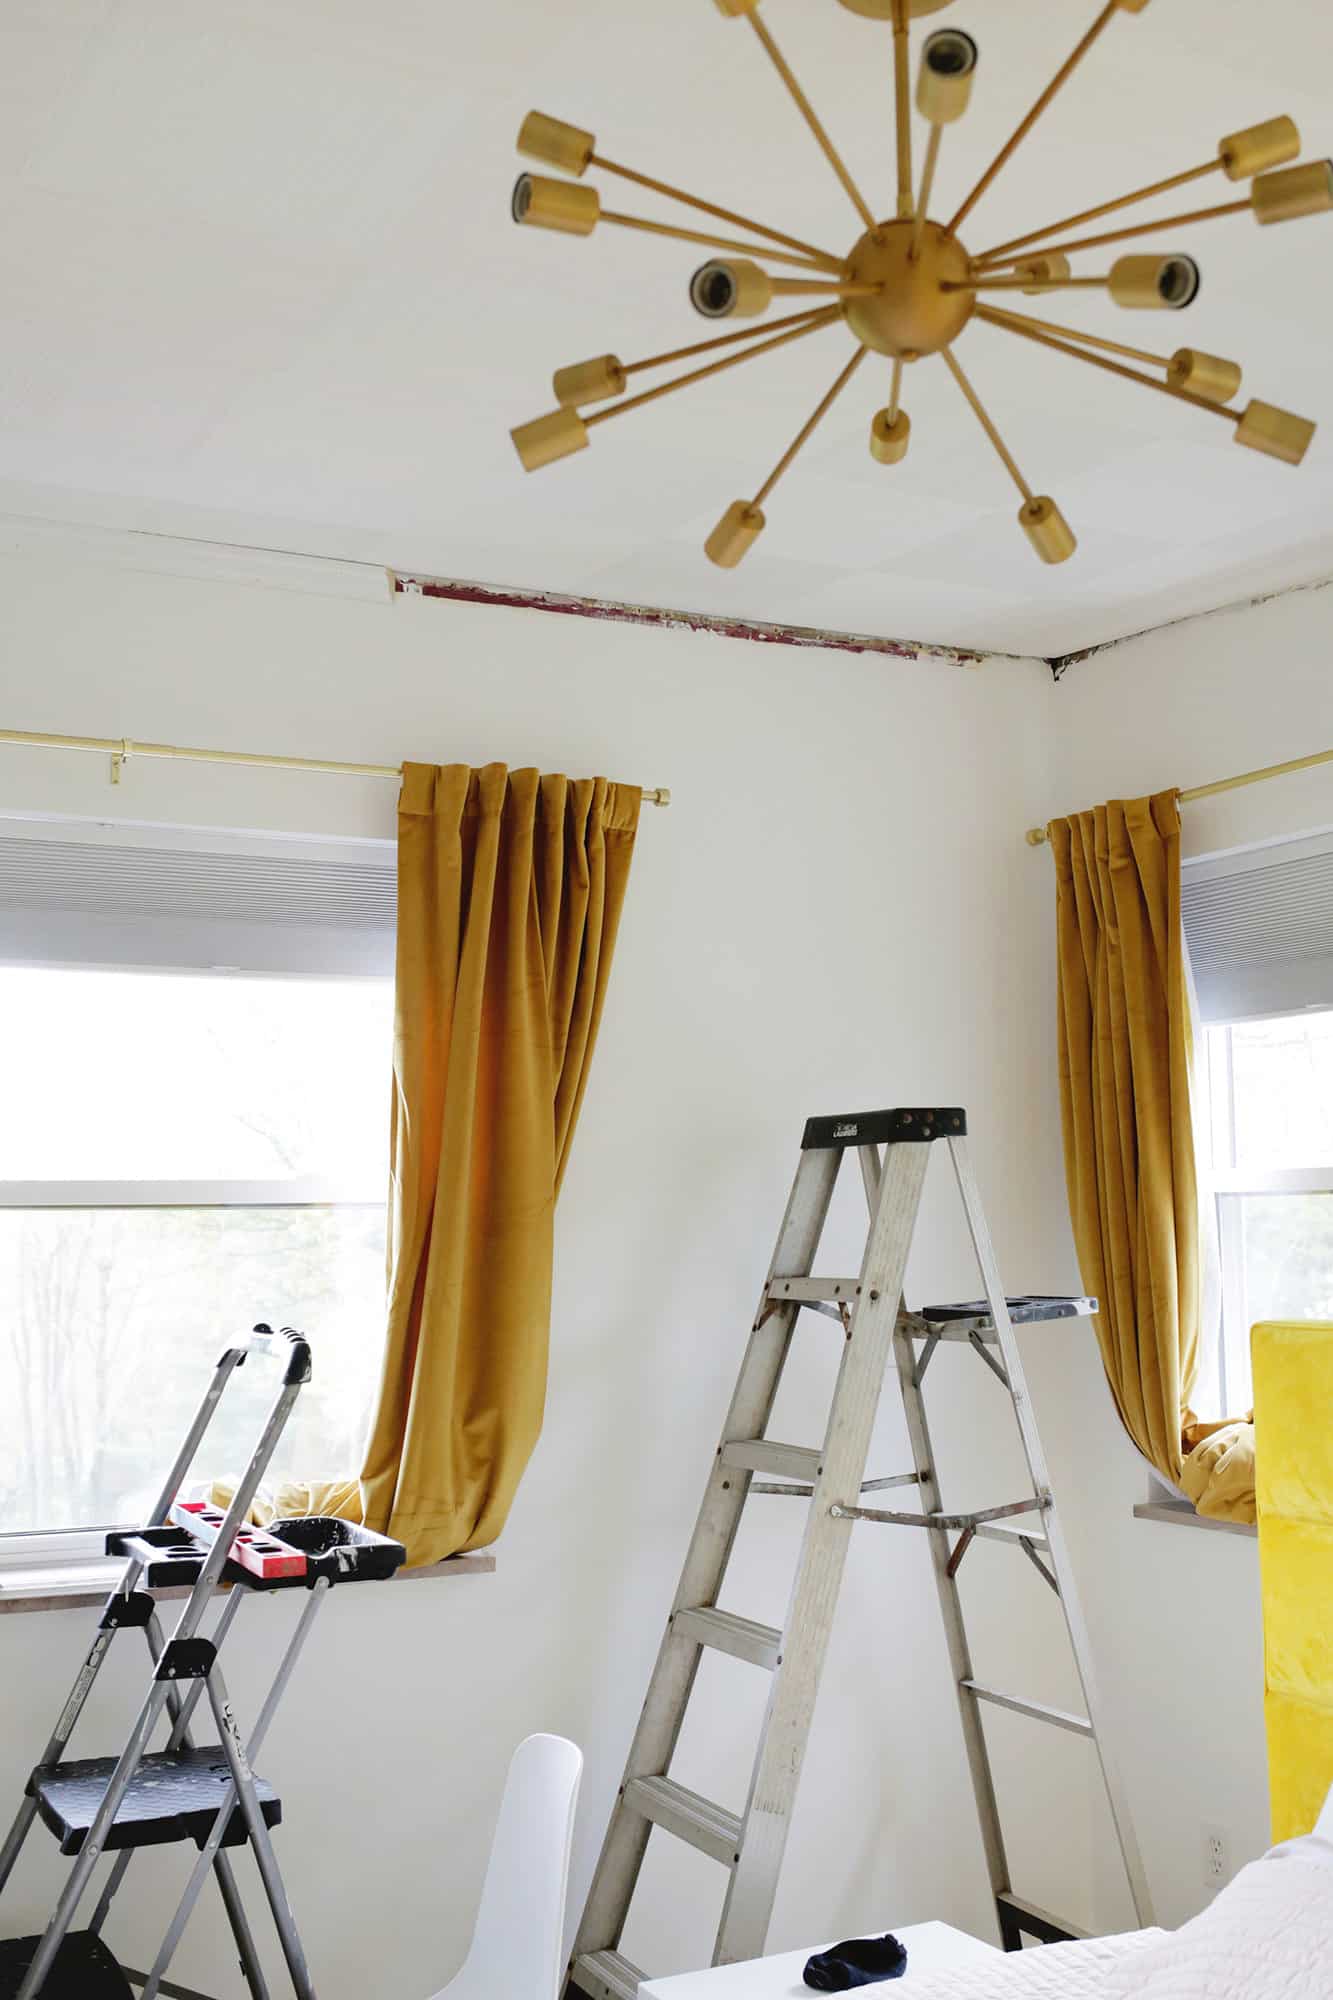 We were able to keep a lot of the old crown in the other rooms, but the molding in our bedroom was very poorly cut so that it didn’t fit together properly in places. And in other places it didn’t match at all – there was just a gap of an inch or a couple of feet or something. We also had to completely rebuild a wall and dry it out so that the whole area needed new shapes. So we decided to just dismantle everything and start over with something new!
I used this crown for our fairing and I like that it was big enough to cover the gaps and damage we wanted to hide, but small and simple enough that it doesn’t look too “fancy” like one does complex crown shape is possible. It also has a right angle where it meets the wall so you don’t have to cut it upside down like you do with some shapes, which also makes it a little easier.
The most important things to do when dealing with crown shapes are cutting corner areas, attaching the moldings, putting pieces together, and filling / caulking the moldings. So I’ll go through each one and give our tips for that area.
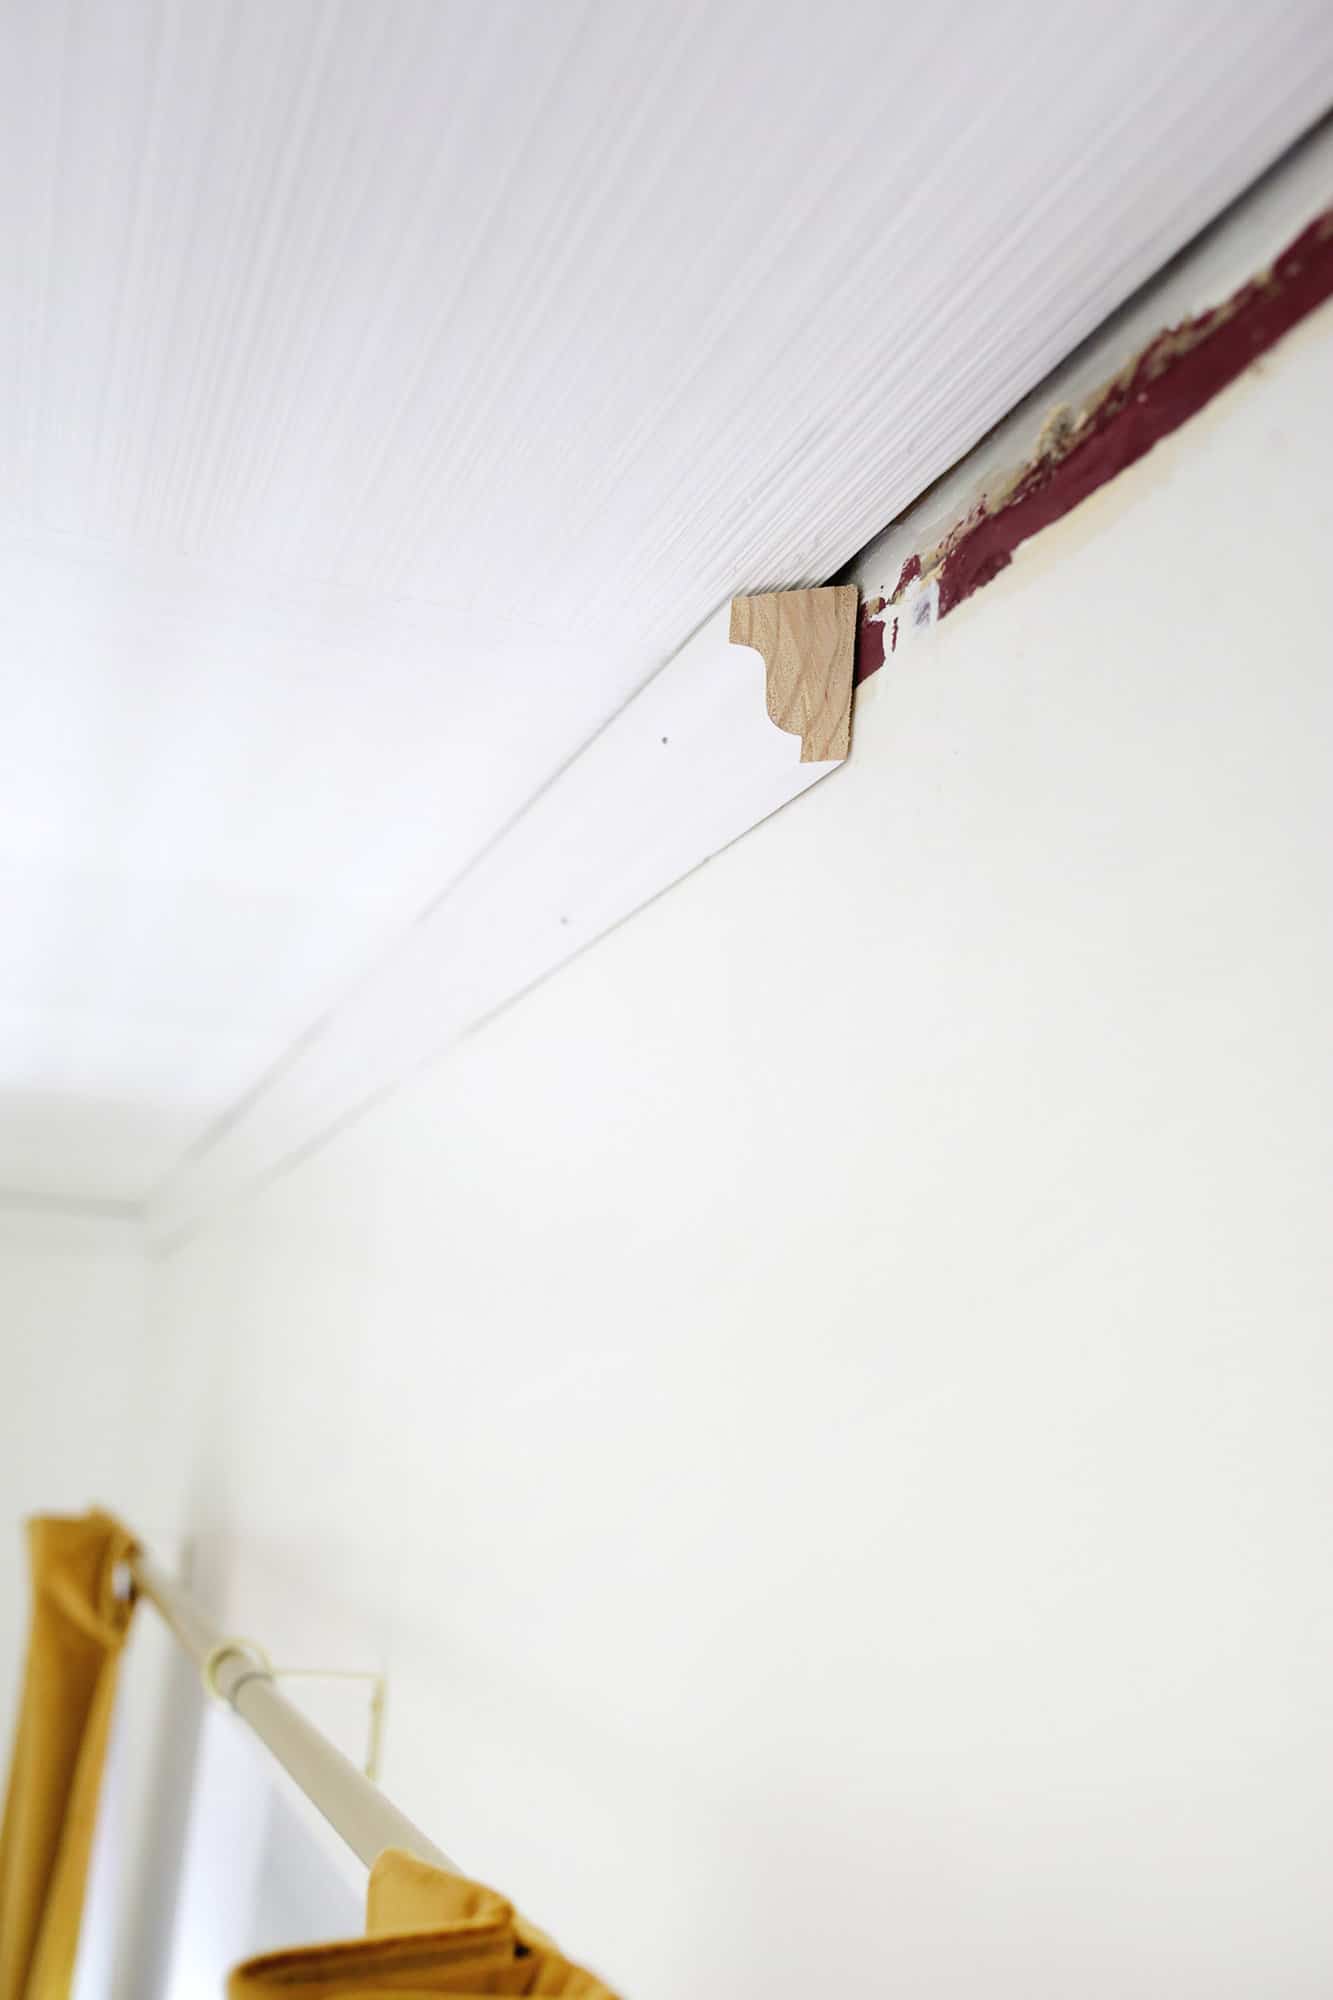
 Cut / fit corners: Most of the time, you’ll have a right angle corner that is at a 90 ° angle, and it’s easy enough to cut two specular 45 ° angles on a miter saw so that they fit together in the corners. However, it’s not uncommon for an angle to be less than a perfect 90 ° (especially in older homes where nothing is square like our home) so I suggest using some trims as scrap test pieces where you have two specular 45 ° – Angle for the. corner, hold them up to see if they fit, then slowly cut a larger or smaller angle as needed until they fit (but cut the same angle on both to make them match). Once you have the “magic number” for your angles on that corner, cut your real pieces with whatever angle you know is perfect for that corner. Repeat for each corner.
You basically do the same thing for the outer corners (if you have these in a room like me between my closet and the bedroom door) by cutting the test pieces from 45 ° and then adjusting from there until you have the correct number for your current boards.
* A note about cutting: I have a shape option that has wood all the way behind the molding and is at a right angle where the wall and ceiling meet, but if you have a style like this that is “hollow” at the back of the molding, you can Instead, just follow the advice in this video on how to flip the cut upside down (it’s a little over 1:00 a.m. in the video). They also show you a fancy way to join corners at 5:30 pm which looks fascinating even though we did the “normal” route and it was good
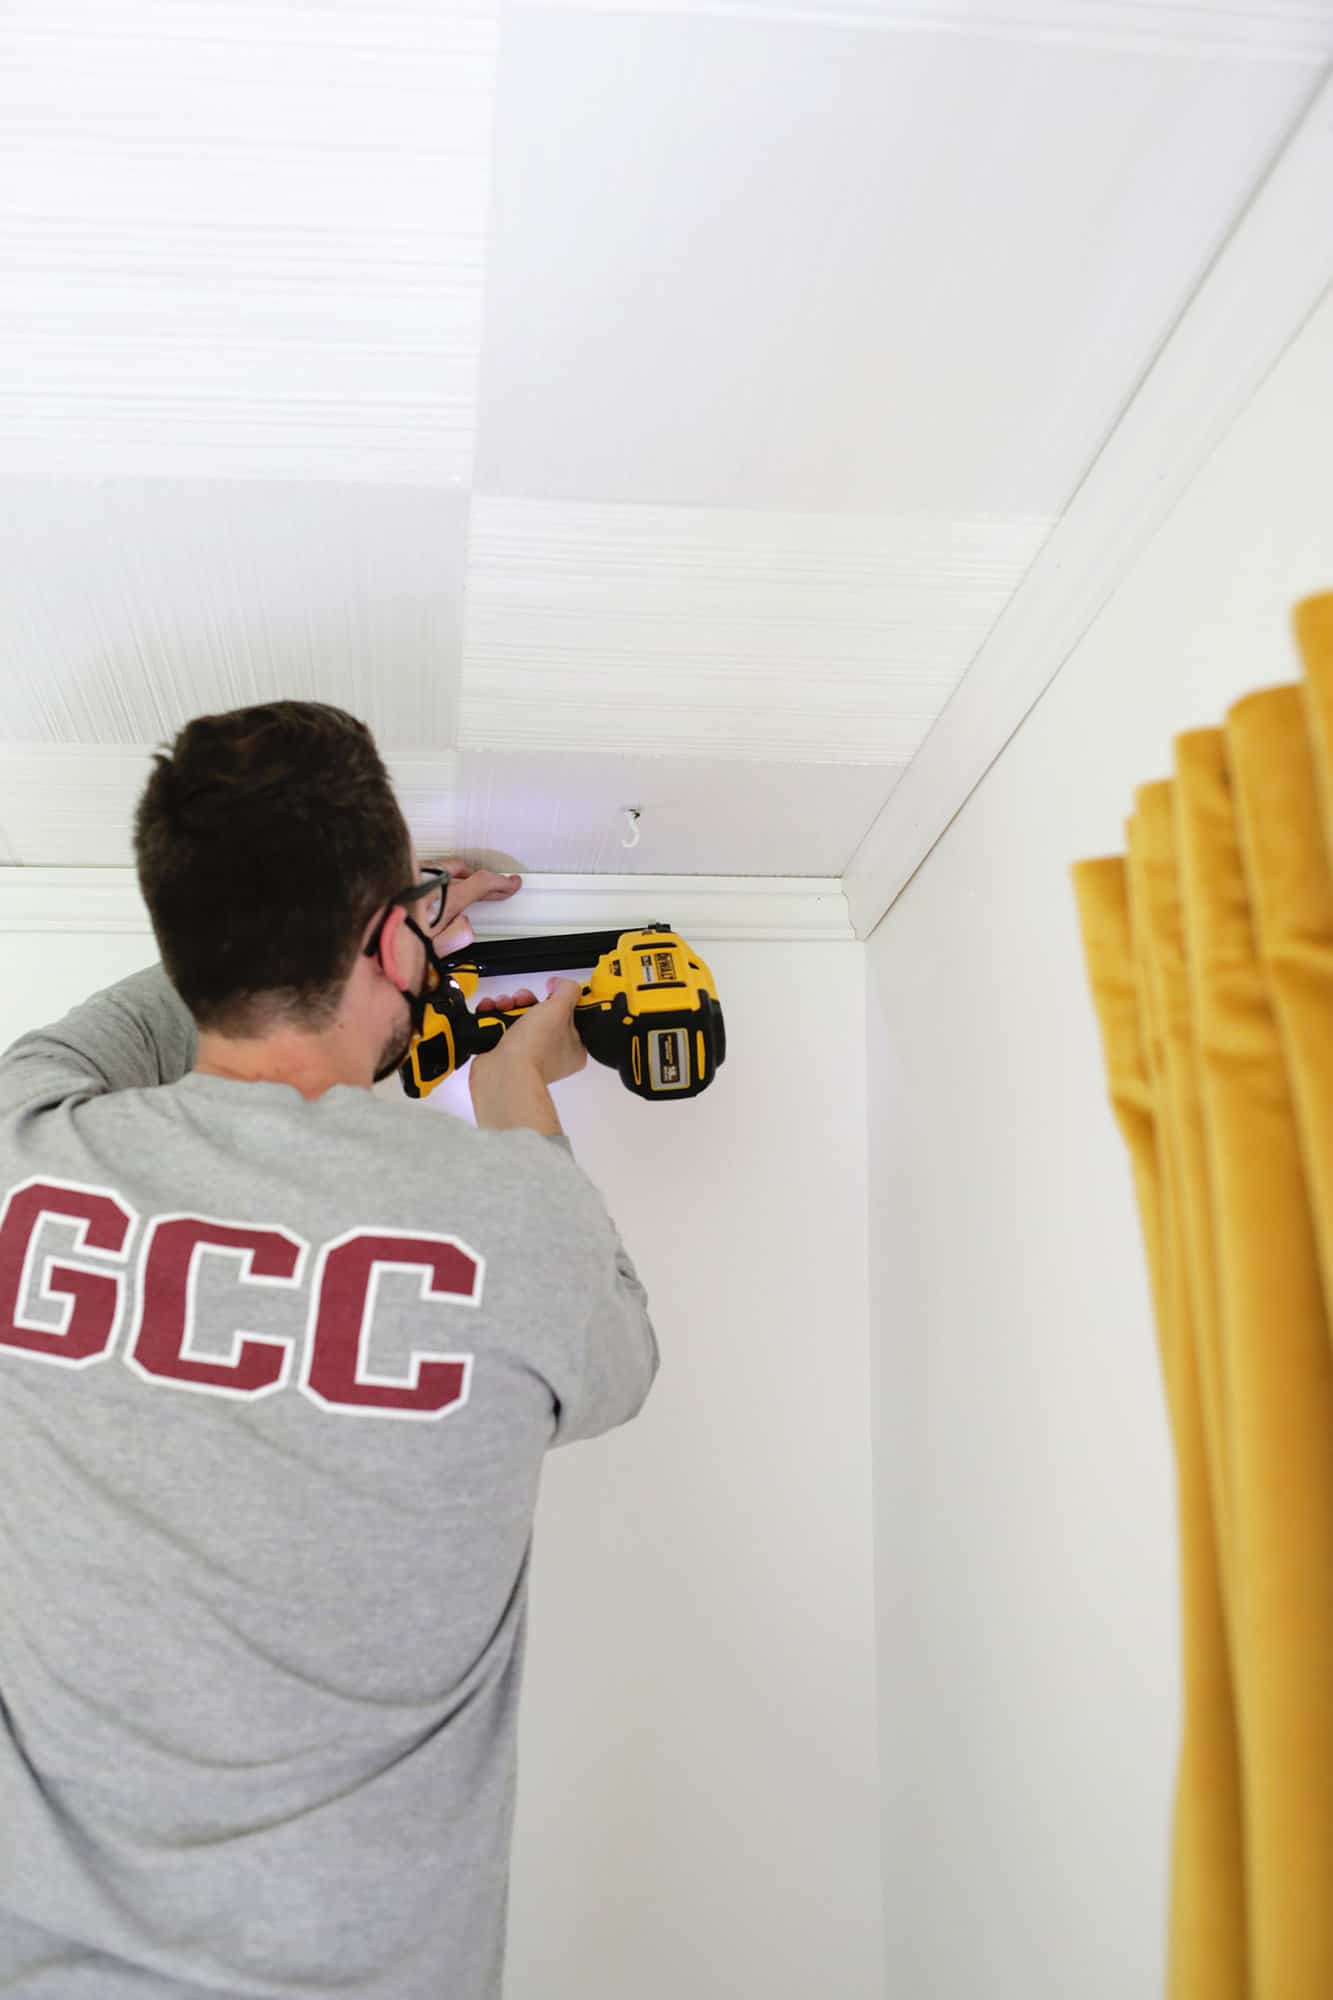
Attaching the trim: While I think it’s possible to add trim with a good ol ‘hammer and nail kit (you want to make little head nails that are driven all the way past the trim with a nail set), renting / buying / borrowing a nail gun is really the way to go for this. I love this battery powered one as you don’t have to mess with a tank (it is so much easier !!) but you can also get a nail gun and tank for a little less. Once you’ve cut your pieces and held them to the wall, use your nail gun to secure the wood to the ceiling and wall. You should take turns angling some brad nails into the ceiling and some directly into the wall.
Make sure your nails go past the front of the molding so you can fill in the holes and make them disappear later in the next step. If your board is long enough to go from one corner to the other, make sure to measure and cut both corners before attaching. If your board doesn’t reach the next corner, you’ll need to put two pieces together as I’ll show you in the next step.
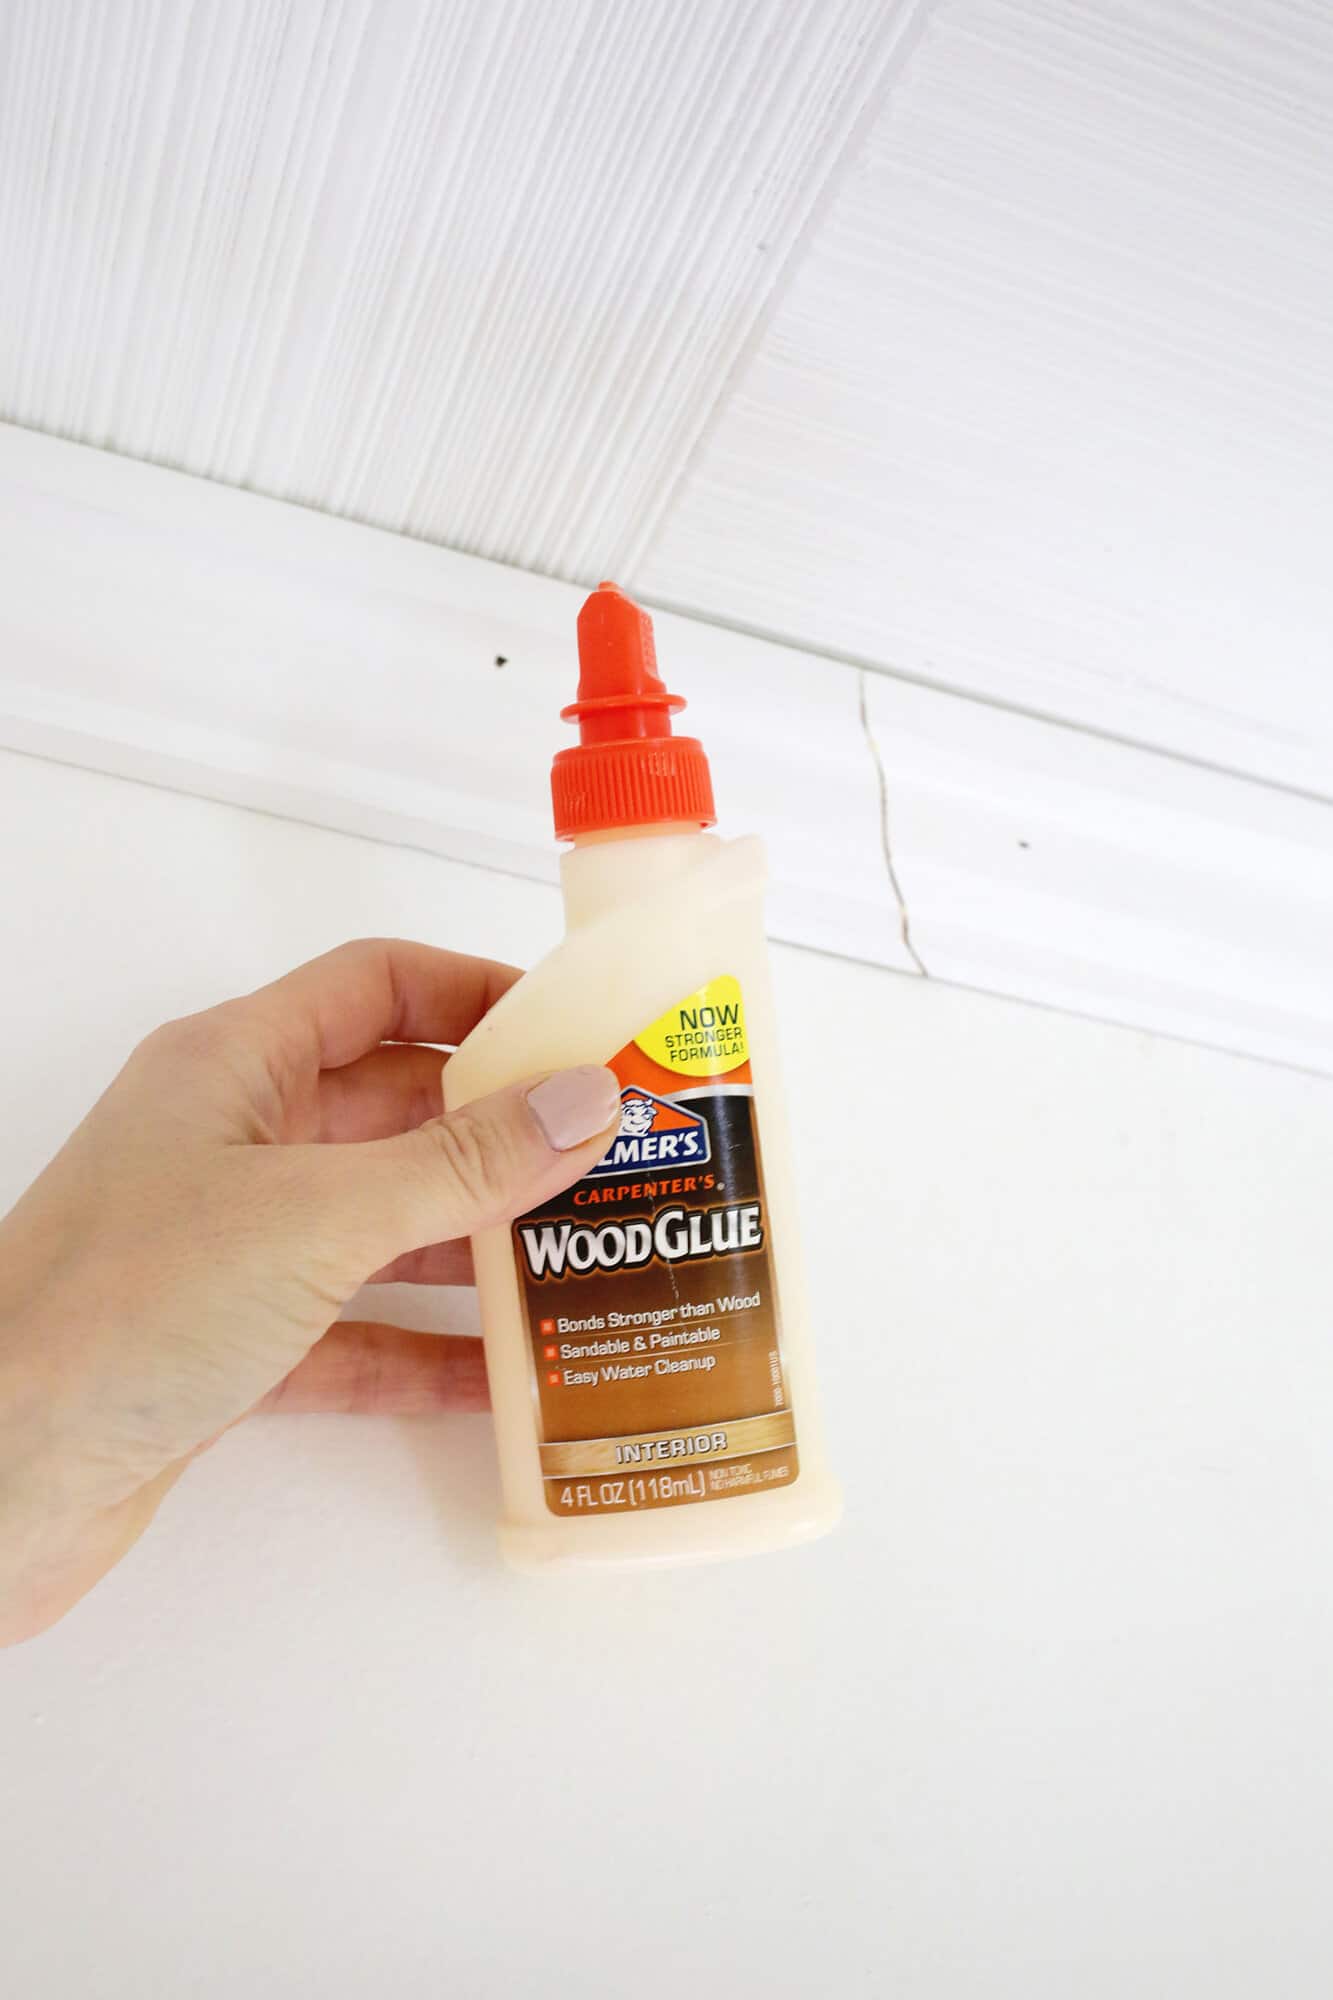 Put two parts together: If you have a board that is not long enough to go from one corner to the other, you need to join two boards together. You’ll hide the seam better by cutting both ends at a 45 ° angle to join them together. So use your miter saw to cut the mirror angles on each end first, add some wood glue at each angle, then press them together. Wipe off any excess glue that squeezes out as you put them together.
Of course, if one side of your board joins another in this way to continue a line and the other goes all the way into a corner, you’ll want to have both sides cut to the right length and angle to glue the ends together and attach the board attach to the ceiling. You cannot cut the other end of a board once it is attached to the wall, so on each board both The ends have to be cut at the appropriate angles before they are attached to the wall, so you always have to think one step ahead.
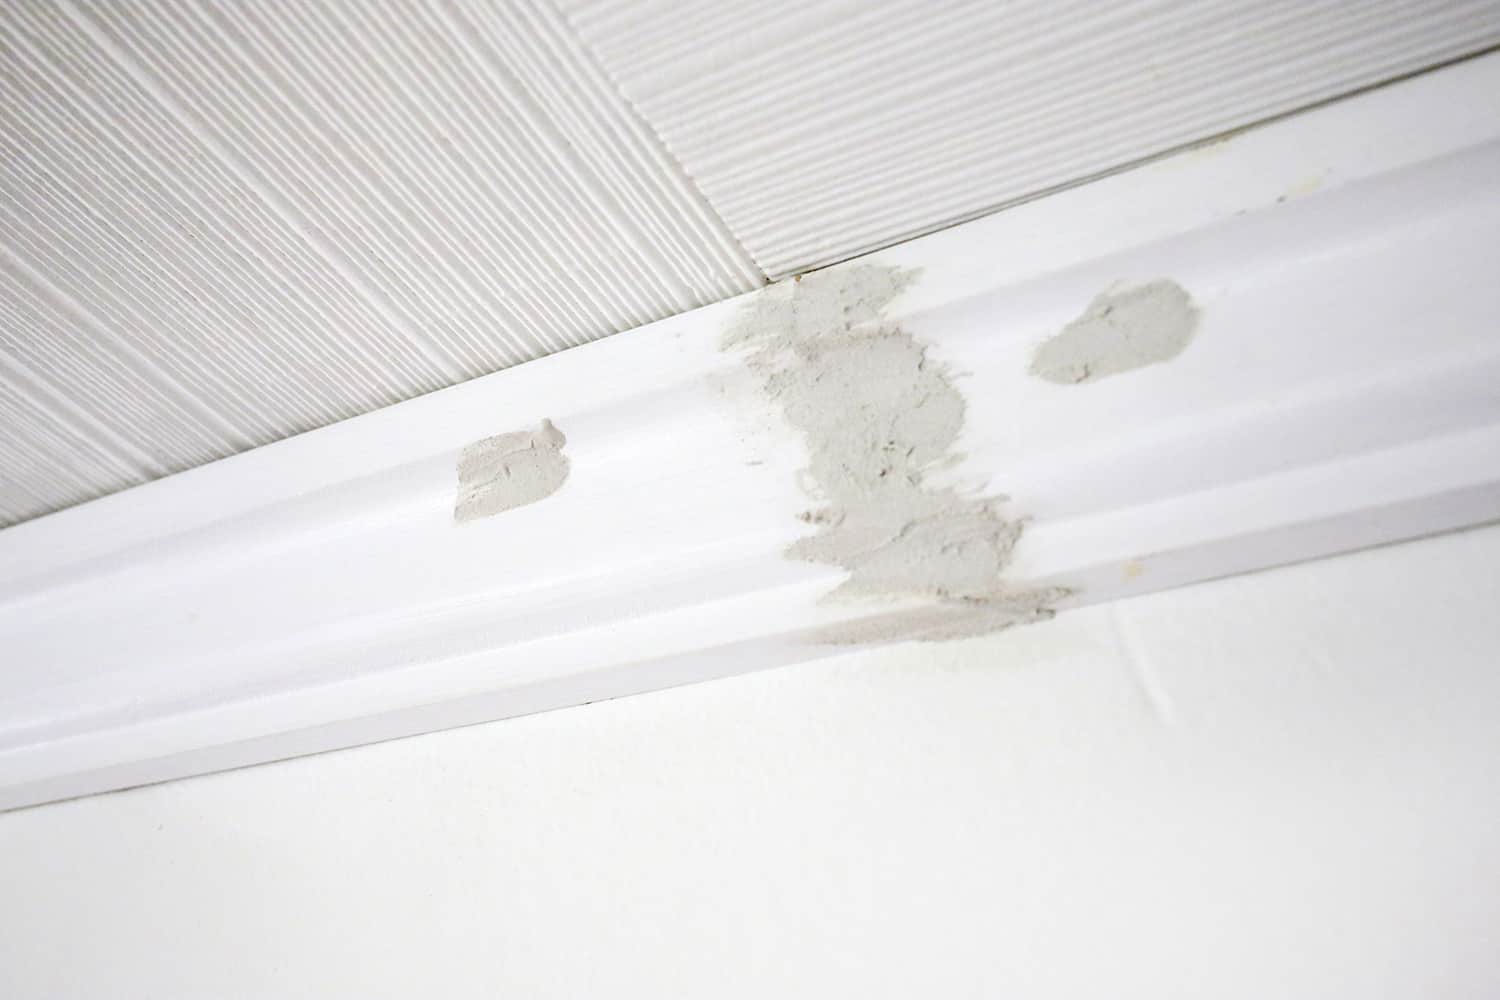
 Filling / caulking / painting: Once all of your hard work figuring out angles, cuts, and nails is done, it’s time to finish the project! You should cover nail holes and seams between the boards with wood filler (I like this stuff as it changes color as it dries). Once dry, sand it smooth and caulk the gap between the wall / panel and the ceiling / panel so everything looks seamless (I like this one because it’s easy to clean with water and it dries quickly). Add a layer of semi-gloss paint and your crown shape project is complete!
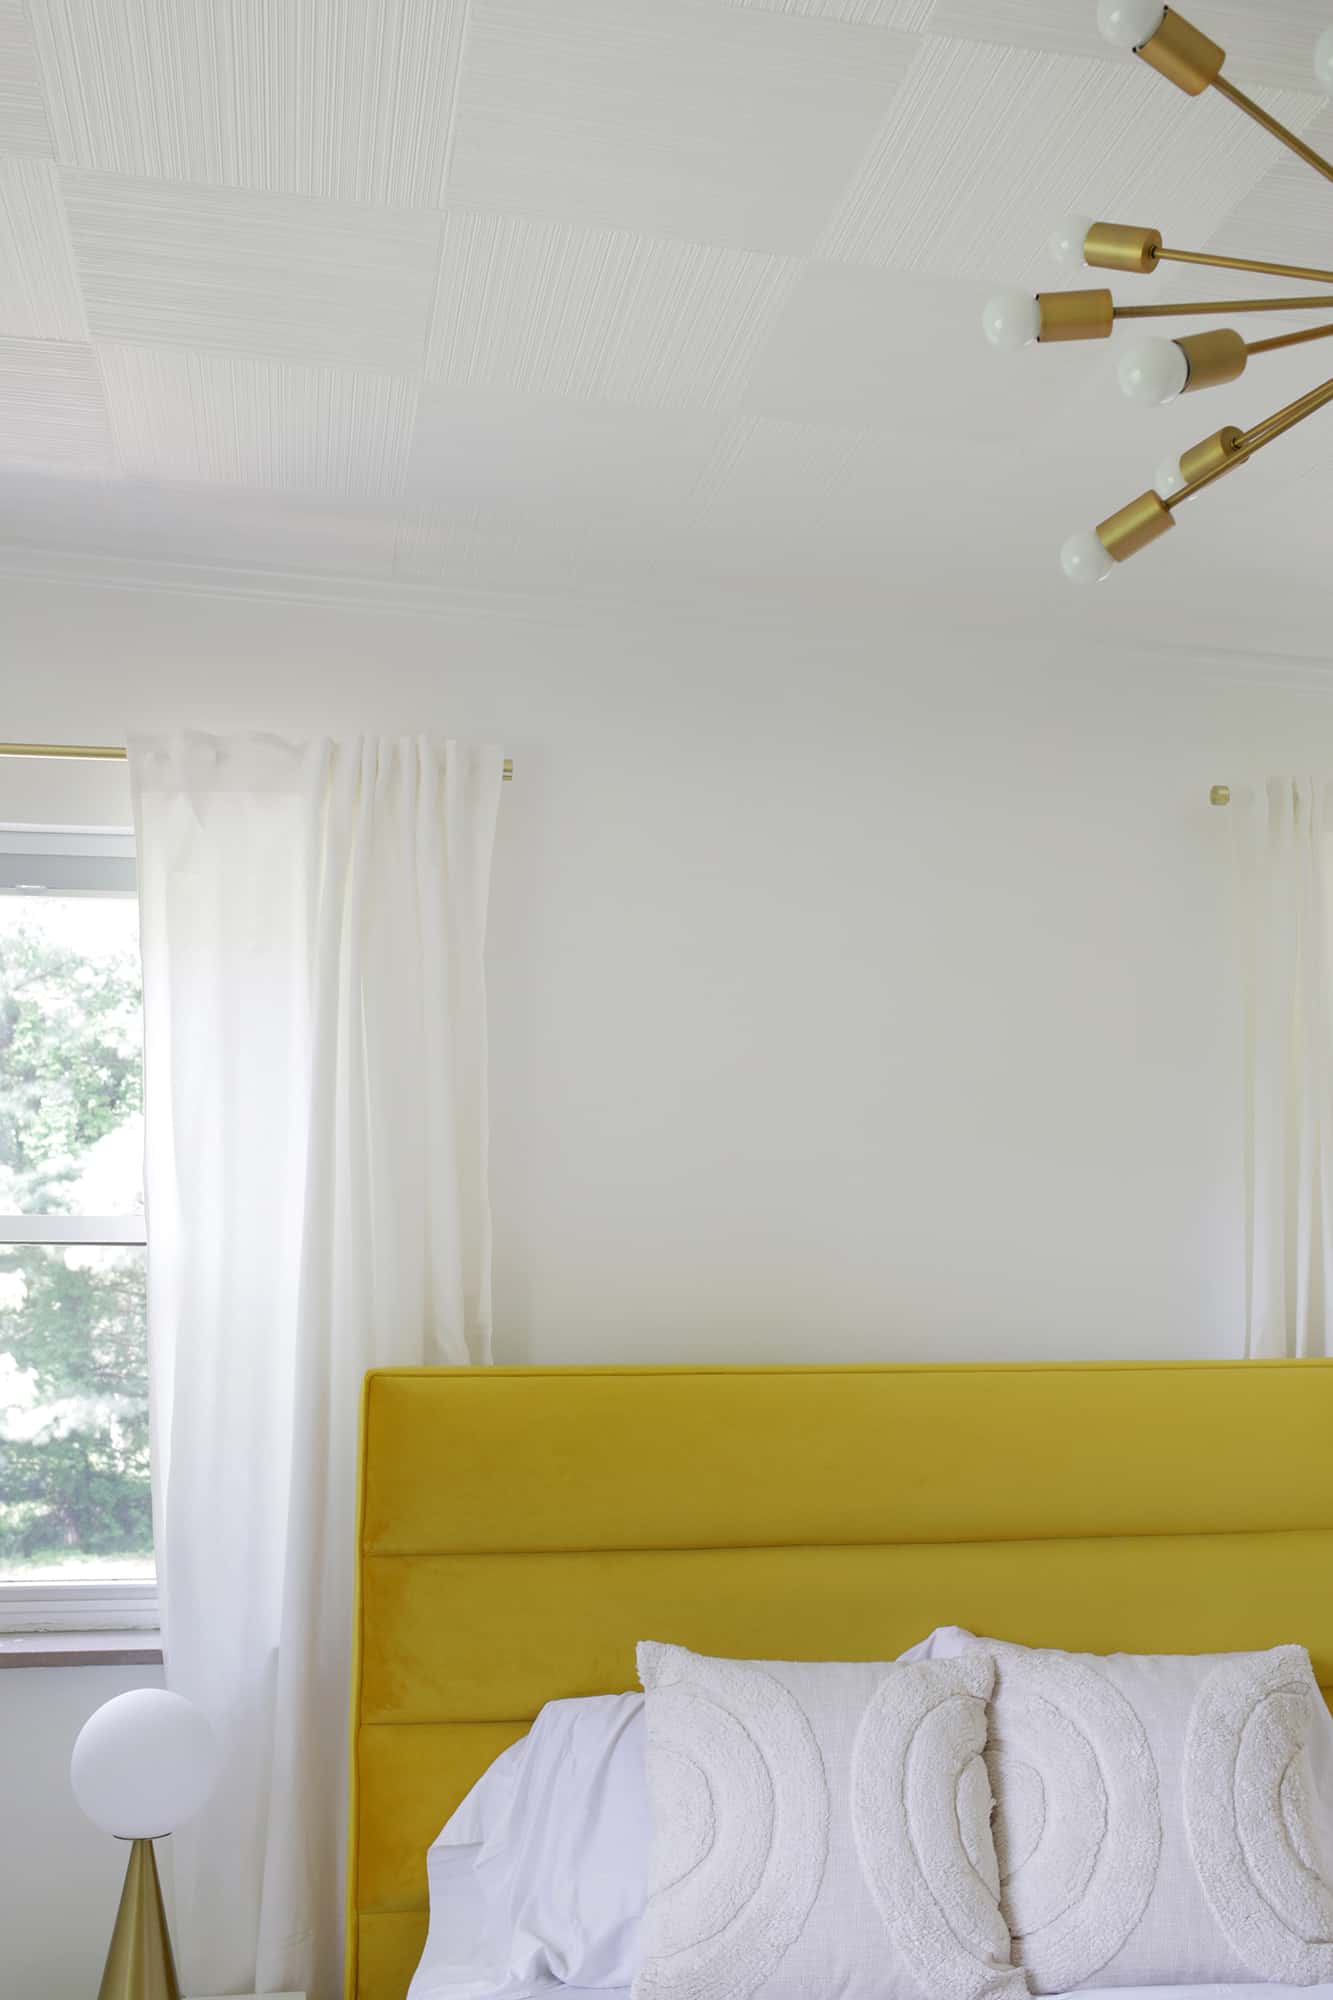
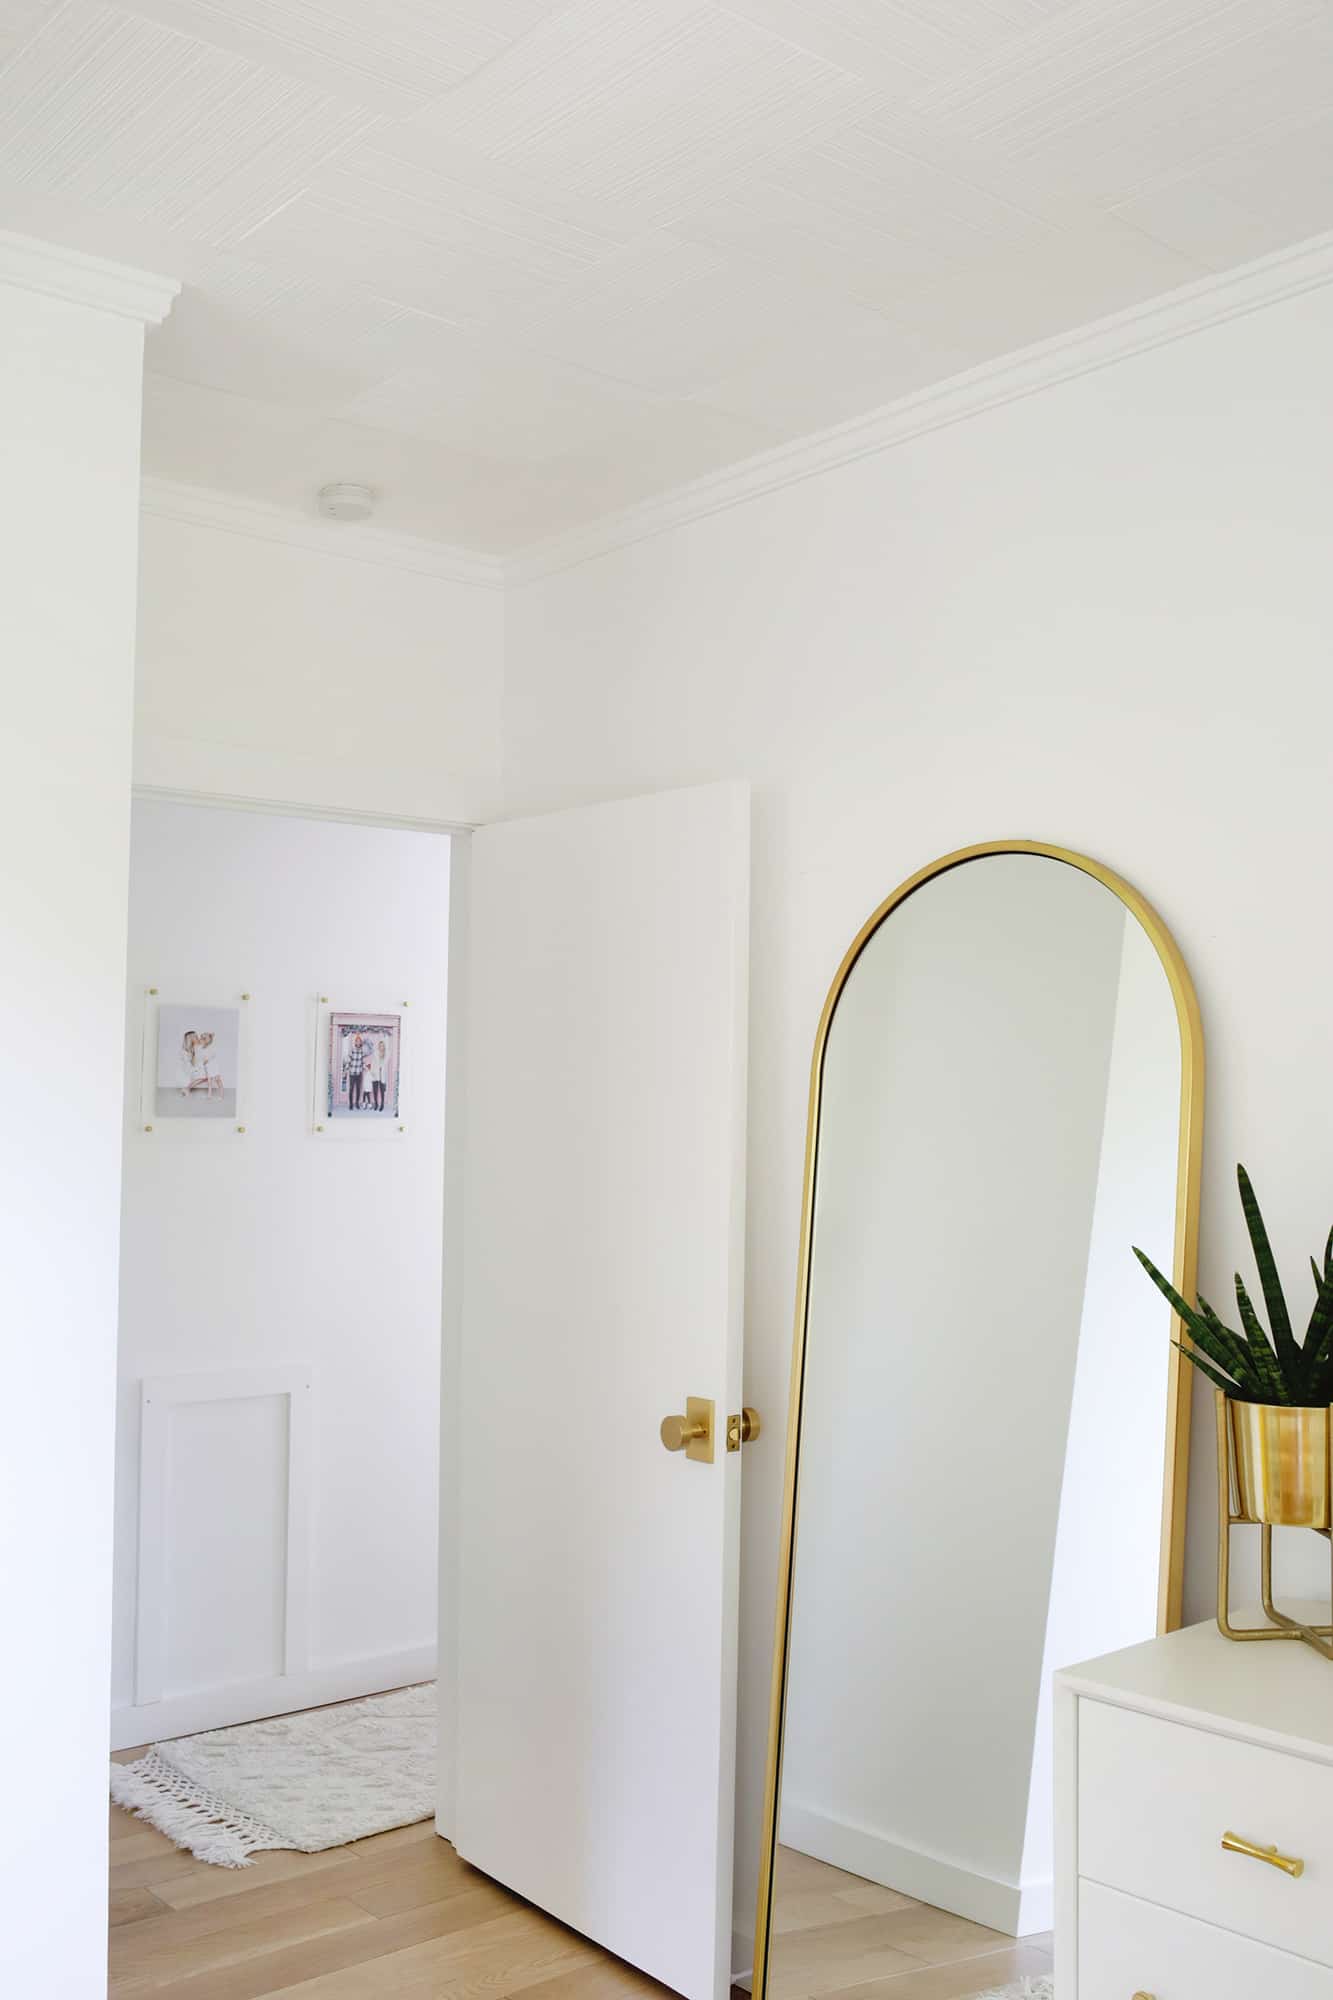
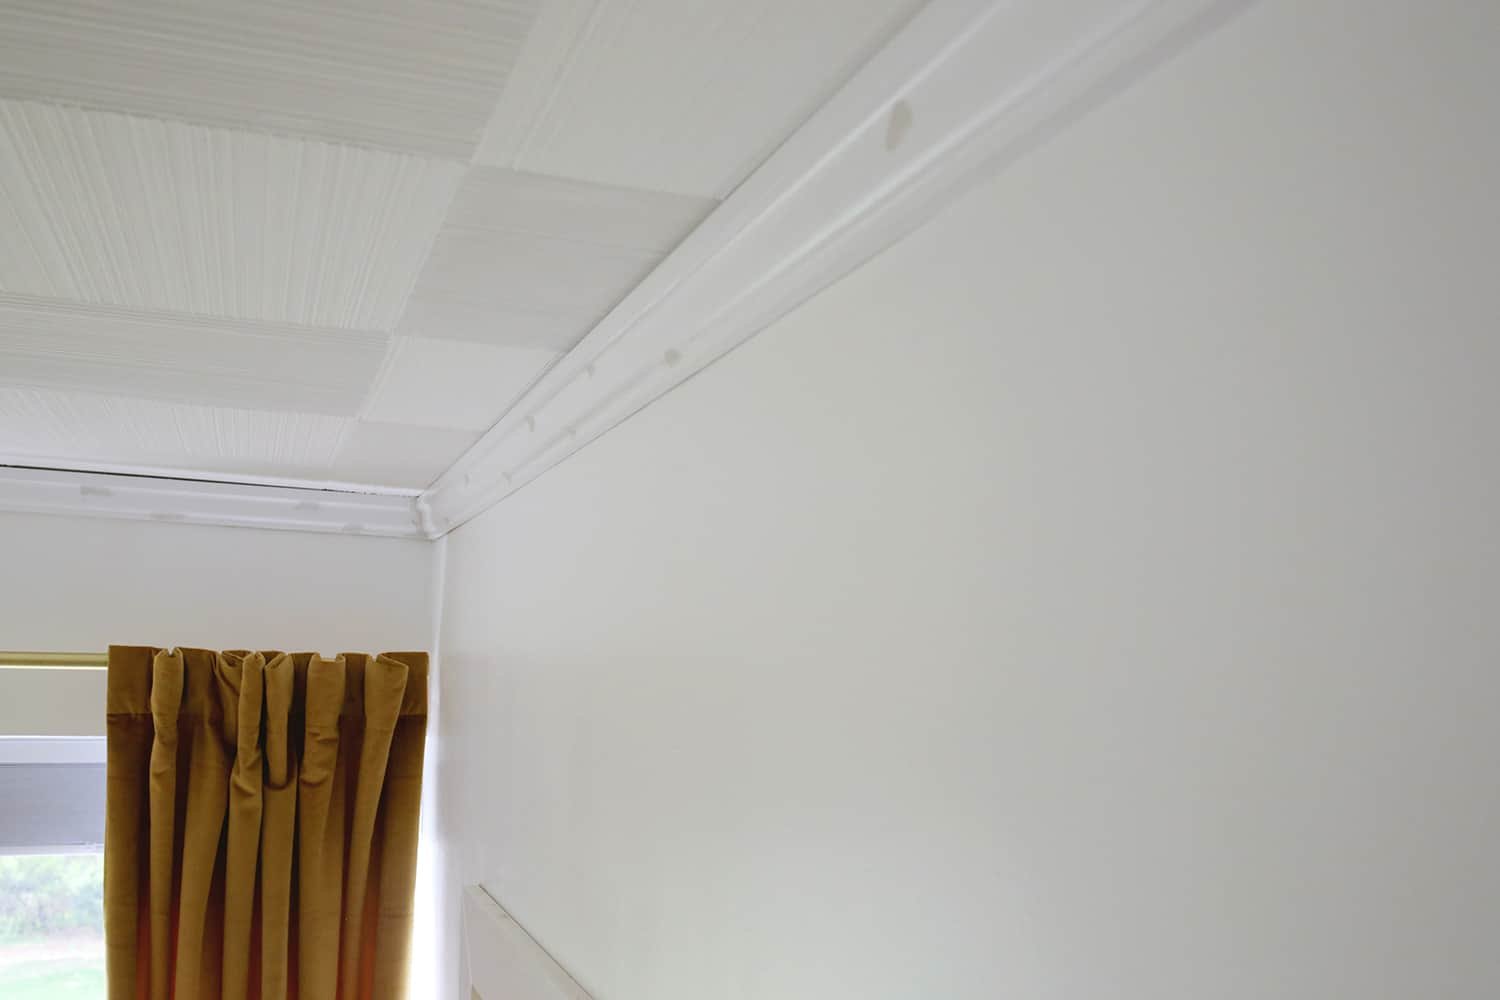
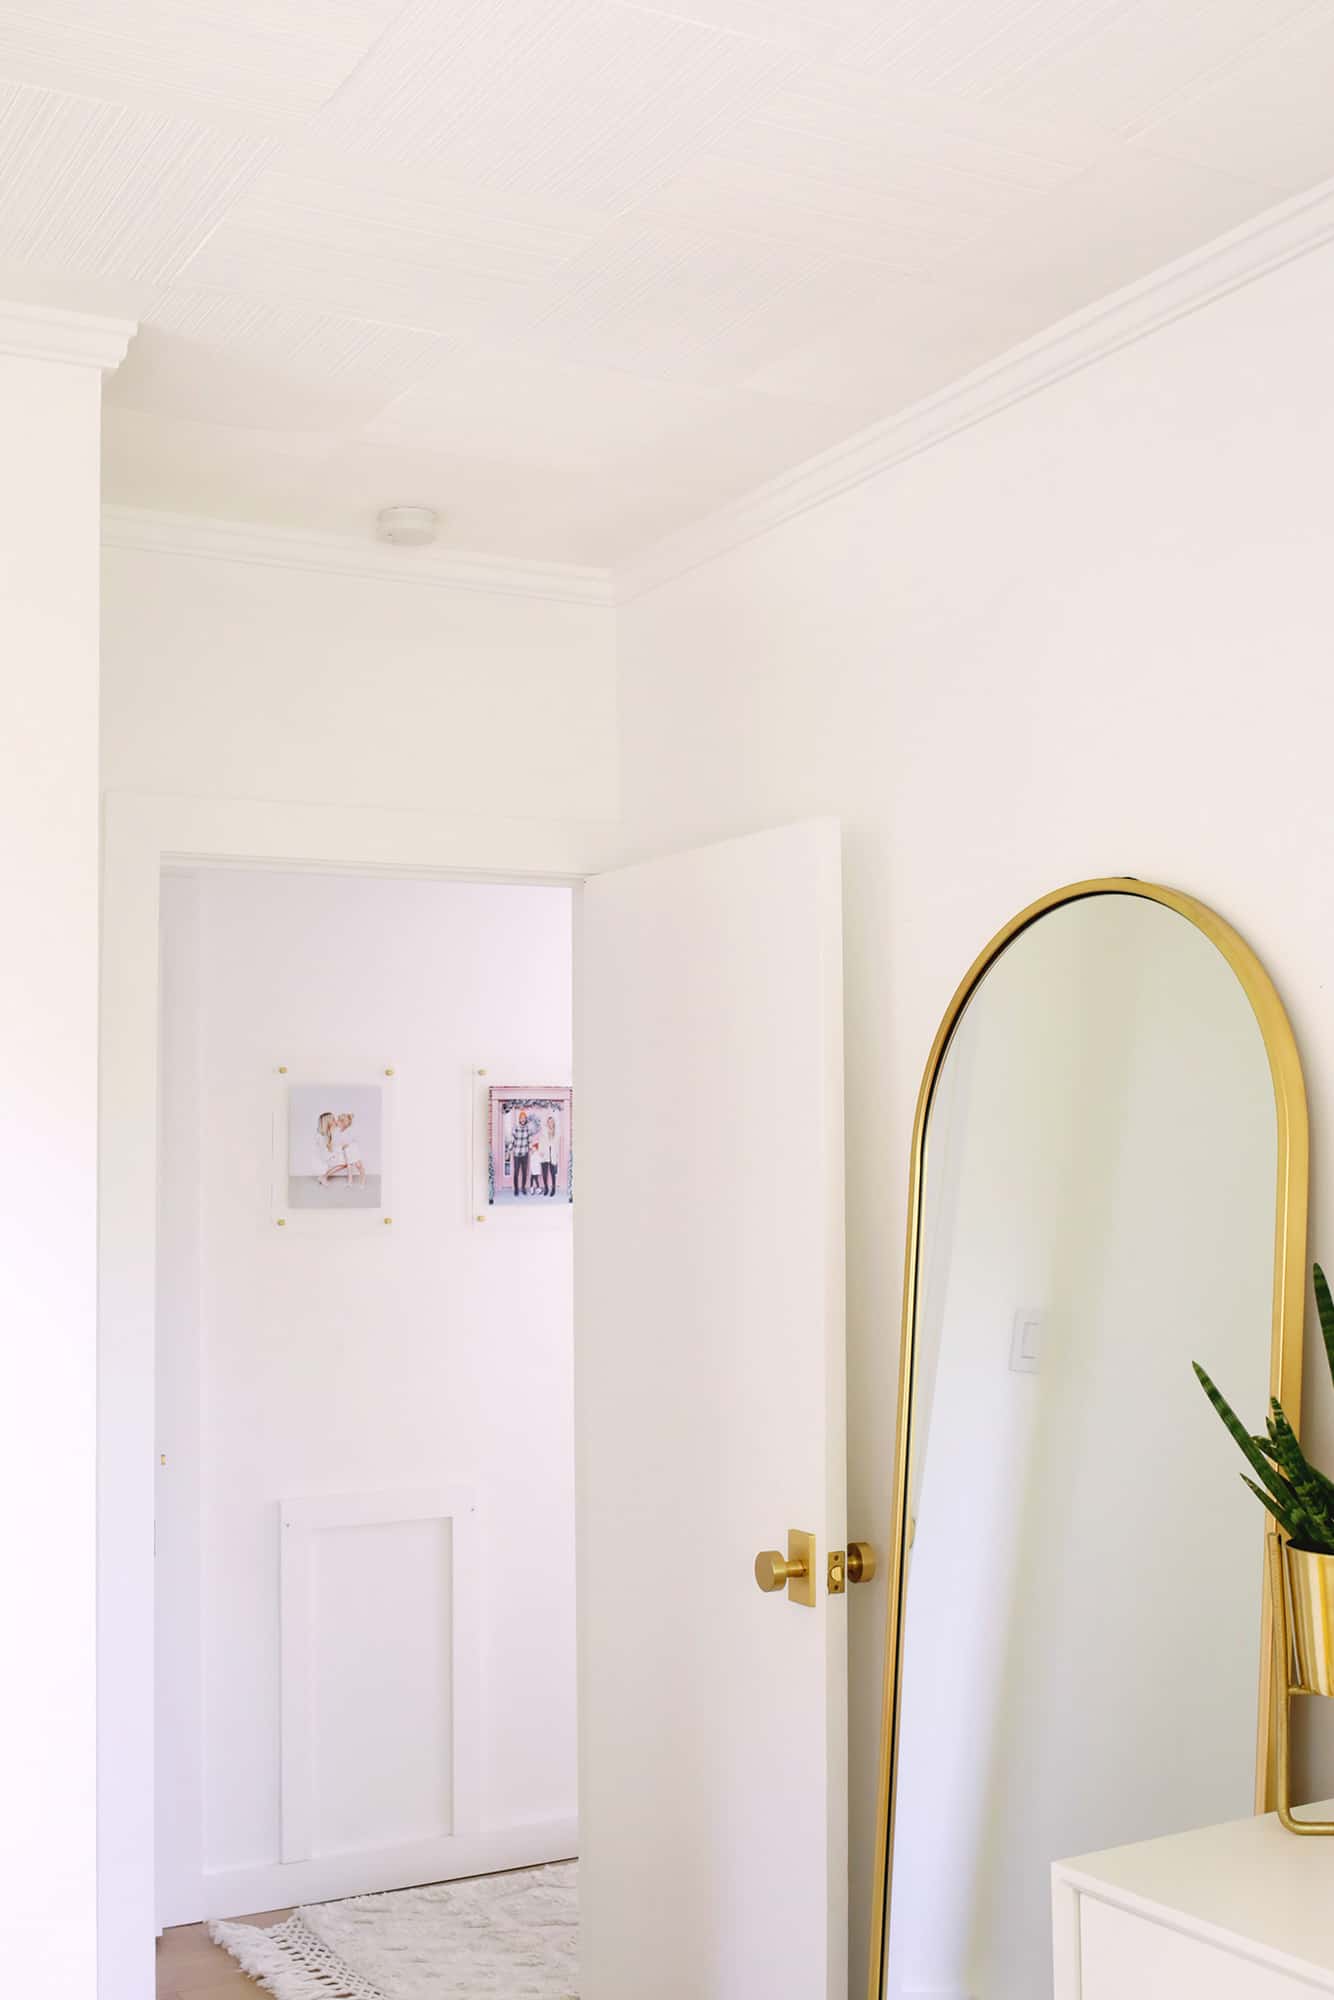 I have to say it was really difficult to get good photos of the molding to show you because it just looks so seamless and integrates with the wall and ceiling in the best way … it almost disappears when it hits you Area to one connects the next – perfect !! Of course, if you wanted something that was a statement piece (which I didn’t) then you’d get something bigger / fancier / bolder or even paint it a different color to make it stand out, but the rest of the principles would anyway be valid . I am SO happy to see that huge void is gone and it adds a touch of class to the room in the best way possible. Three highs for learning something new and doing it yourself! xx. Laura
Credits // Author and Photography: Laura Gummerman. Project assistant: Joel Blumer (my brother!). Photos edited with A Color Story Desktop.


