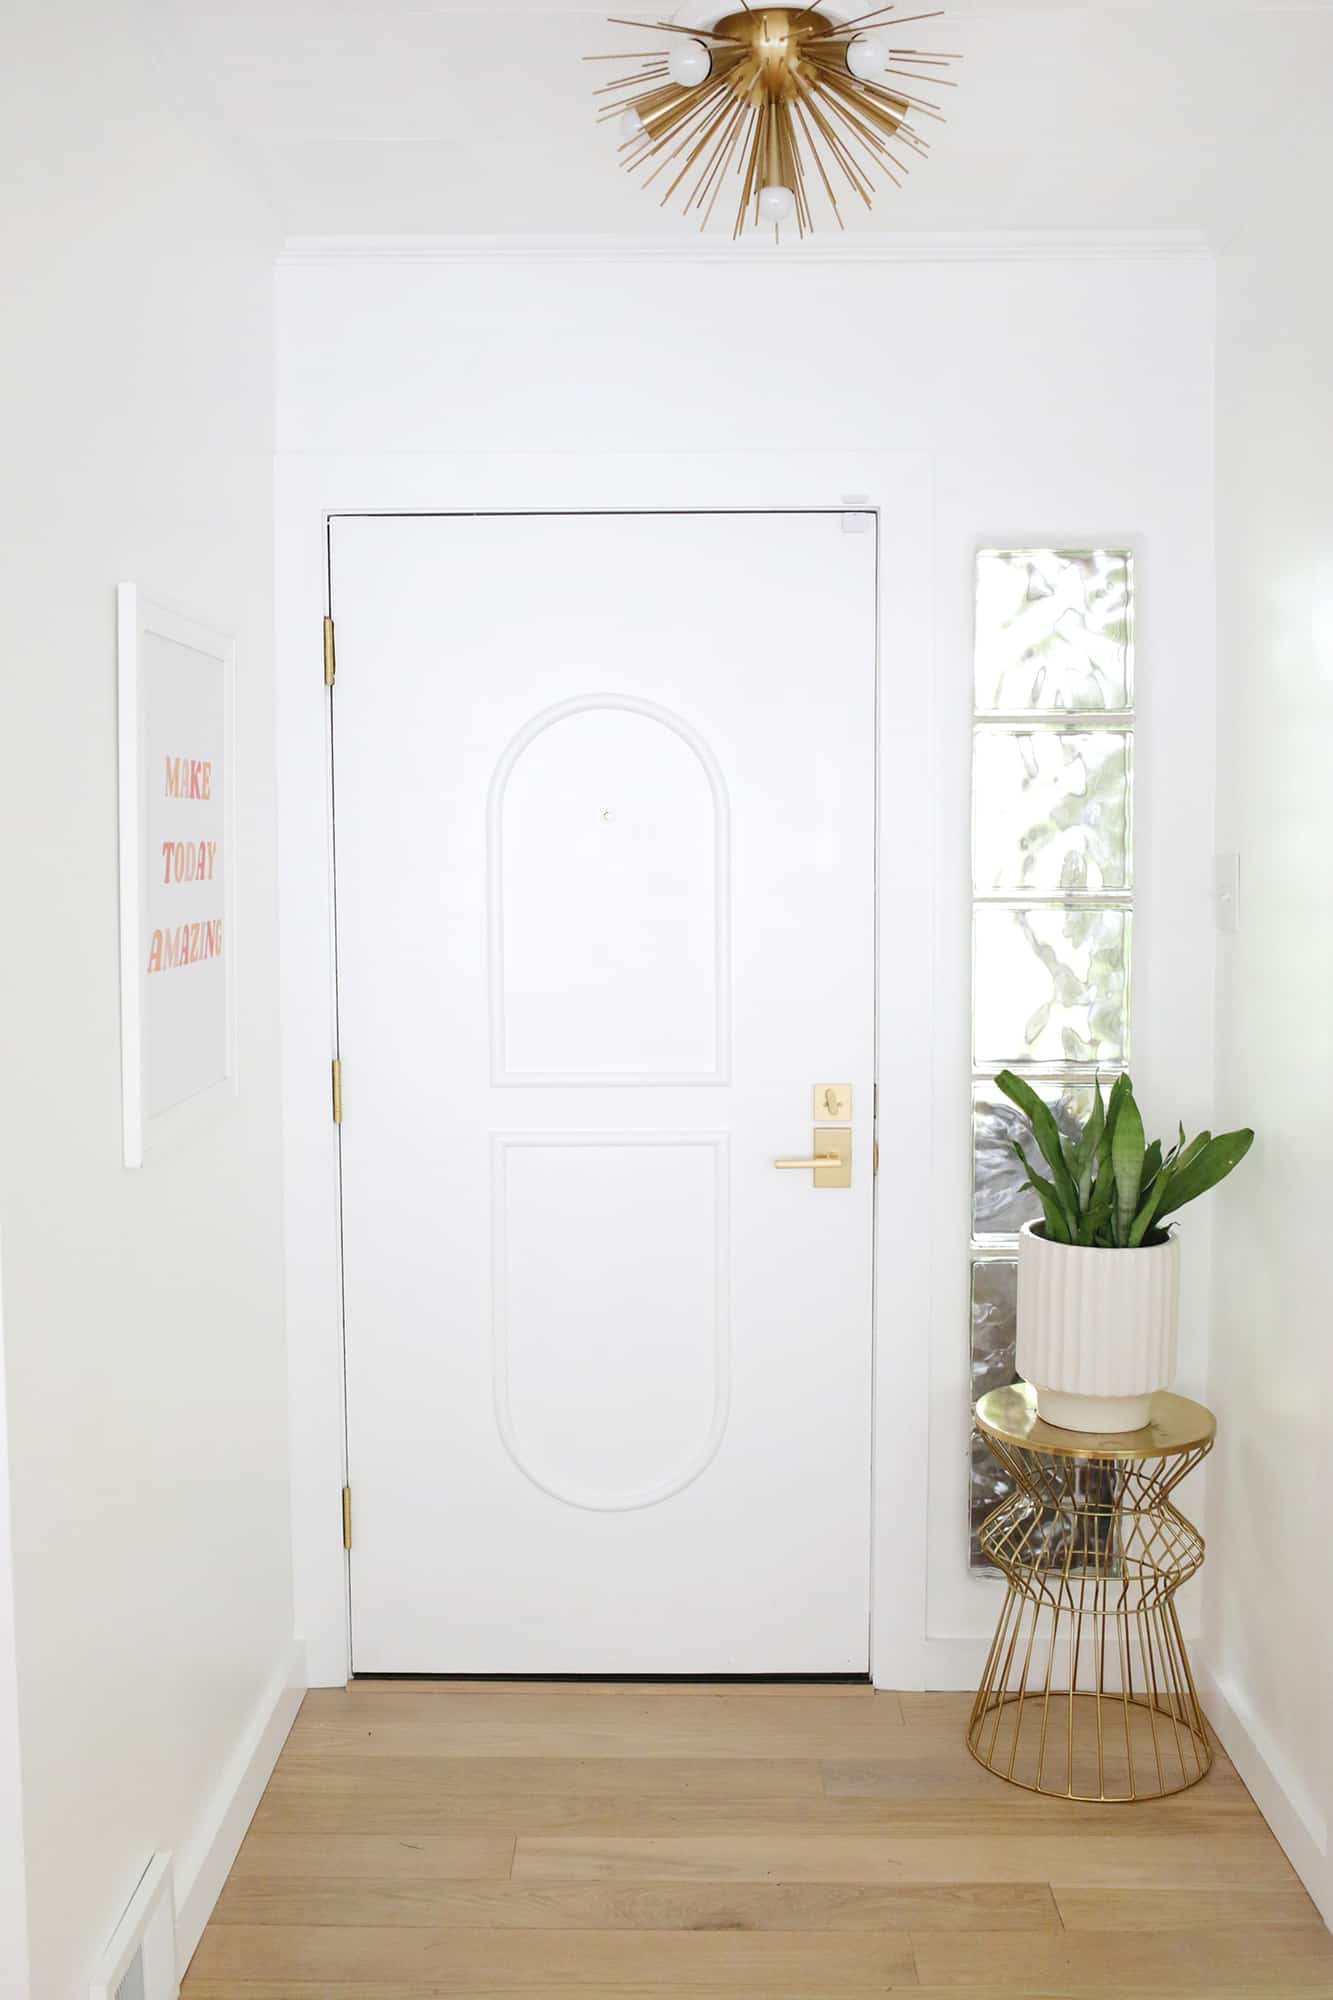
 I love adding trim strips to simple doors so that they feel individual and special. I draped the closet doors in our last house and it made a huge difference so I added wood molds to the doors in my daughter’s room (and in our living room) and every time I was always so happy with the result. I really wanted to add rounded edges to some of our sleek interior doors. So when I saw Keely make an arched wall in her house after this tutorial, I knew flexible molding would be perfect for my door plans. I made a kind of pill shape with some straight and flexible 1 “semicircular shape strips and it feels a lot to me like Paris of the 70s for what is perfection in my book.
 Deliveries:
-1 “semi-circular flexible molding (I got mine here, but you can get it here too)
-1 ″ straight semicircular molding
-Level
– large circle that you can trace (like a bowl or planter) or a large compass (this one is nice too)
– Miter saw or miter box for a hand saw
– Hammer and nails or nail gun (I love this cordless nail gun!)
-Wood filler
-Latex waterproofing (this is my favorite and dries very quickly)
-Paint color of your choice (I love this brush for painting round moldings and this primer is helpful for the flexible molding)
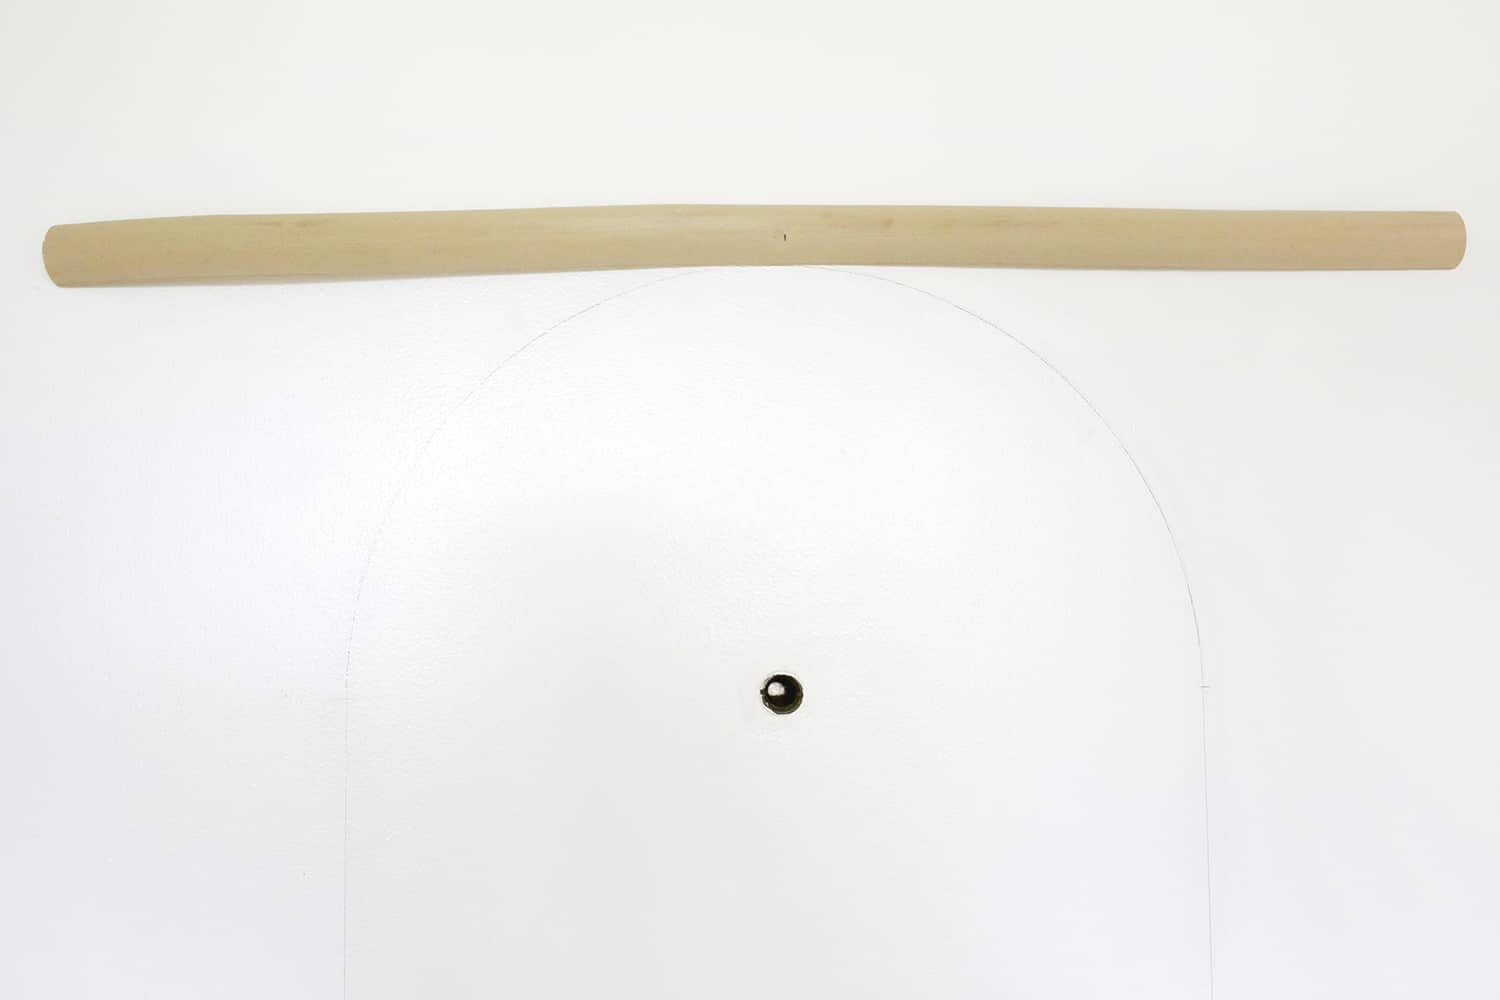
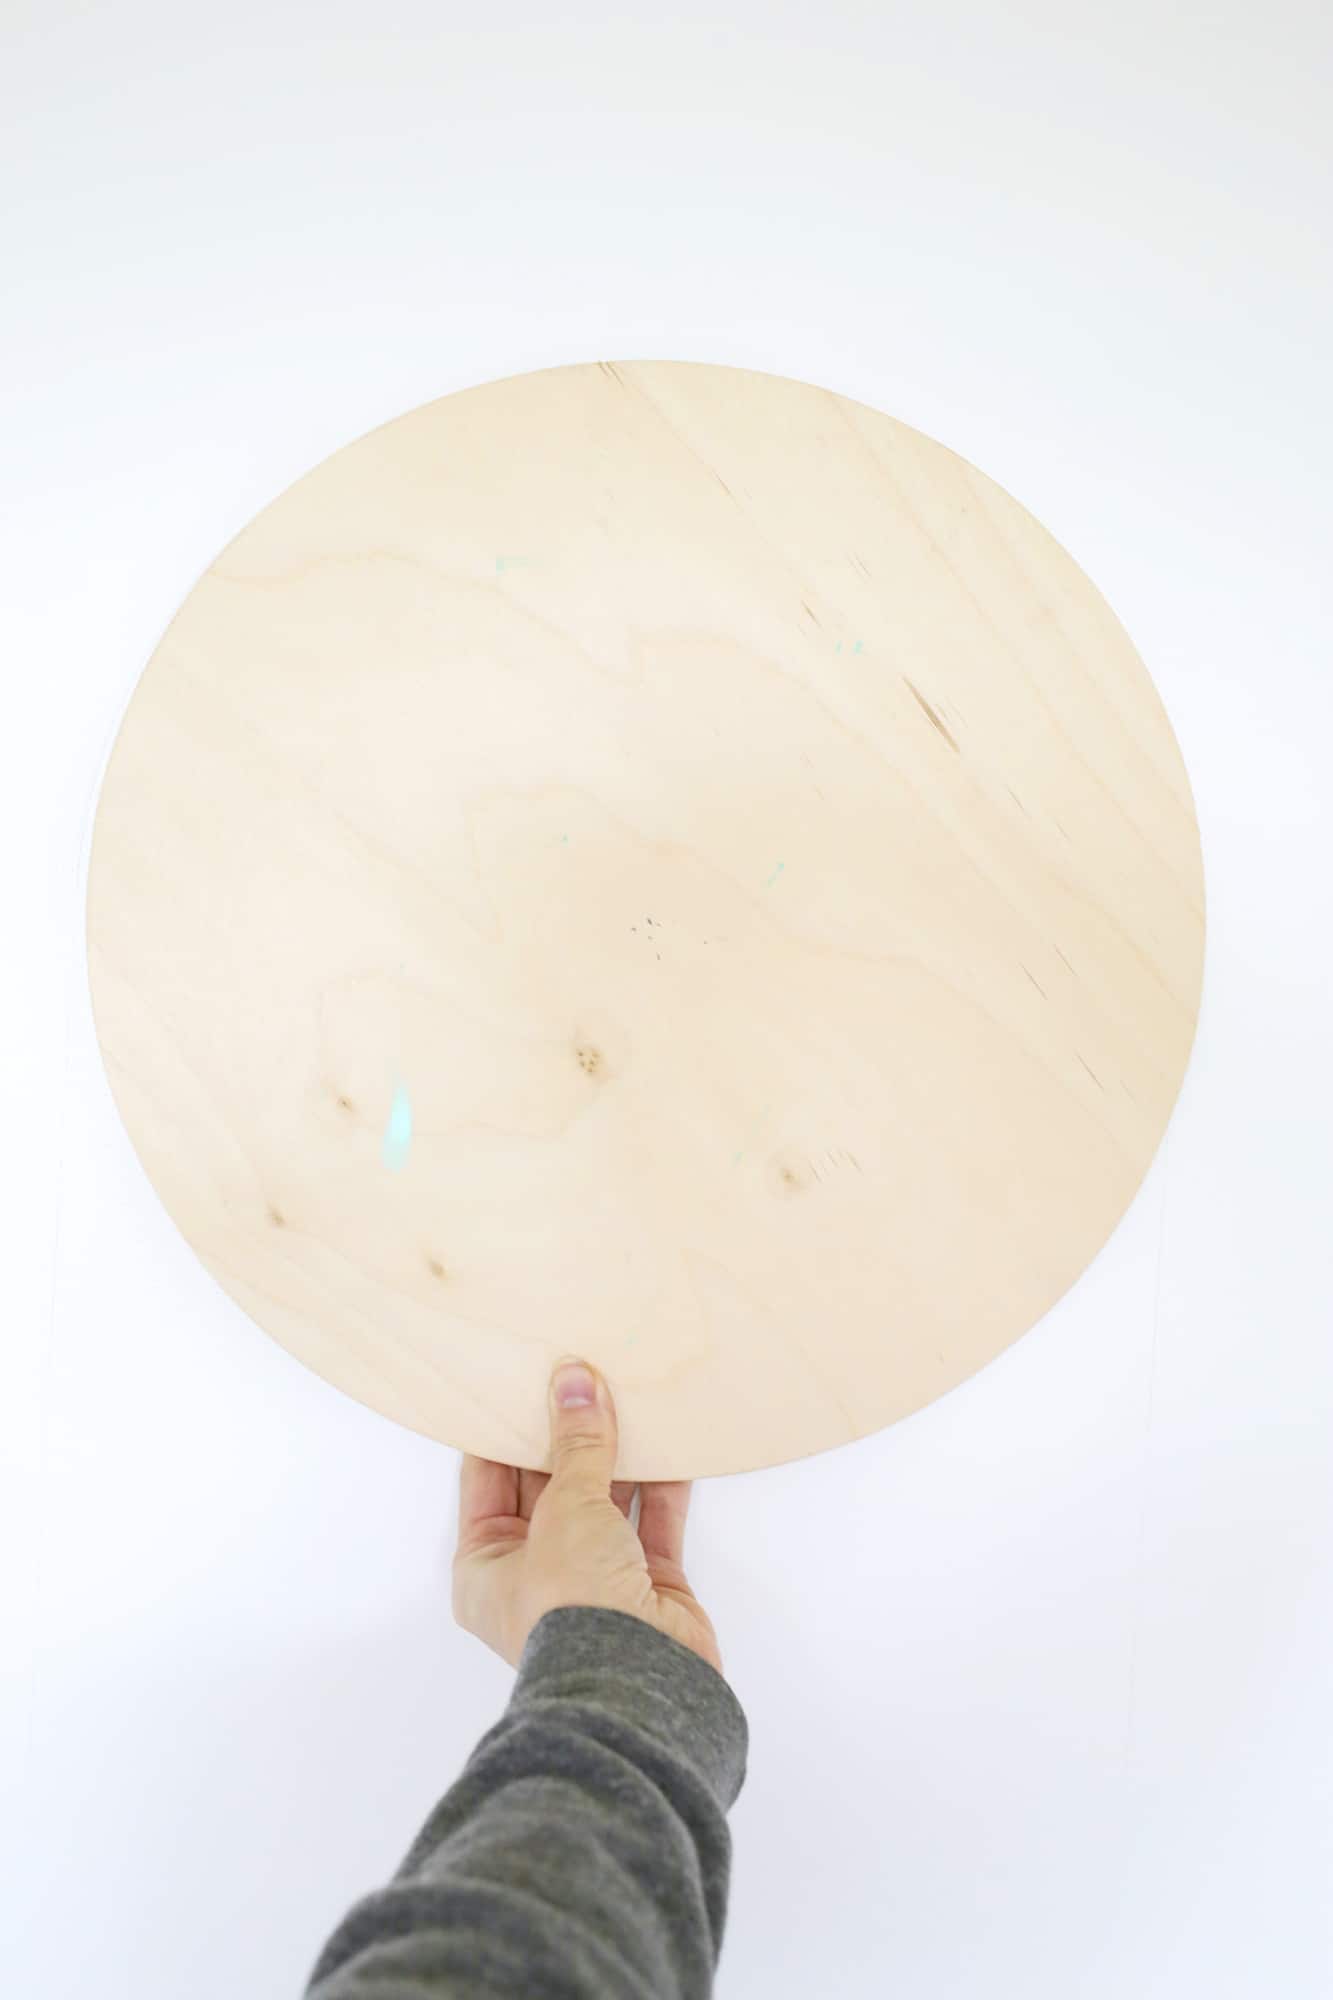 You can decide where you want the arches to fall on your doorway, but I wanted my door’s peephole to be framed by the arch. So I took a 14 inch wide wooden circle I had and used it to draw a semicircle over the peephole. You can use a large compass or circular object to trace, like I did, but remember that you are tracing the inside edge of your arched circle so that the overall width is 2 inches wider than your traced circle (each side adds 1 inch added) of trimming).
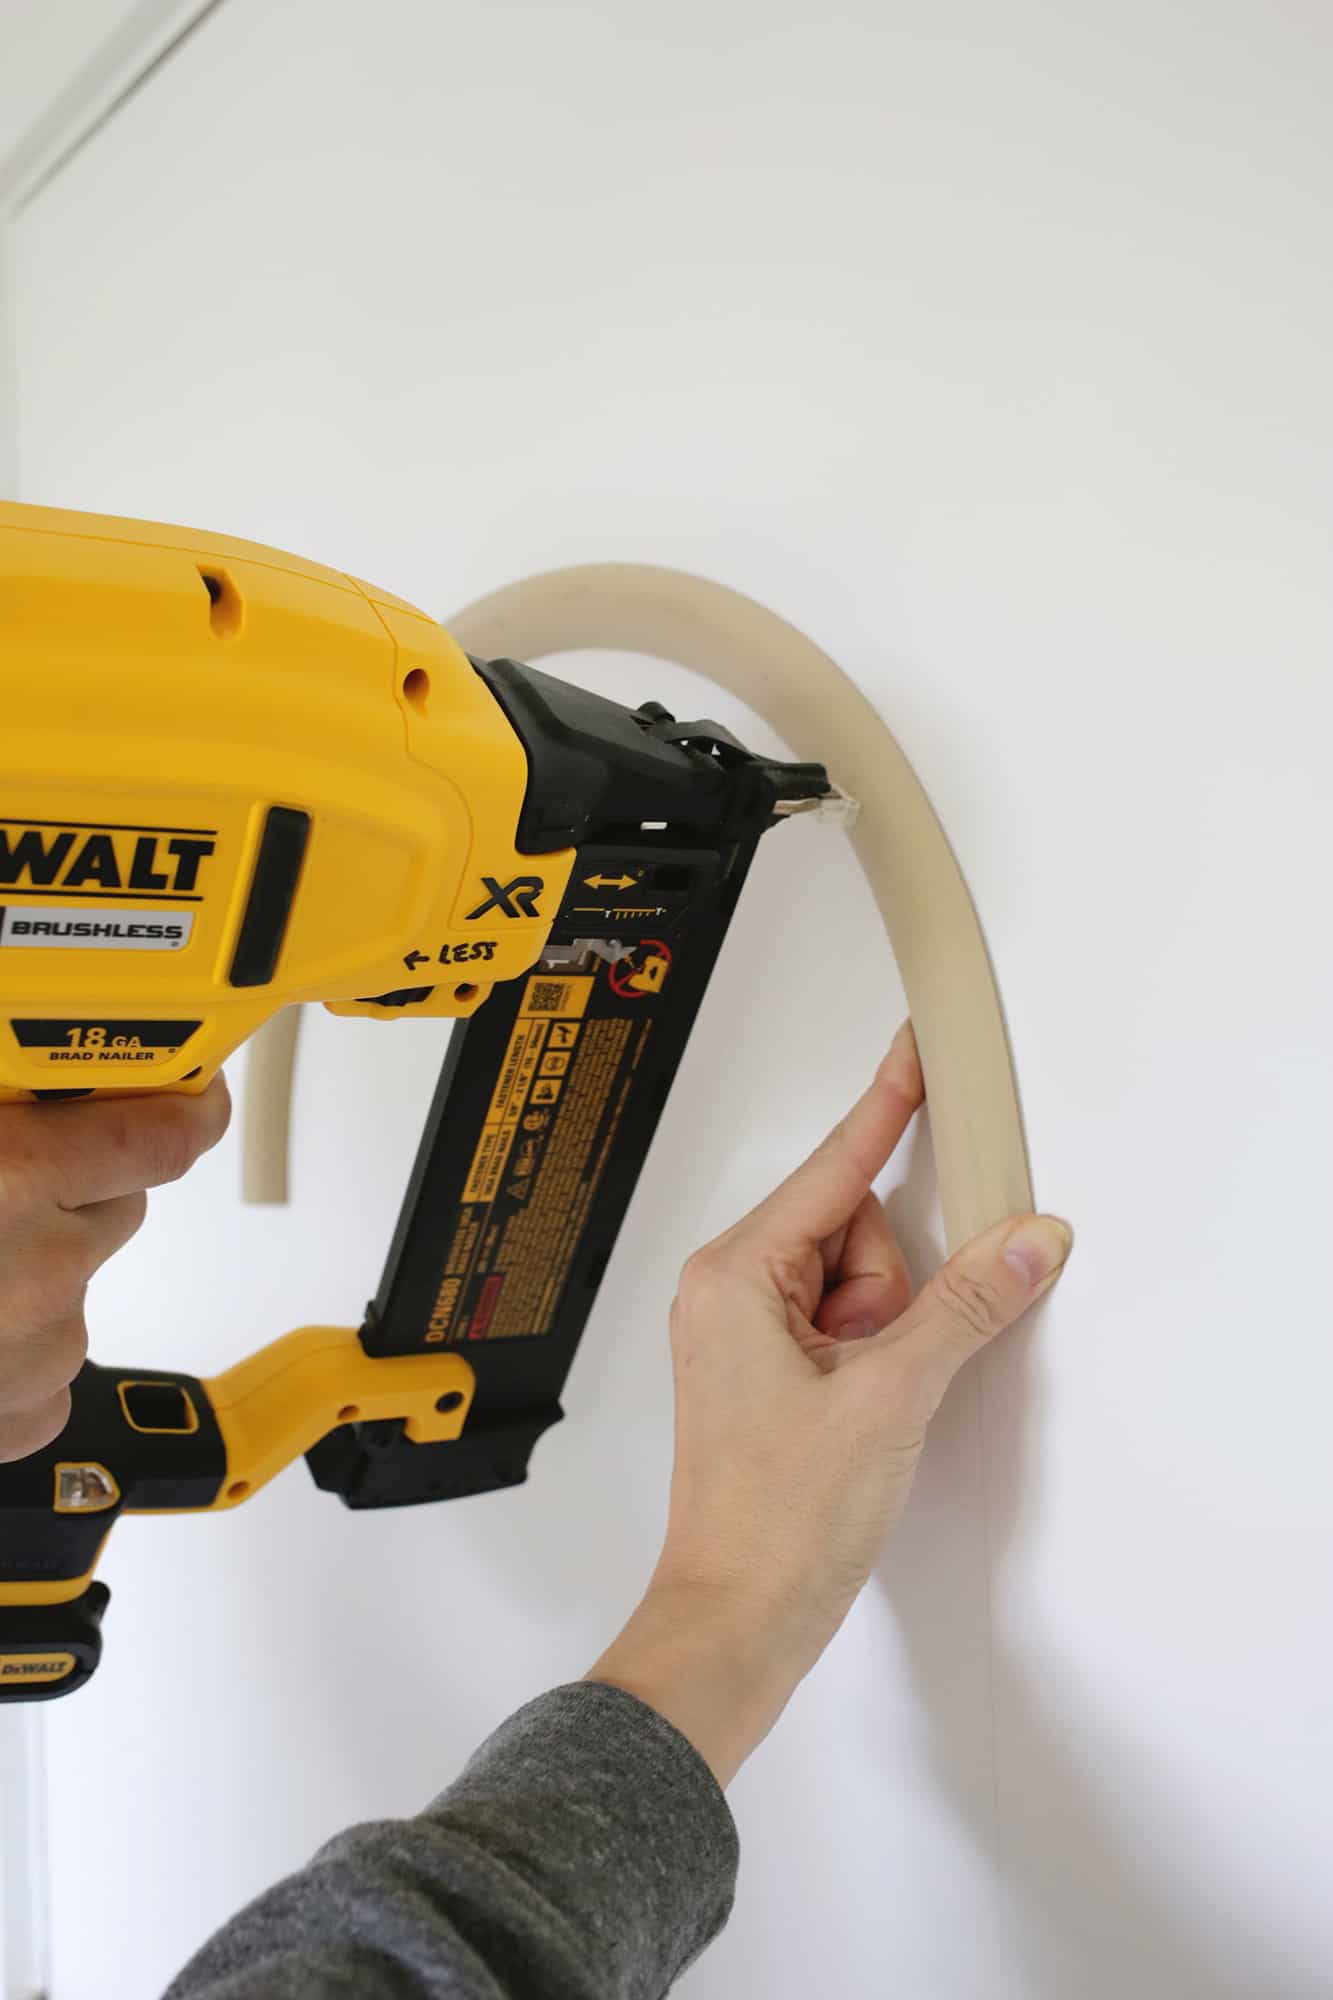
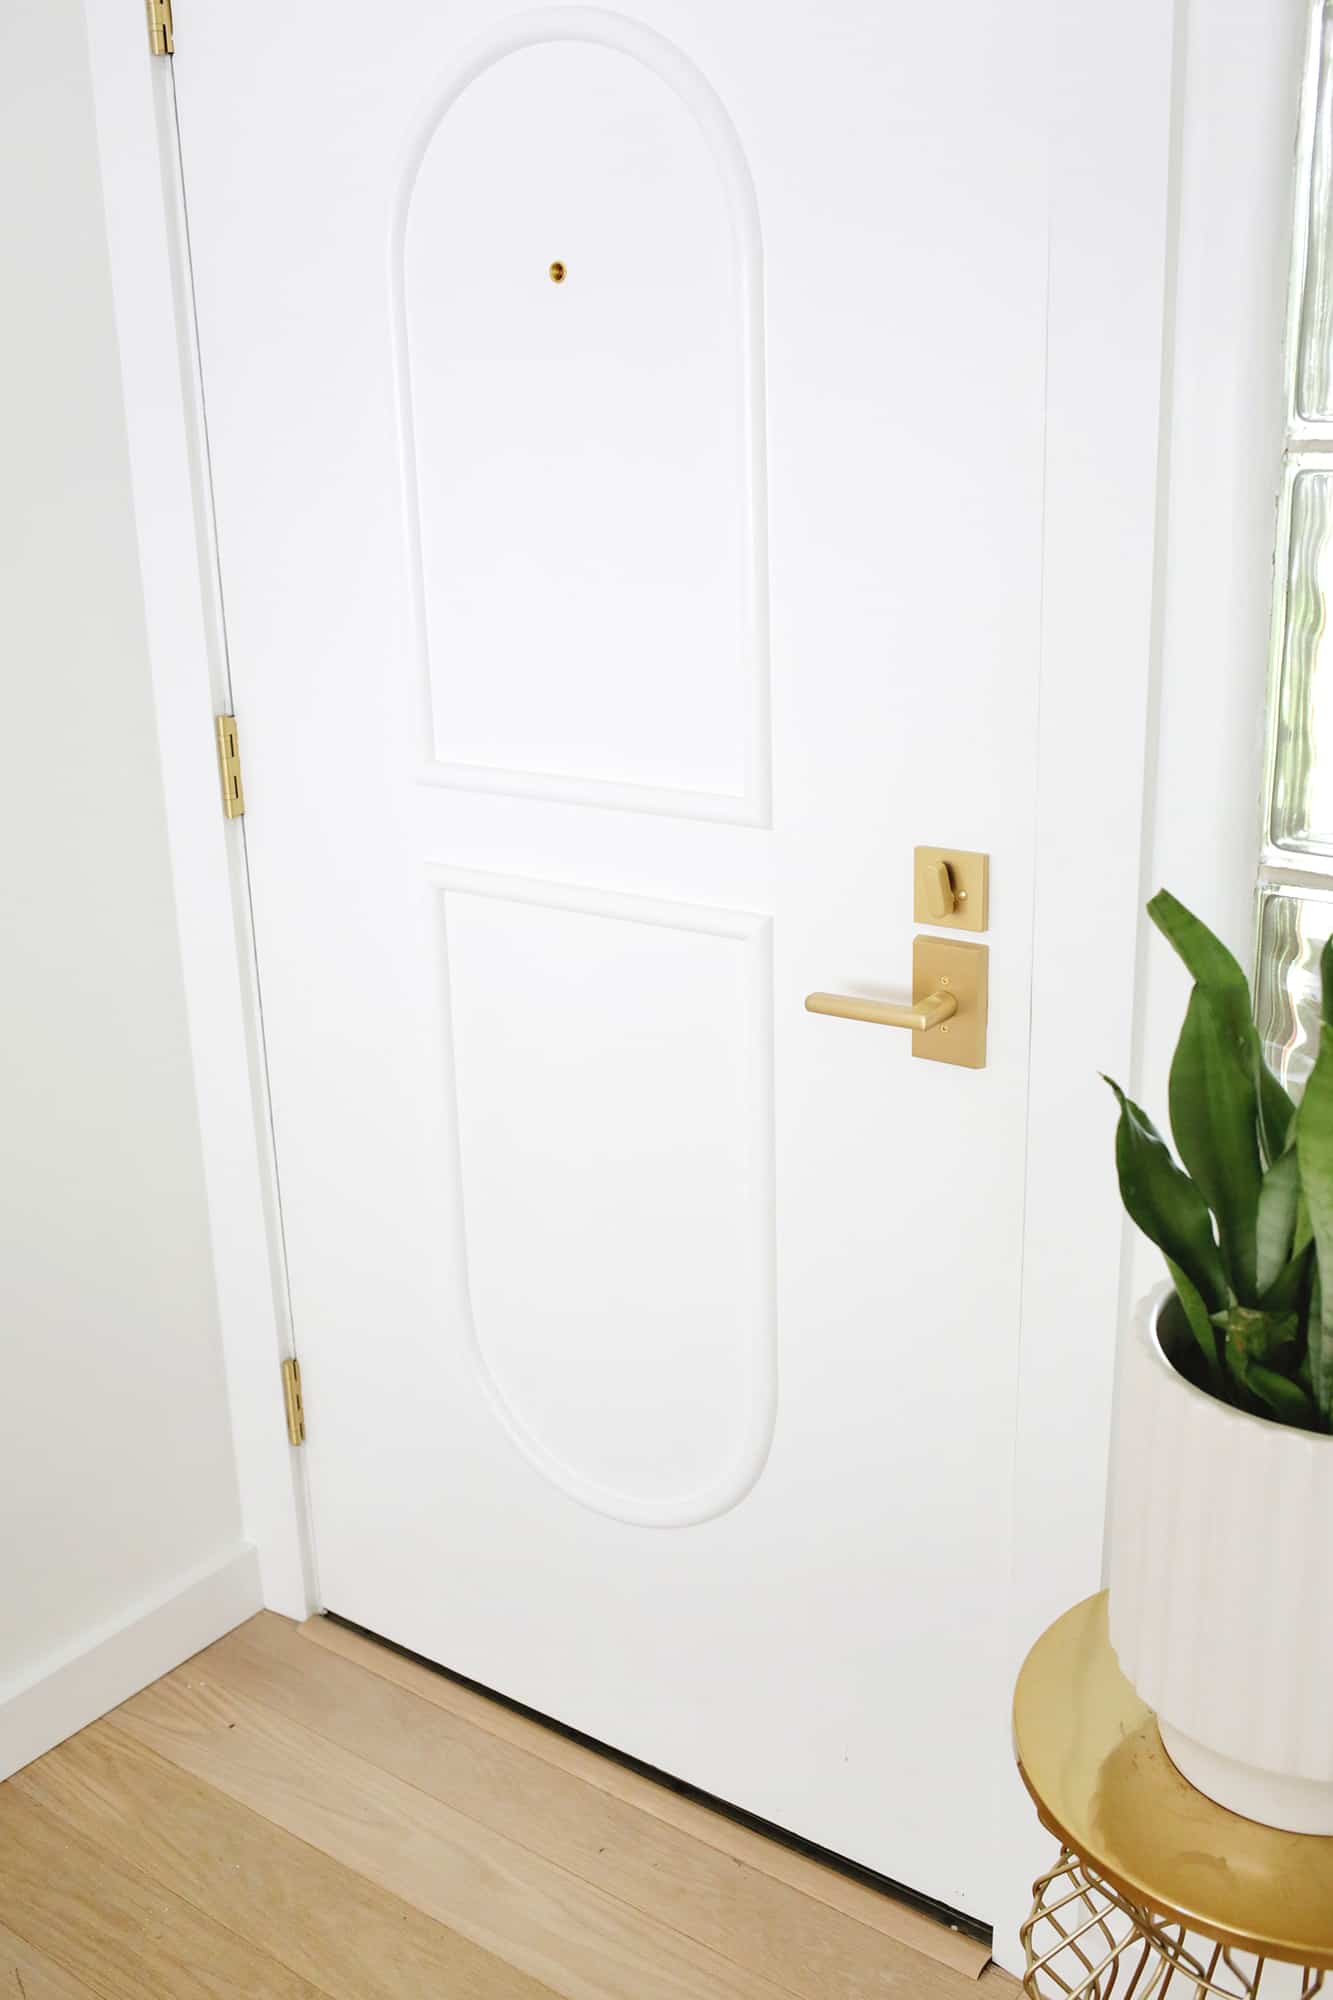
After tracing my semicircle, I added some straight lines on the sides and decided where to cut the “pill” shape in half in the middle (use a spirit level to make sure all of your lines are level and straight as you trace are ). Measure your half-arch at the top of your shape and cut a piece of flexible molding to that length. Find the center of your arch and form strip and nail your strip centered over your arch as you can see above. Then, with the help of a friend, keep bending and arching the molding to follow your drawn line and nailing it in every 2-3 inches.
Make sure your nail heads sink in over the edge so you can fill in those holes later to make them go away … use a nail setter to drive them in further if needed (this kit comes in really handy). Repeat for the other side of the trim so you have your curved arch ready.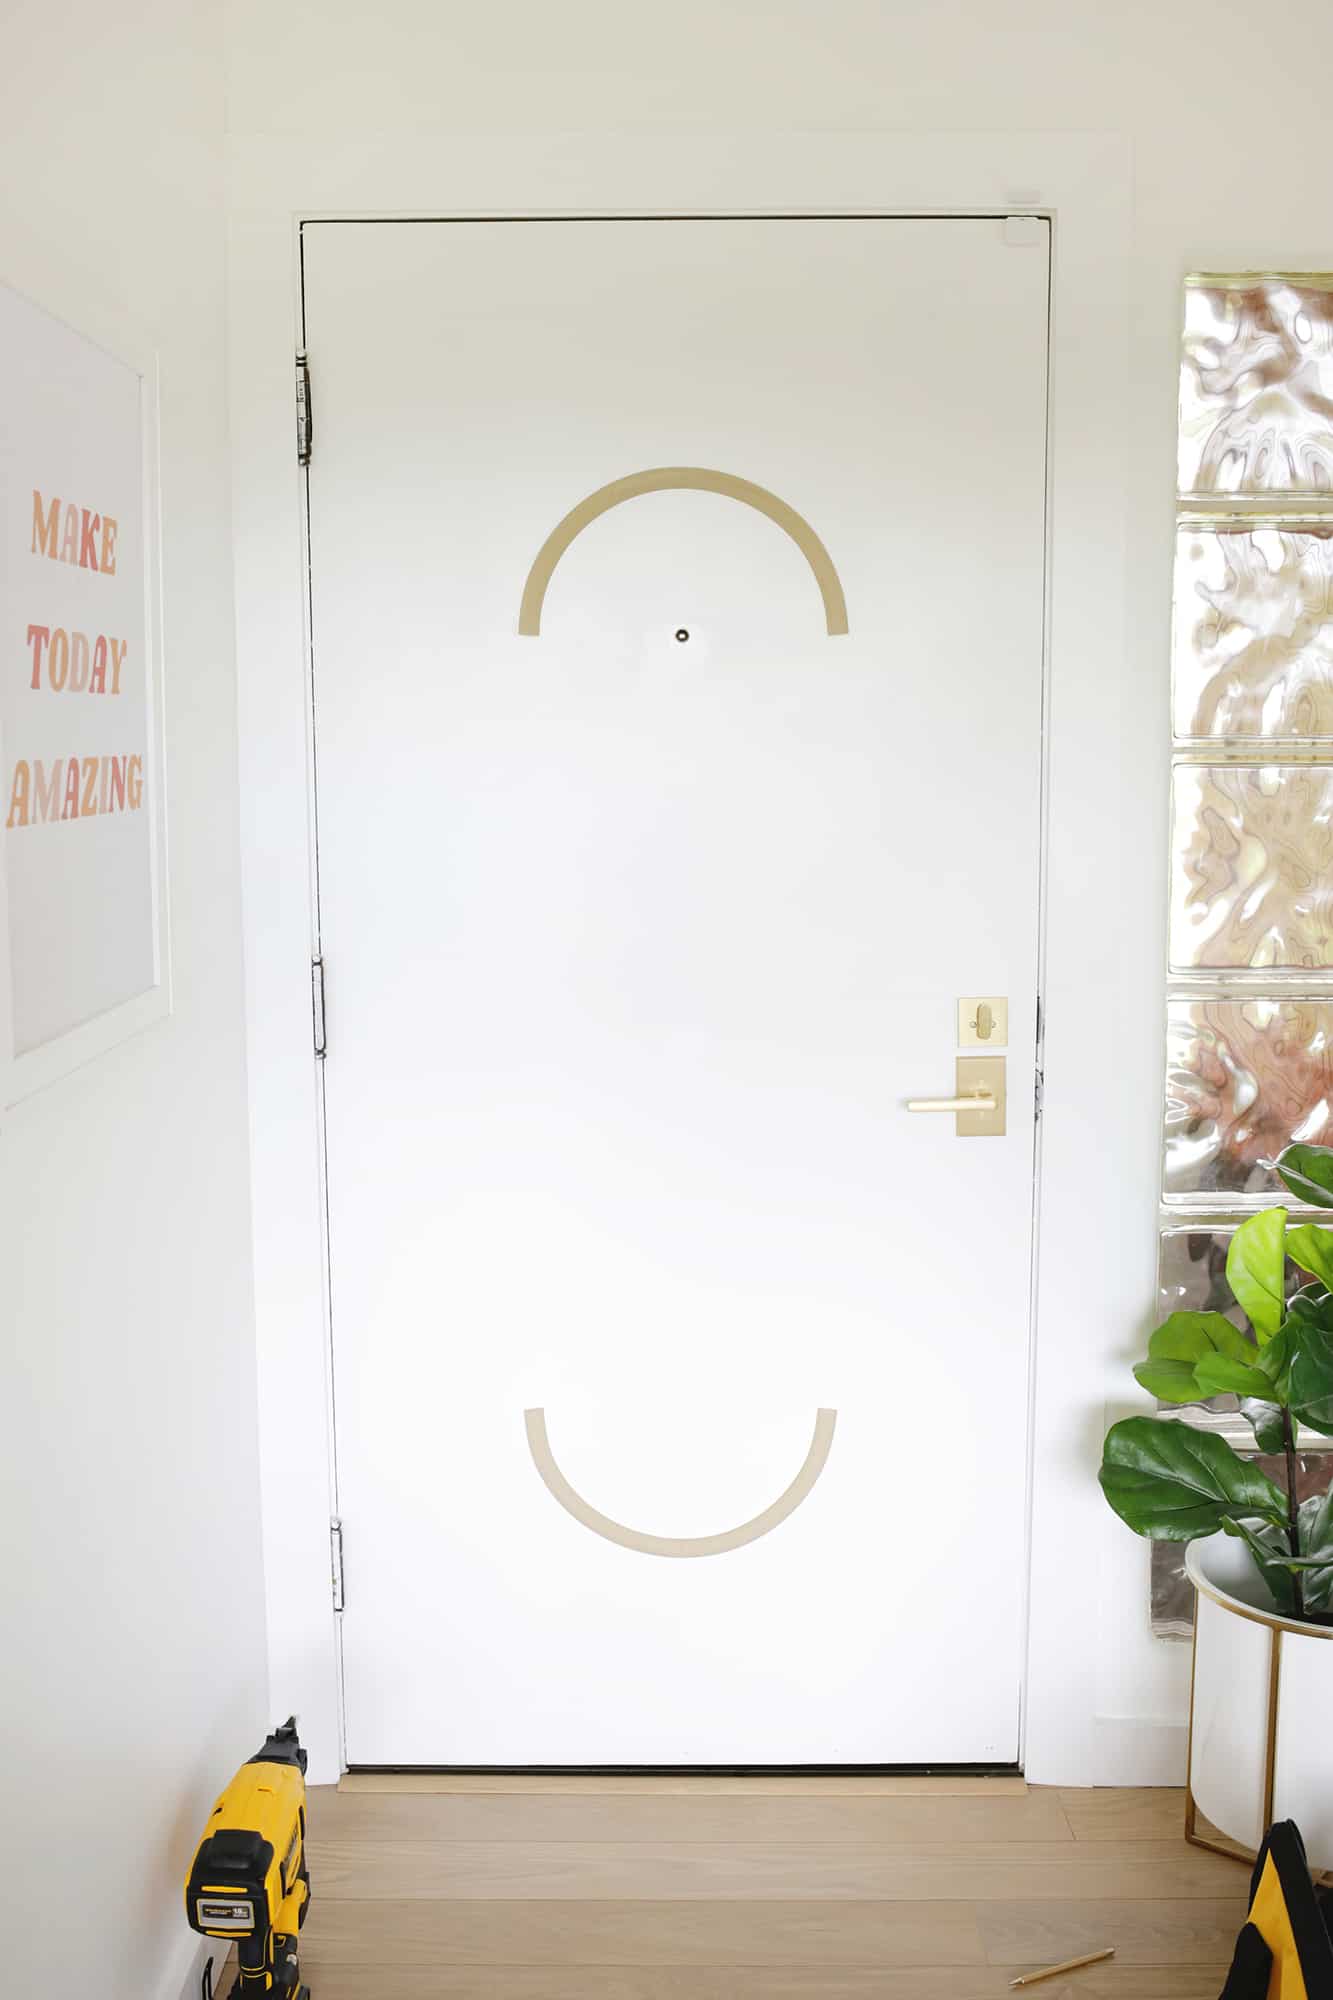 Find out where the mirror image of your arch should be on the bottom of the door (you can measure how far your top is from the top of the door and use the same measurement for bottom placement) and draw your semicircle down there, like Well. Check with a long ruler and level that your arcs are right below each other! I assumed my measurements were mine and I had to rip out the bottom and repeat as they were easily but noticeably gone.
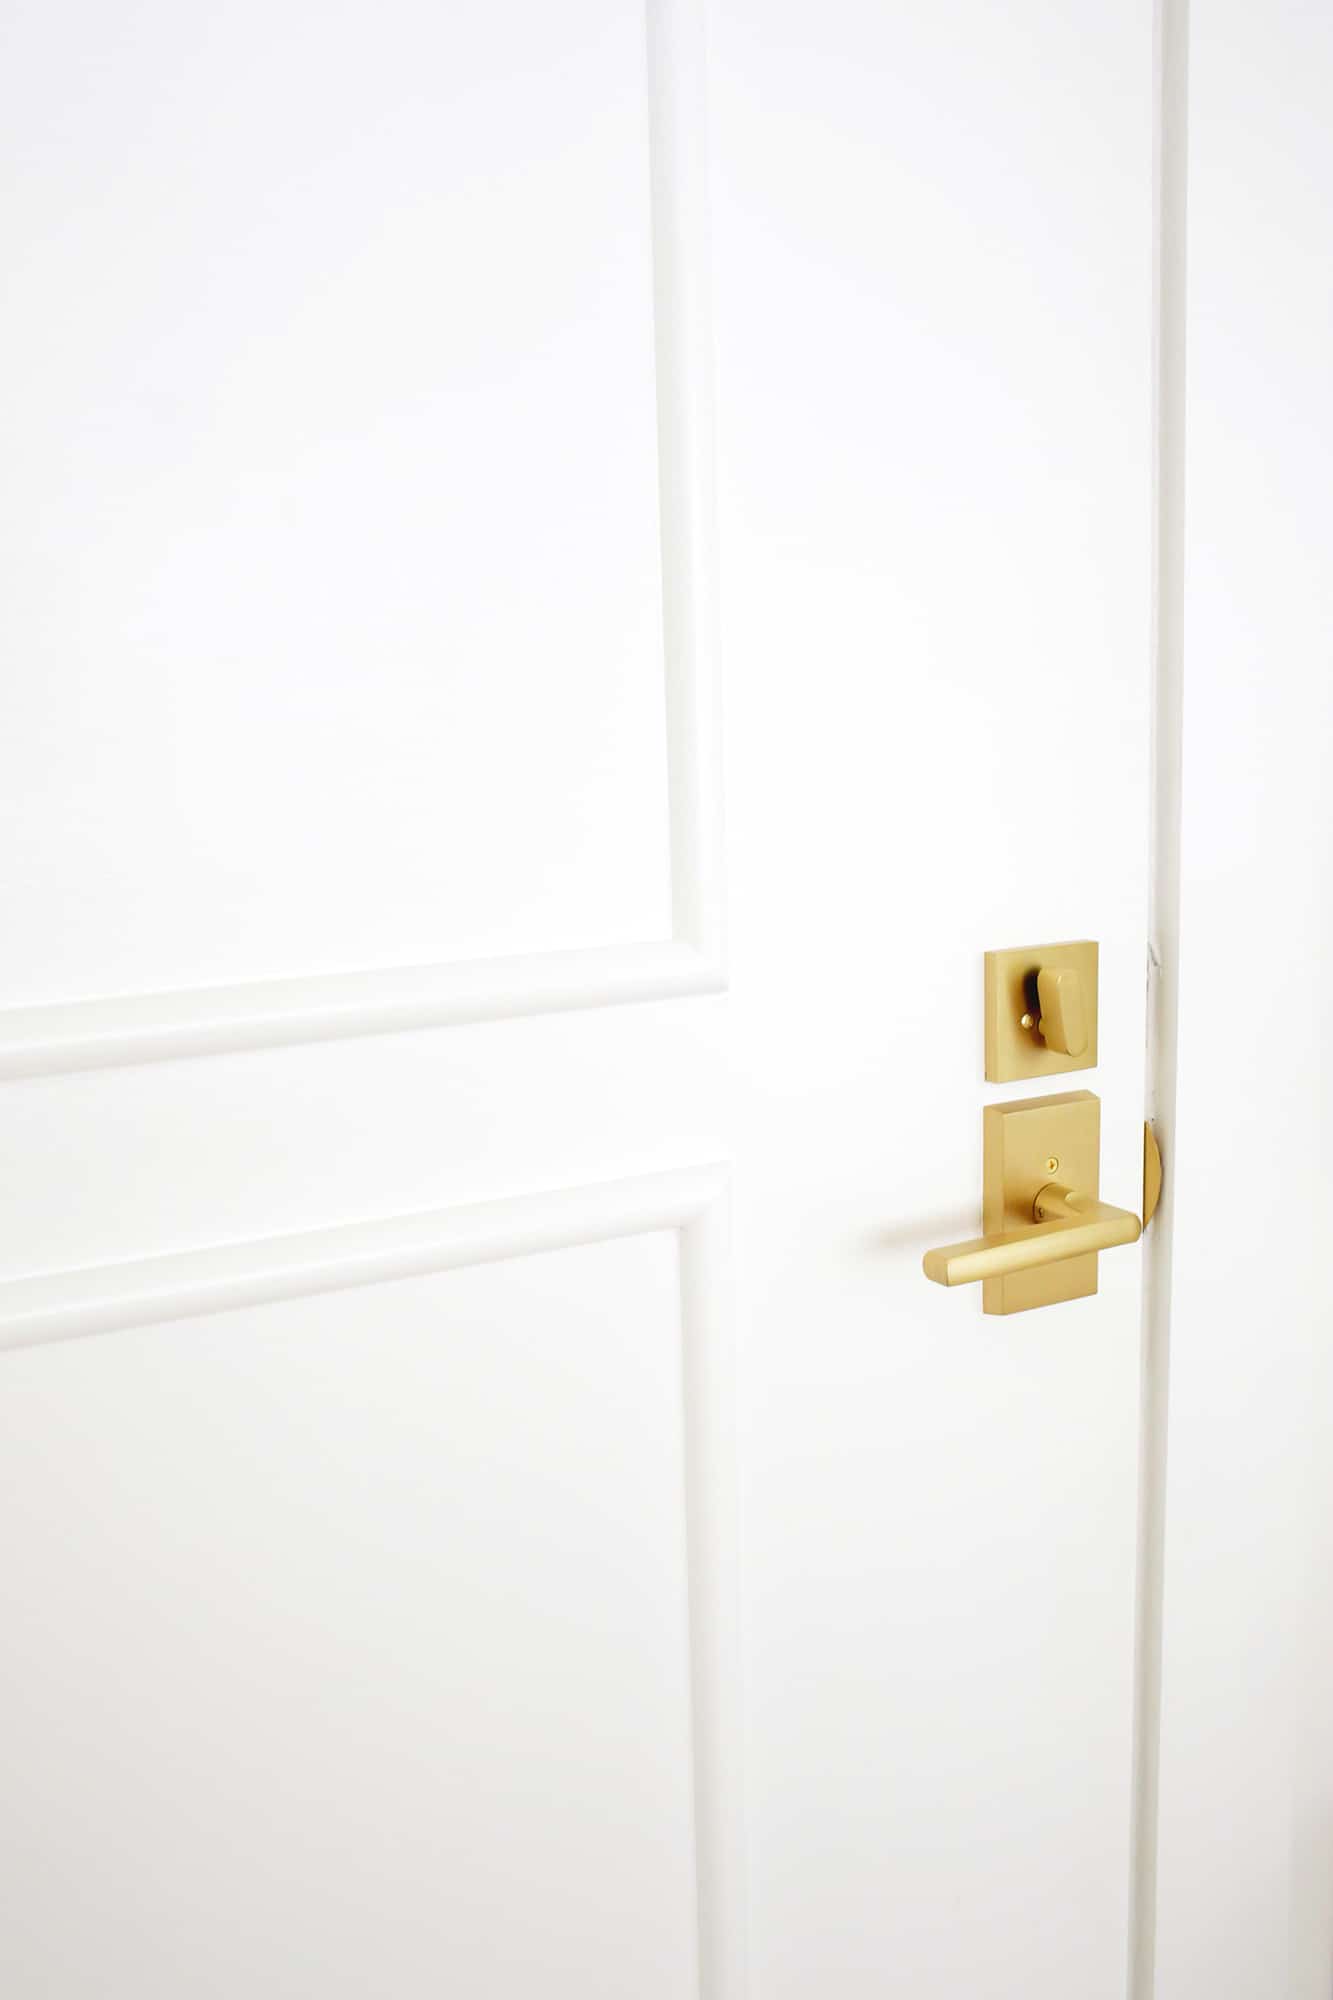
 Now it’s time to add your straight pieces! Measure how long you want your sides to be (mine were 18 ″ long) and cut your four side pieces that meet the arch with a normal straight cut (or see next step for a perfected tweak if needed) and the other side at the mating 45 ° angle to match with the last middle horizontal piece at the end. Use a spirit level to make sure they are straight and nail them into your door.
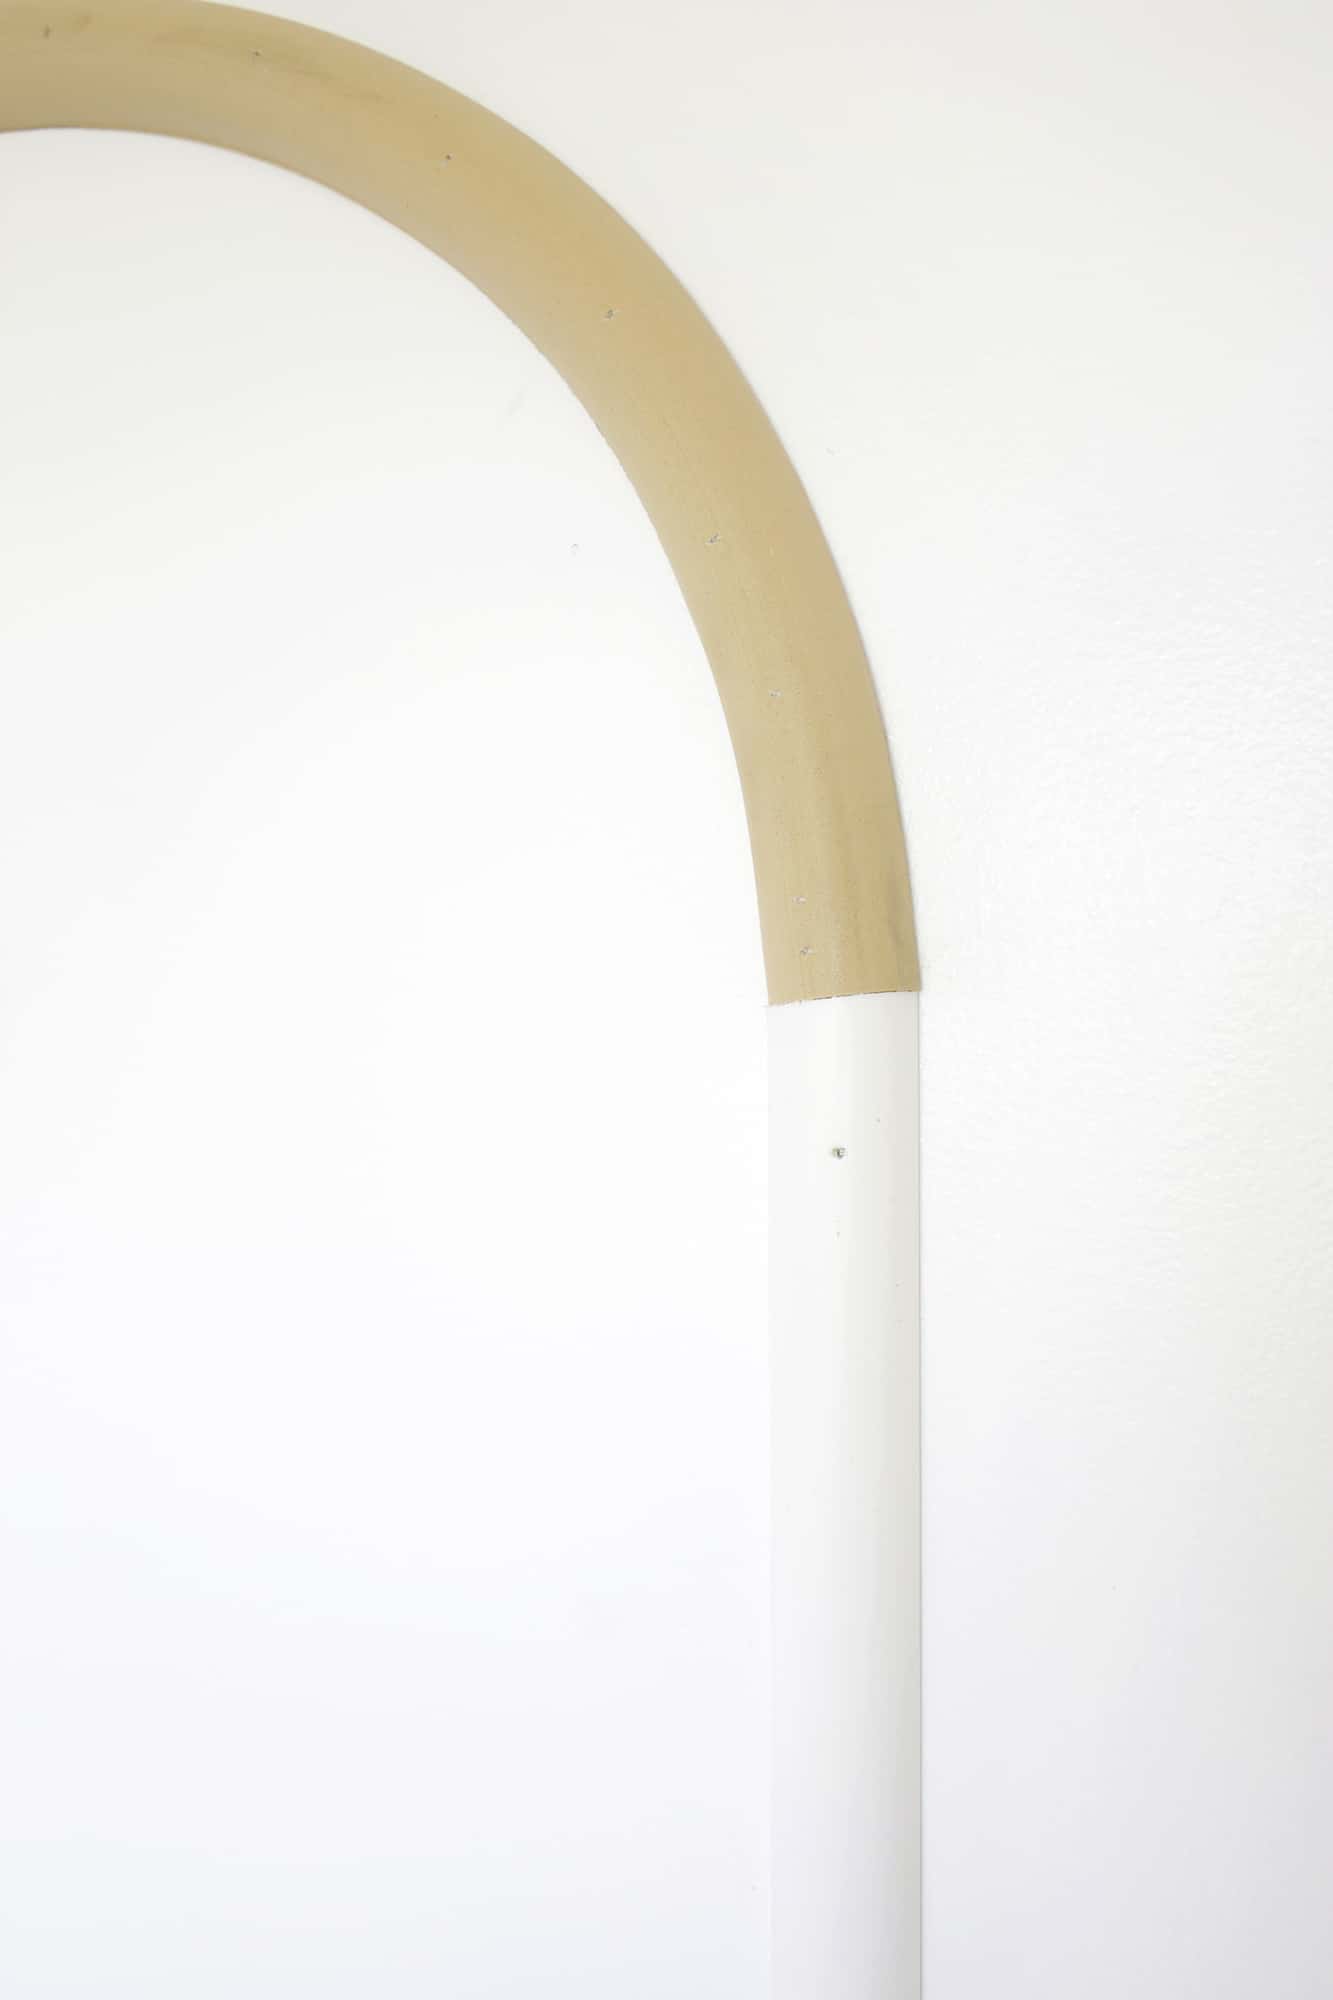
You can cut your trim where it meets the arch at a regular 0 ° angle (so no angle at all), but I found that it is really difficult to bend the flexible arch exactly to be at that angle fits (you can see it). meets at a slight angle in the photo above). I cut a few test scrap pieces at different angles until I find that cutting the straight siding at a small 7 ° angle is just enough to fit my flexible molding perfectly. Unless you are using a miter saw that allows you to easily change the angle, just don’t cut it at any angle and you can fill any gap between them with wood filler.
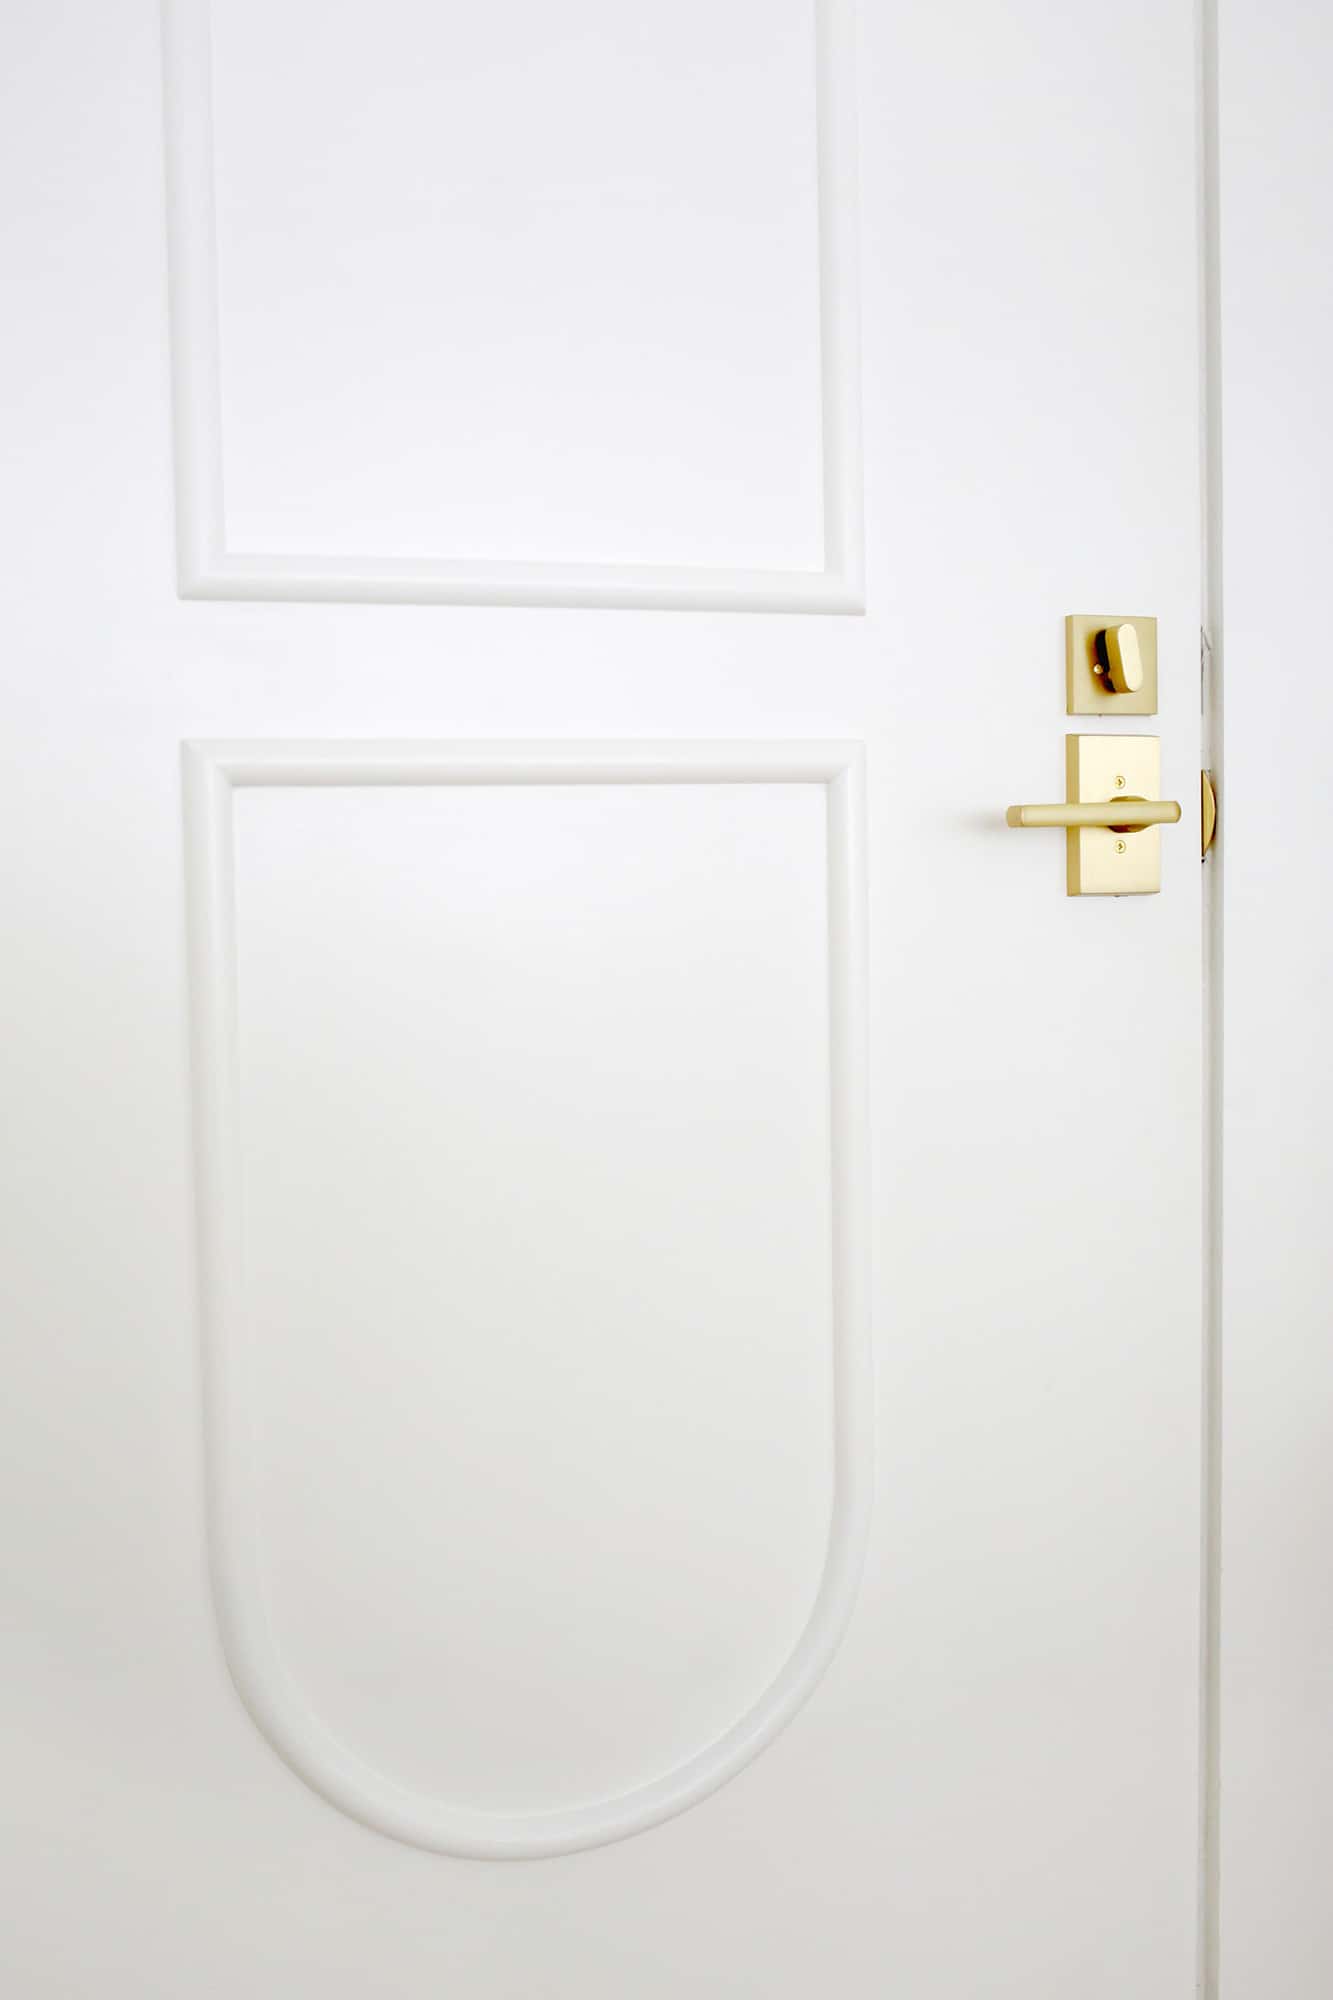
 And now to the last centerpieces! Measure how wide you want the two pieces to be and cut off both sides with specular 45 ° angles. Use a spirit level to make sure they are straight and pin down.
And now it’s time to fill your nail holes with wooden putty knife, then sand it down after it’s dry and seal the sides of your seams with lime (optional, but it all looks seamless so I highly recommend that). Once everything is sanded and dry, you can paint the trim to match the door (love this rounded brush for painting objects this round). This flexible molding had a little harder time sticking to normal paint so I’d suggest putting a layer of this on the siding first so it adheres more evenly and fewer layers overall are needed. A few coats of paint and you’re done!
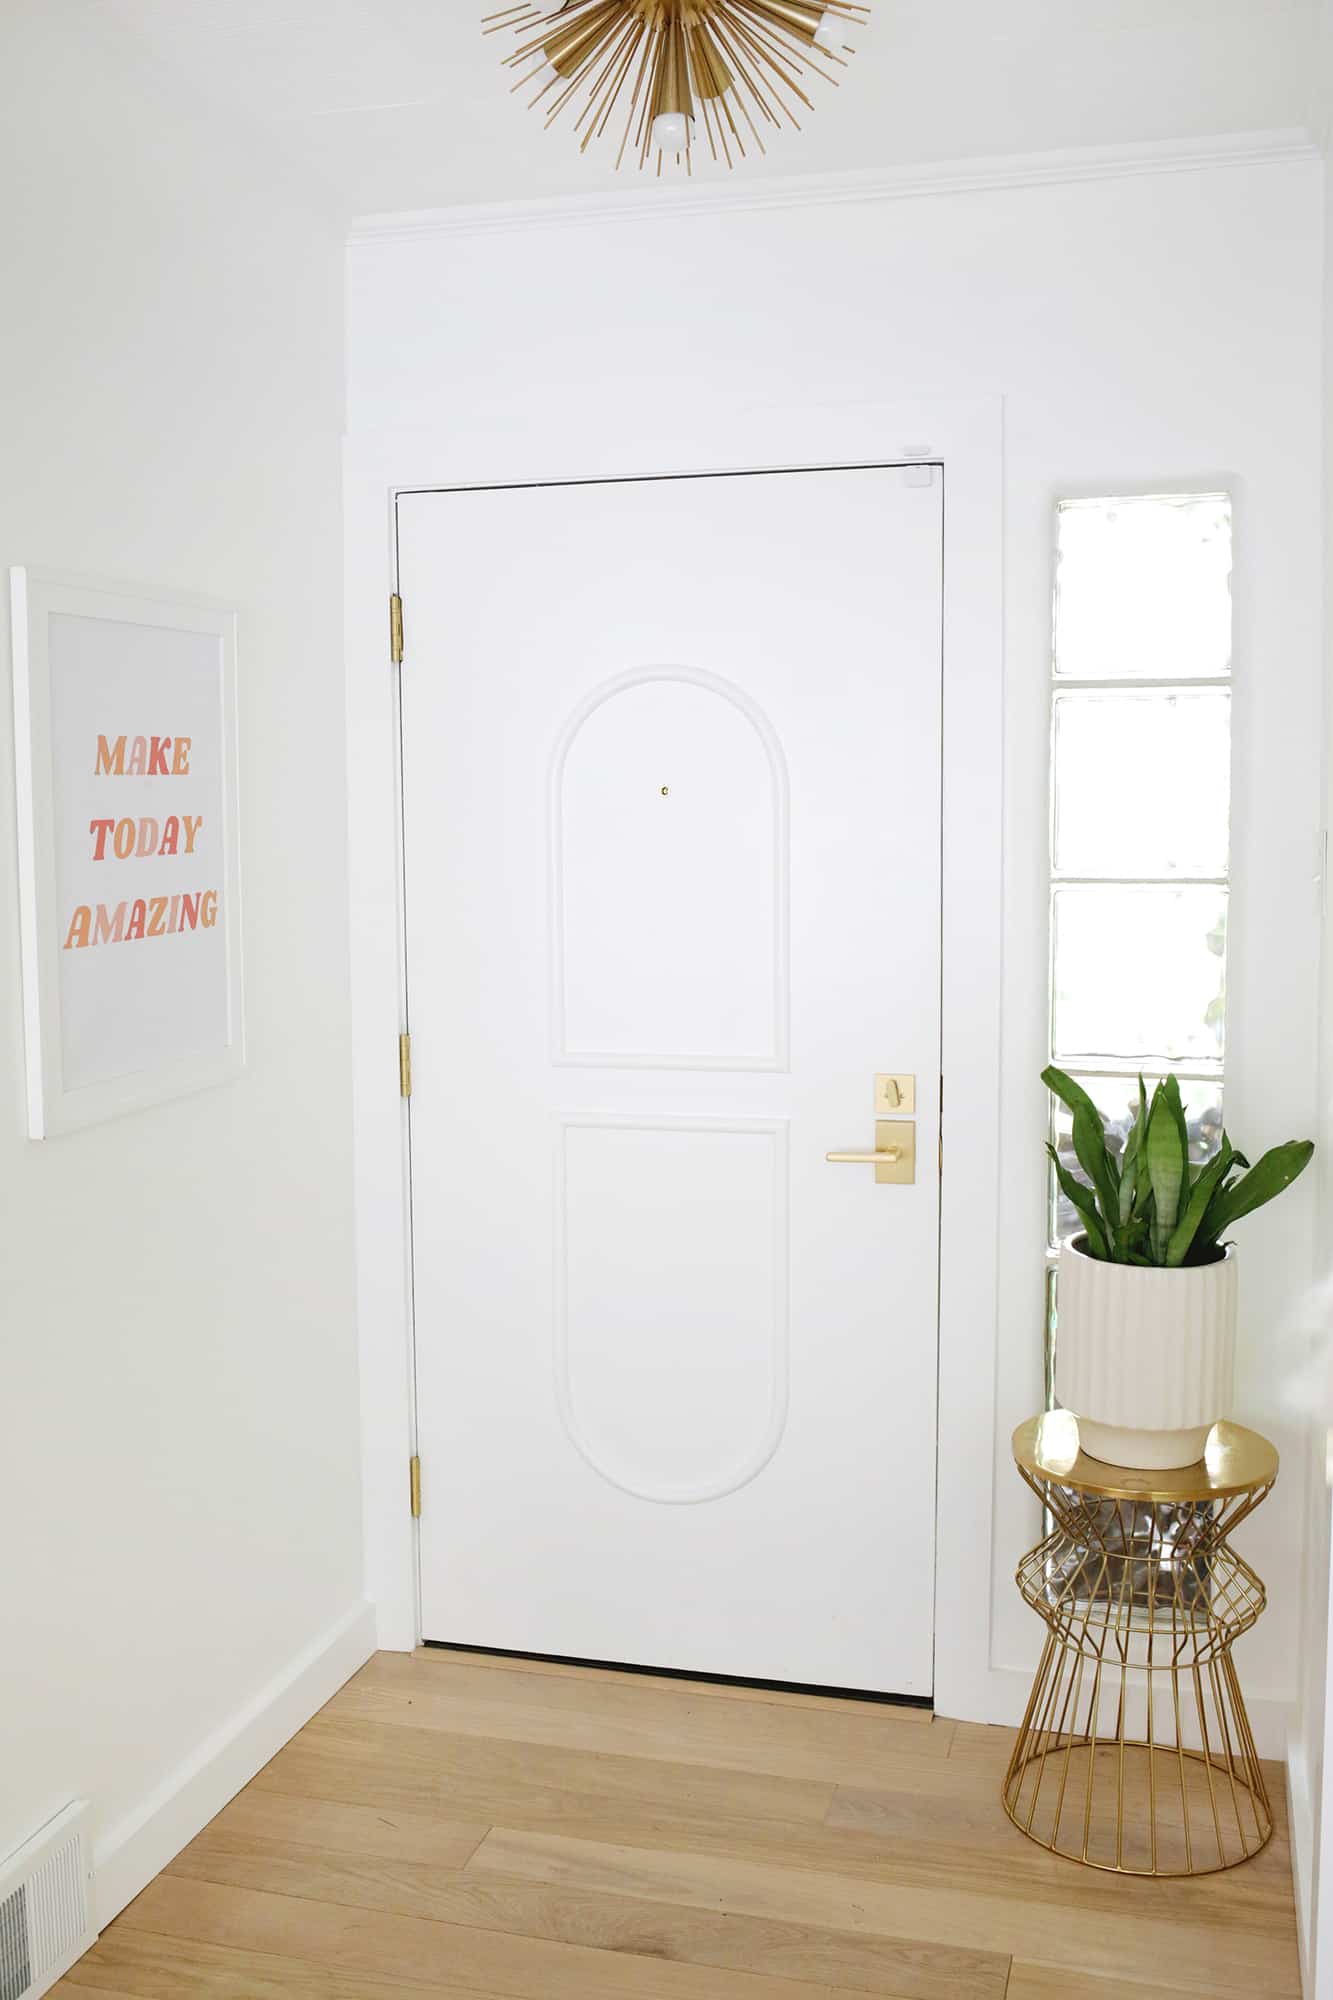
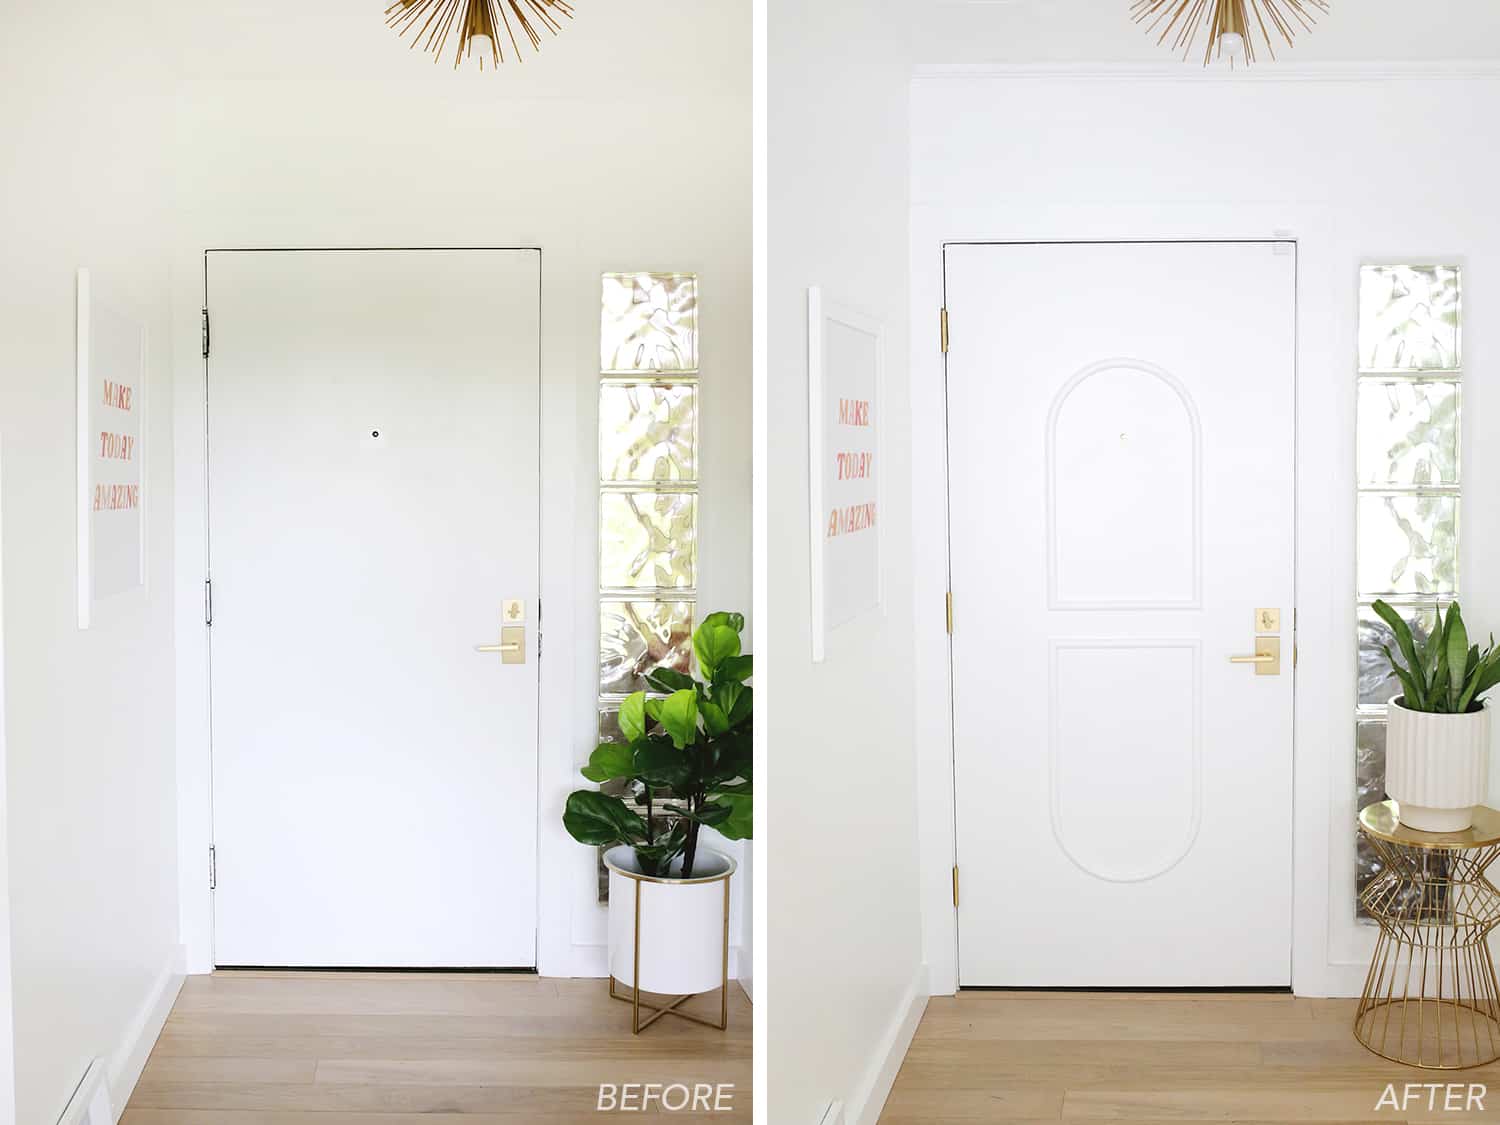
 How great is that ?! The end result feels so chic and individual, I think I can do it on all of the master bedroom doors in the house too, so there is one theme that ties them all together.
By the way, my husband asked me at the beginning if I had a Dr. Mario Logo with my design and I rolled my eyes back as far as possible … Yes Todd, I’m doing a Dr. Mario logo in moldings on our door. Not. Haha.
Of course, but you can customize the design of your door as you wish! Flexible moldings have a limit to how small an arch can be, but as long as you stay in it, the sky is the limit to what shape you want to make with rounded and curved lines. Have you ever worked with flexible staff? xx. Laura
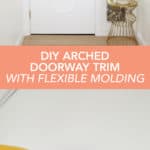
DIY arched door panel (with flexible molding!)
-
You can decide where you want the arches to fall on your doorway, but I wanted my door’s peephole to be framed by the arch, so I took a 14 inch wide wooden circle I had and used it to make a semicircle above that Draw peephole. You can use a large compass or circular object to trace, like I did, but remember that you are tracing the inside edge of your arched circle so that the overall width is 2 inches wider than your traced circle (each side adds 1 inch add) of trim).
-
After tracing my semicircle, I added some straight lines on the sides and decided where to cut the “pill” shape in half in the middle (use a spirit level to make sure all of your lines are level and straight as you trace are ). Measure your half-arch at the top of your shape and cut a piece of flexible molding to that length. Find the center of your arch and form strip and nail your strip centered over your arch as you can see above. Then, with the help of a friend, keep bending and arching the molding to follow your drawn line and nailing it in every 2-3 inches.
-
Make sure your nail heads sink in over the edge so you can fill in those holes later to make them go away … use a nail setter to drive them in further if needed (this kit comes in really handy). Repeat for the other side of the trim so you have your curved arch ready.
-
Find out where the mirror image of your arch should be on the bottom of the door (you can measure how far your top is from the top of the door and use the same measurement for bottom placement) and draw your semicircle down there, like Well. Check with a long ruler and level that your arcs are right below each other! I assumed my measurements were mine and I had to rip out the bottom and repeat it as it was slightly but noticeably gone.
-
Now it’s time to add your straight pieces! Measure how long you want your sides to be (mine were 18 ″ long) and cut your four side pieces that meet the arch with a normal straight cut (or see next step for a perfected tweak if needed) and the other side at the appropriate 45 ° angle to match with the last middle horizontal piece at the end. Use a spirit level to make sure they are straight and nail them into your door.
-
You can cut your trim where it meets the arch at a regular 0 ° angle (so no angle at all), but I found that it is really difficult to bend the flexible arch exactly to be at that angle fits (you can see it). meets at a slight angle in the photo above). I cut a few test scrap pieces at different angles until I find that cutting the straight siding at a small 7 ° angle is just enough to fit my flexible molding perfectly. Unless you are using a miter saw that allows you to easily change the angle, just don’t cut it at any angle and you can fill any gap between them with wood filler.
-
And now to the last centerpieces! Measure how wide you want the two pieces to be and cut off both sides with specular 45 ° angles. Use a spirit level to make sure they are straight and pin down.
-
And now it’s time to fill your nail holes with wooden putty knife, then sand it down once it’s dry and caulk the sides of your seams with sealant (optional but will make everything look seamless so I highly recommend this). Once everything is sanded and dried, you can paint the trim to match the door (love this rounded brush for painting such round objects). This flexible molding had a little harder time sticking to normal paint so I would recommend putting a layer of this on the siding first so it adheres more evenly and requires fewer layers overall. A few coats of paint and you’re done!
Credits // Author and Photography: Laura Gummerman. Photos edited with A Color Story Desktop.


