This website may contain affiliate links and advertising so that we can provide recipes to you. Read my privacy policy.
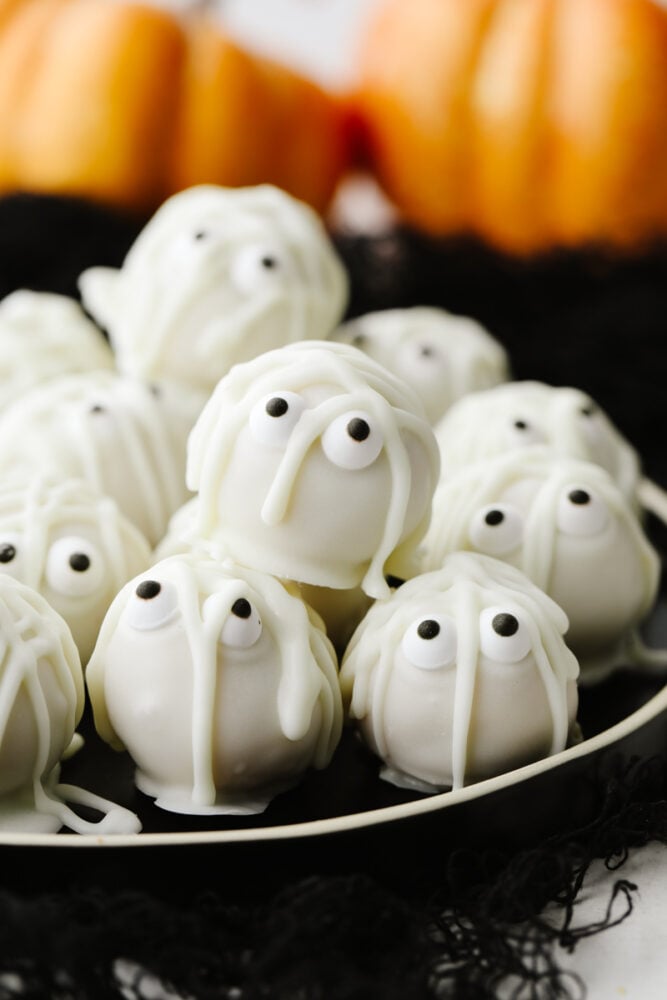
Mummy cookie bites are a ghoulish and festive treat for the Halloween season! Amazingly delicious, the white chocolate mixed with the oreo truffle is the perfect combination!
These mummy cookie bites are such a fun treat to make! They are yummy and your kids will go crazy over them! If you want to try out a few more festive holiday treats, try this Halloween Charcuterie Board, these Mummy Hot Dogs, or these Mummy Mini Pizzas. They are all fun and delicious!

Mummy Cookie Balls
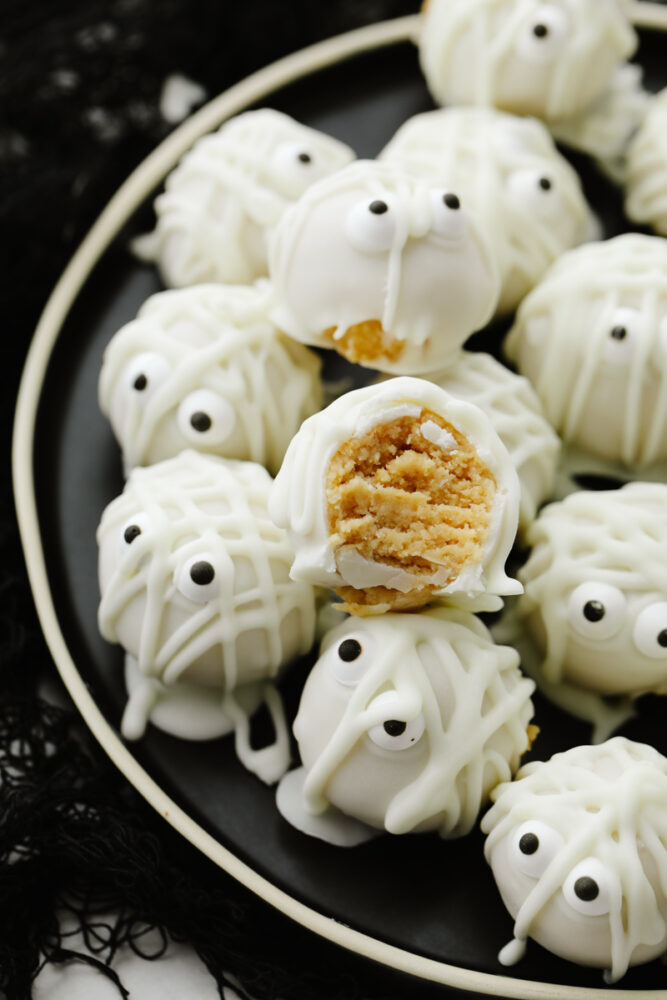
These mummy cookie bites are amazing! Crushed up Oreos, mixed with cream cheese creating a soft, truffle-like inside. Then, you coat that with melted white chocolate and chill them in the fridge. They are so easy and absolutely delicious! My kids love that they can be decorated and changed depending on the holiday. Because of that, we have these ALL the time!
These are such a fun treat to make with your kiddos! They are simple and easy and the kids love rolling them up into balls and decorating them. I love that they are small, individual serving sizes so you can enjoy them as much or as little as you want! This makes them perfect for a dessert at a party. In fact, make some Pumpkin Cream Cheese Truffles and Thin Mint Truffles to go with them! They can feed a lot of people and the rich, Oreo taste is just too irresistible for anyone to stop after just one. Go ahead and give them a try because I know that you are going to LOVE them!
What Ingredients Do I Need?
This is the amazing part… you only need 3 ingredients to make these mummy cookie bites! It doesn’t get much simpler than that. See the recipe card below for a list of exact measurements.
- Cream cheese: I made sure that this was softened at room temperature before I mixed it. This helps make it smooth with no clumps!
- Golden oreo cookies: I love the vanilla flavor of these! You can also try using chocolate oreos for a different taste!
- Bakers white chocolate: This white chocolate gives this recipe the perfect outside coating!
- Decorations (optional): I used candy eyes to make them mummy-like for the Halloween season! But depending on when you make these, you could switch all of that up!
How to Make Mummy Cookie Bites
These mummy cookie bites are so quick and easy to make! They take about 15 minutes to make. In fact, the hardest part is waiting for them to chill for a few hours in your fridge! But that is what makes these a great “make-ahead” dessert!
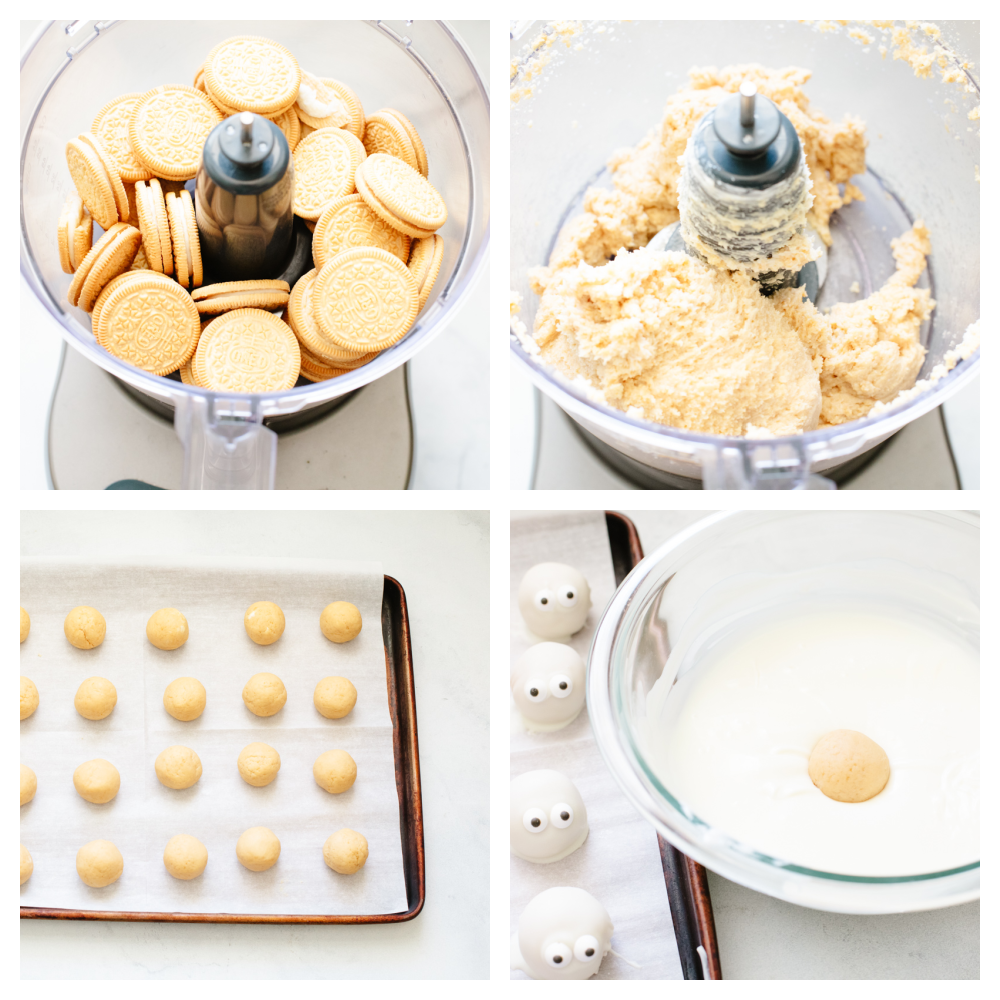
- Mix and make into balls: Mix cream cheese and cookie crumbs until blended then shape into 1 inch balls.
- Freeze balls, melt chocolate and dip: Freeze for 10 minutes. Meanwhile, melt the Baker’s chocolate as directed. DIP balls in melted chocolate and place in single layer on waxed paper-covered rimmed baking sheet. (Re-freeze balls if they become too soft to dip.)
- Chill: Refrigerate 1 hour or until firm.
- Melt chocolate for topping: MELT remaining chocolate as directed on package; spoon into small resealable plastic bag. Then, press out excess air from bag and seal the bag. Cut 1/8-inch piece from one bottom corner of bag.
- Drizzle and decorate: Squeeze bag to pipe chocolate onto each ball for the mummy’s eyes. Immediately add desired decorations for the eyeballs. Then, pipe the remaining chocolate onto balls to resemble gauze strips.
- Chill (again): Refrigerate until firm.

Varitations to Try
These mummy cookie bites that are made like this are the perfect Halloween treat! But, if you change up only a couple of things then you can make them for ANY occasion or holiday! Here are a few ideas to try!
- Oreos: If you want, you can make these with regular, chocolate oreos instead! This changes up the taste completely and makes them rich and delicious in a whole new way!
- Change the colors: You can use candy melts in different colors! Try using red or green for a Christmas party. Or, red, white, and blue for the 4th of July! If you want to use food coloring then you can but make sure that it is OIL based and not water based. Water based food coloring will make your chocolate seize!
- Chocolate: Instead of using white chocolate for the outside shell, go ahead and use regular chocolate! Change up the taste a little!
- Toppings and decorations: You can top these with just about anything! My favorite is to use different color sprinkles. On top of the white chocolate, it looks so cute! You can also top them with cinnamon sugar ot shredded coconut. Just make sure that you pu all toppings on just after dipping them. Then, they will stick and stay!
How to Store Leftovers
If you have leftovers of these amazing mummy cookie bites then just be sure to store them correctly so that they save well for later! Store them in an airtight container and put them in your refrigerator. These can last 3-4 days in your fridge!

-
Mix cream cheese and cookie crumbs until blended. Shape into 1 inch balls.
-
Freeze for 10 minutes. Meanwhile, melt the Baker’s chocolate as directed. DIP balls in melted chocolate; place in a single layer on waxed paper-covered rimmed baking sheet. (Re-freeze balls if they become too soft to dip.)
-
Refrigerate 1 hour or until firm.
-
MELT remaining chocolate as directed on package; spoon into small resealable plastic bag. Press out excess air from bag; seal bag. Cut 1/8-inch piece from one bottom corner of bag.
-
Squeeze bag to pipe chocolate onto each ball for the mummy’s eyes; immediately add desired decorations for the eyeballs. Pipe remaining chocolate onto balls to resemble gauze strips.
-
Refrigerate until firm.
Serves: 24
Calories180kcal (9%)Carbohydrates24g (8%)Protein2g (4%)Fat9g (14%)Saturated Fat4g (20%)Cholesterol3mg (1%)Sodium78mg (3%)Potassium66mg (2%)Fiber1g (4%)Sugar17g (19%)Vitamin A5IUVitamin C1mg (1%)Calcium38mg (4%)Iron1mg (6%)
All nutritional information is based on third party calculations and is only an estimate. Each recipe and nutritional value will vary depending on the brands you use, measuring methods and portion sizes per household.


