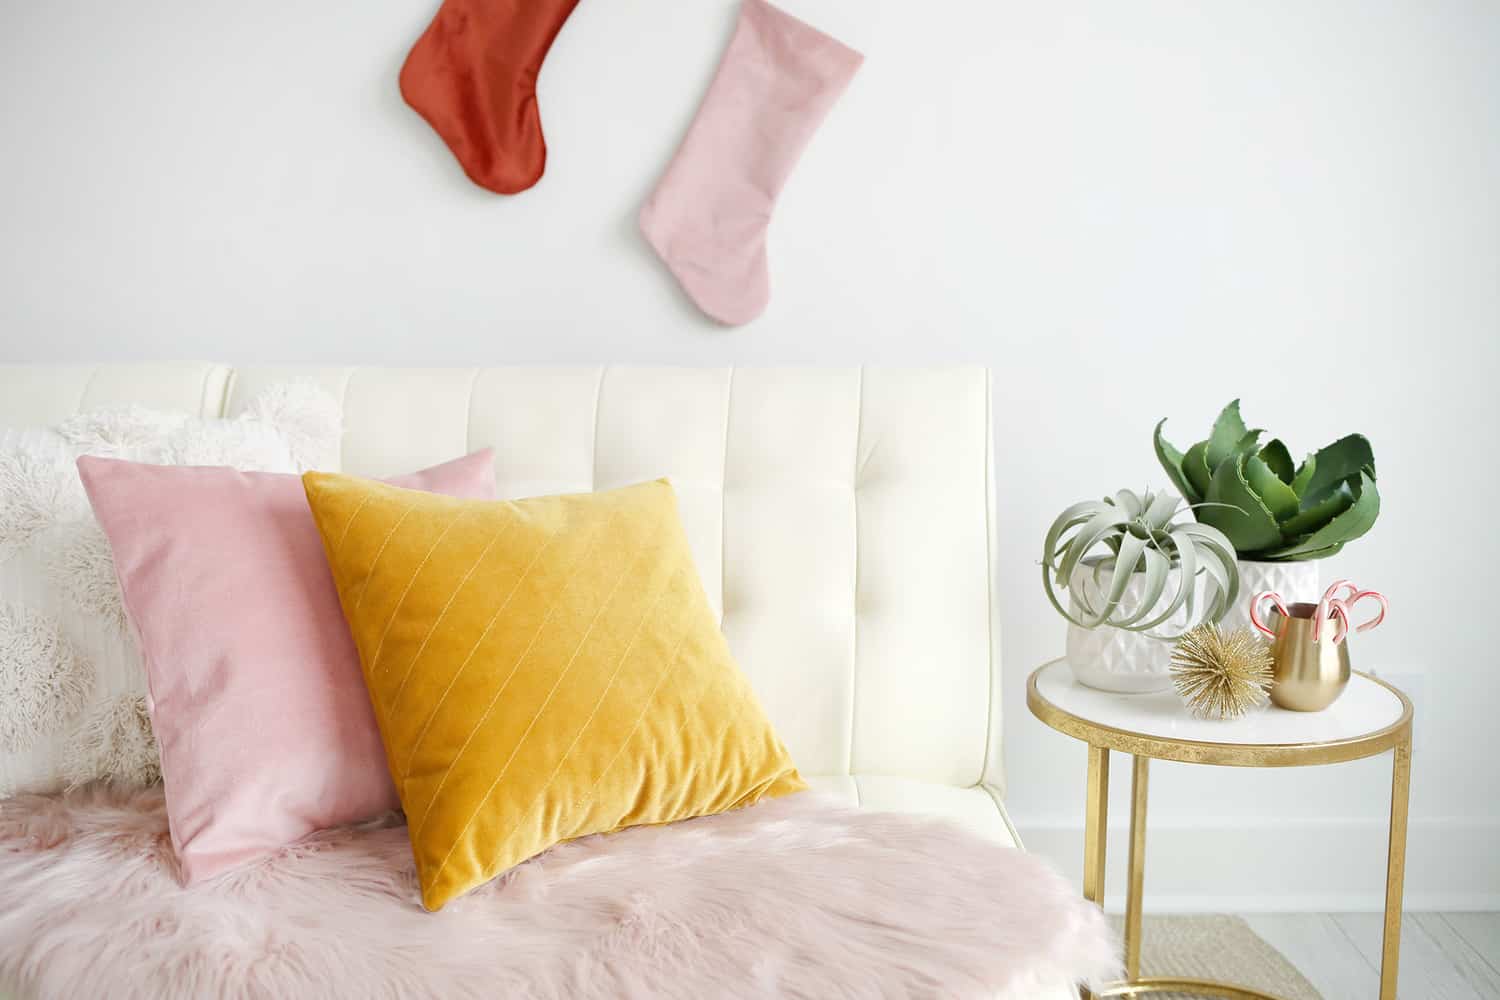
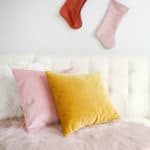
It is the time of year when I want to increase the comfort factor of my room. Whether twinkling lights, a faux fur blanket or super soft velvet pillows – all of this makes these longer evenings even more magical.
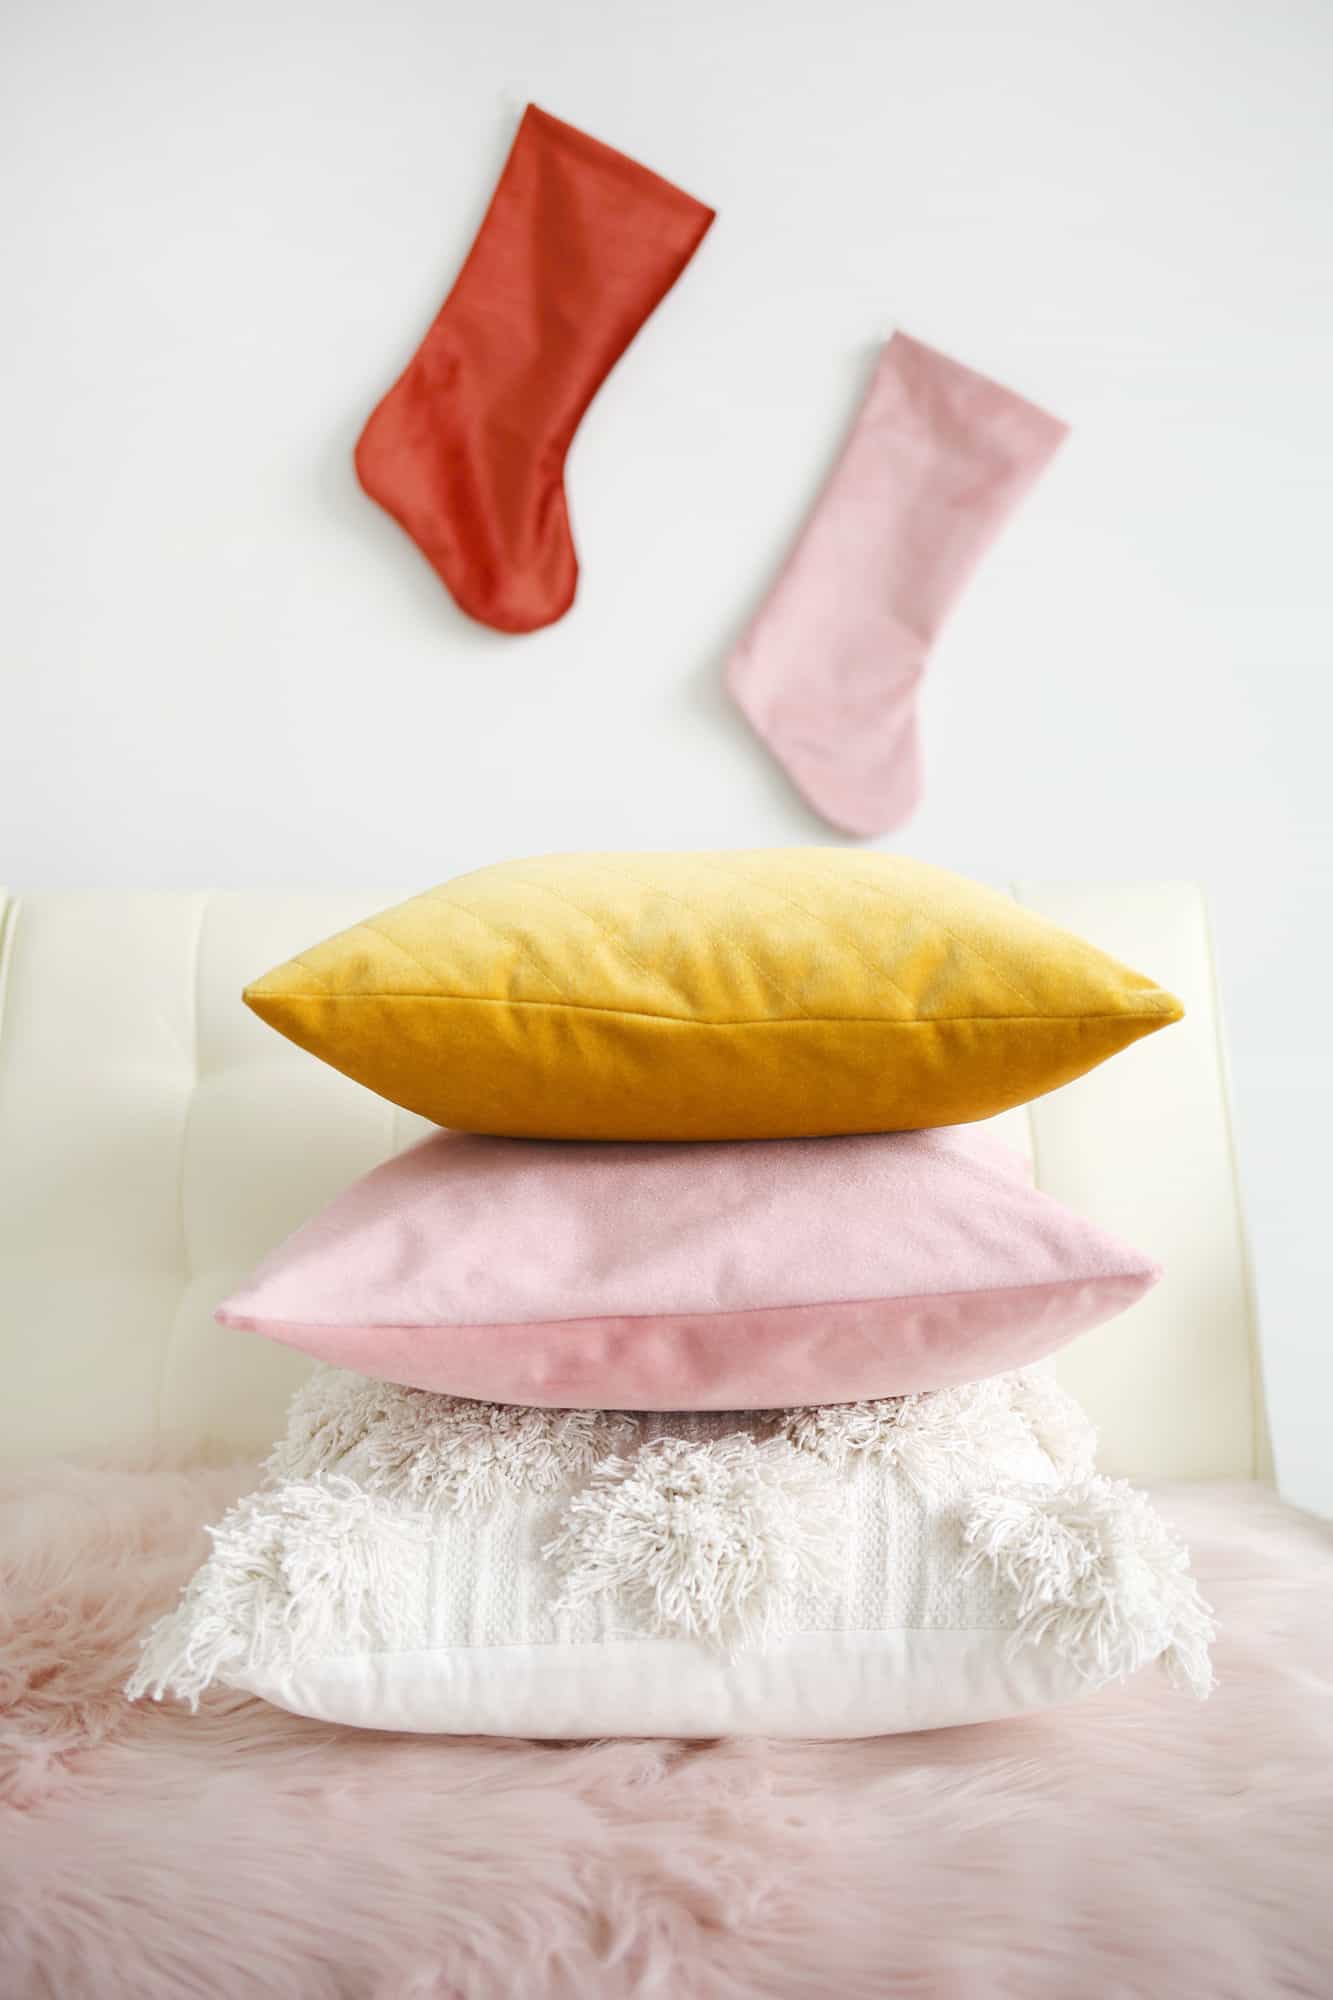
Plus, adding a new envelope pillowcase to your room is one of the fastest ways to give your couch or bed a mini makeover. You can put it on and off depending on the time of year – but you might never want to put that velvet pillow down again!
If you have access to a sewing machine and can sew a straight line, you can fill your couch with a luscious, quilted velvet pillow for something more hygge this winter. Warning: you will want to take more naps.
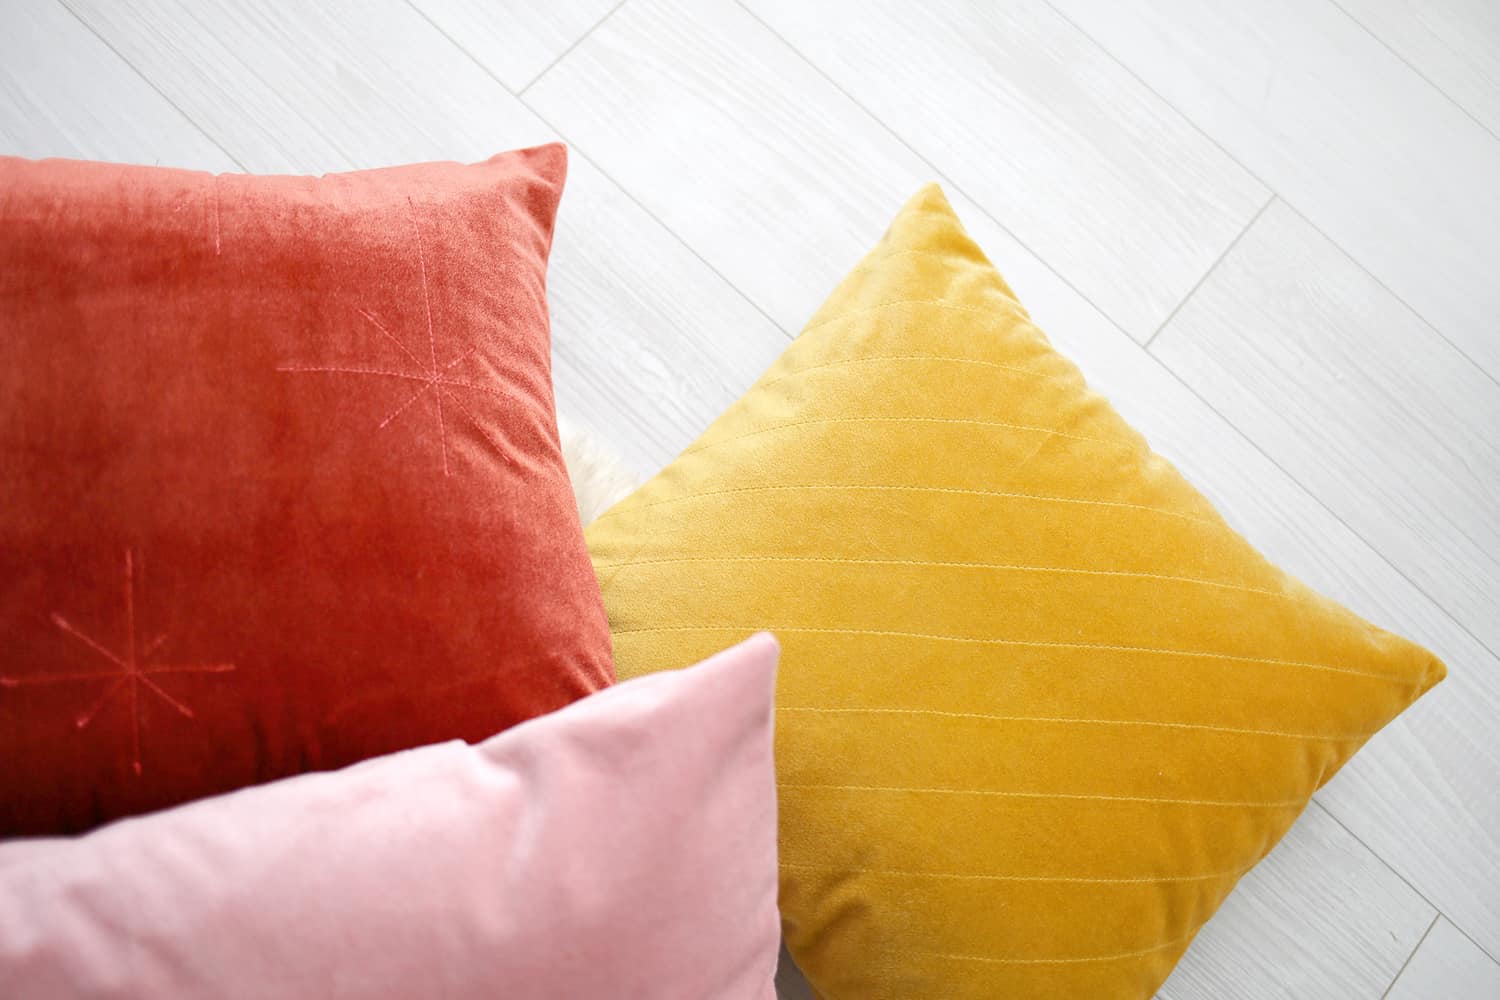
Adding simple stitch lines to the front of your pillow is an easy way to add a subtle pattern and add more interest to your pile.
I even added a couple of mid-century star shapes to my brick red pillow to subtly remind it of the holidays. You can layer these on top of each other or combine them with various pillows made of woven cotton or knitted wool for a feast for the eyes at the end of your couch. 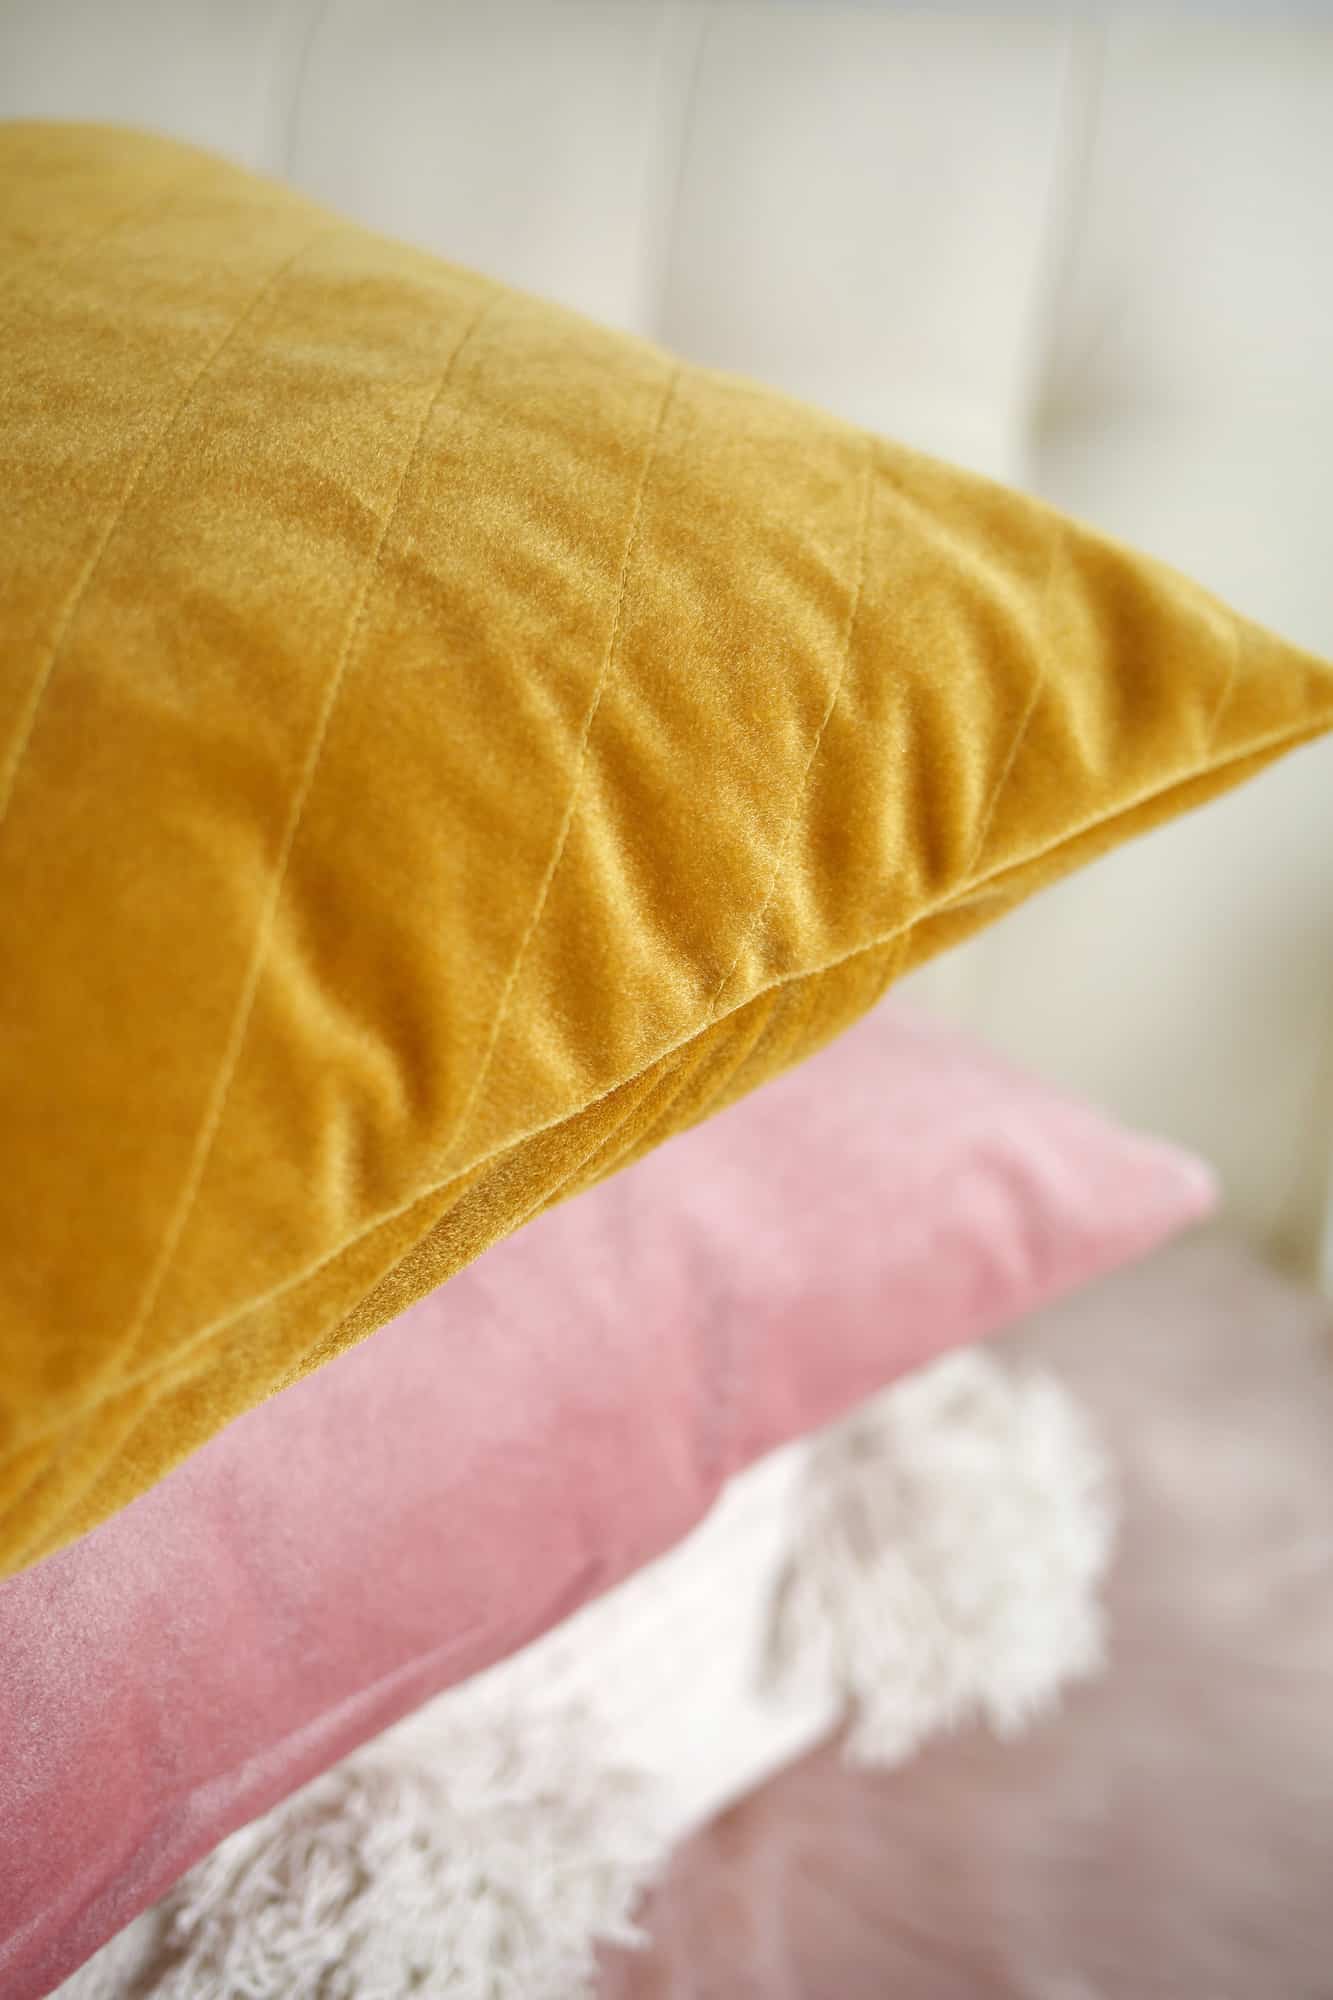
 Deliveries:
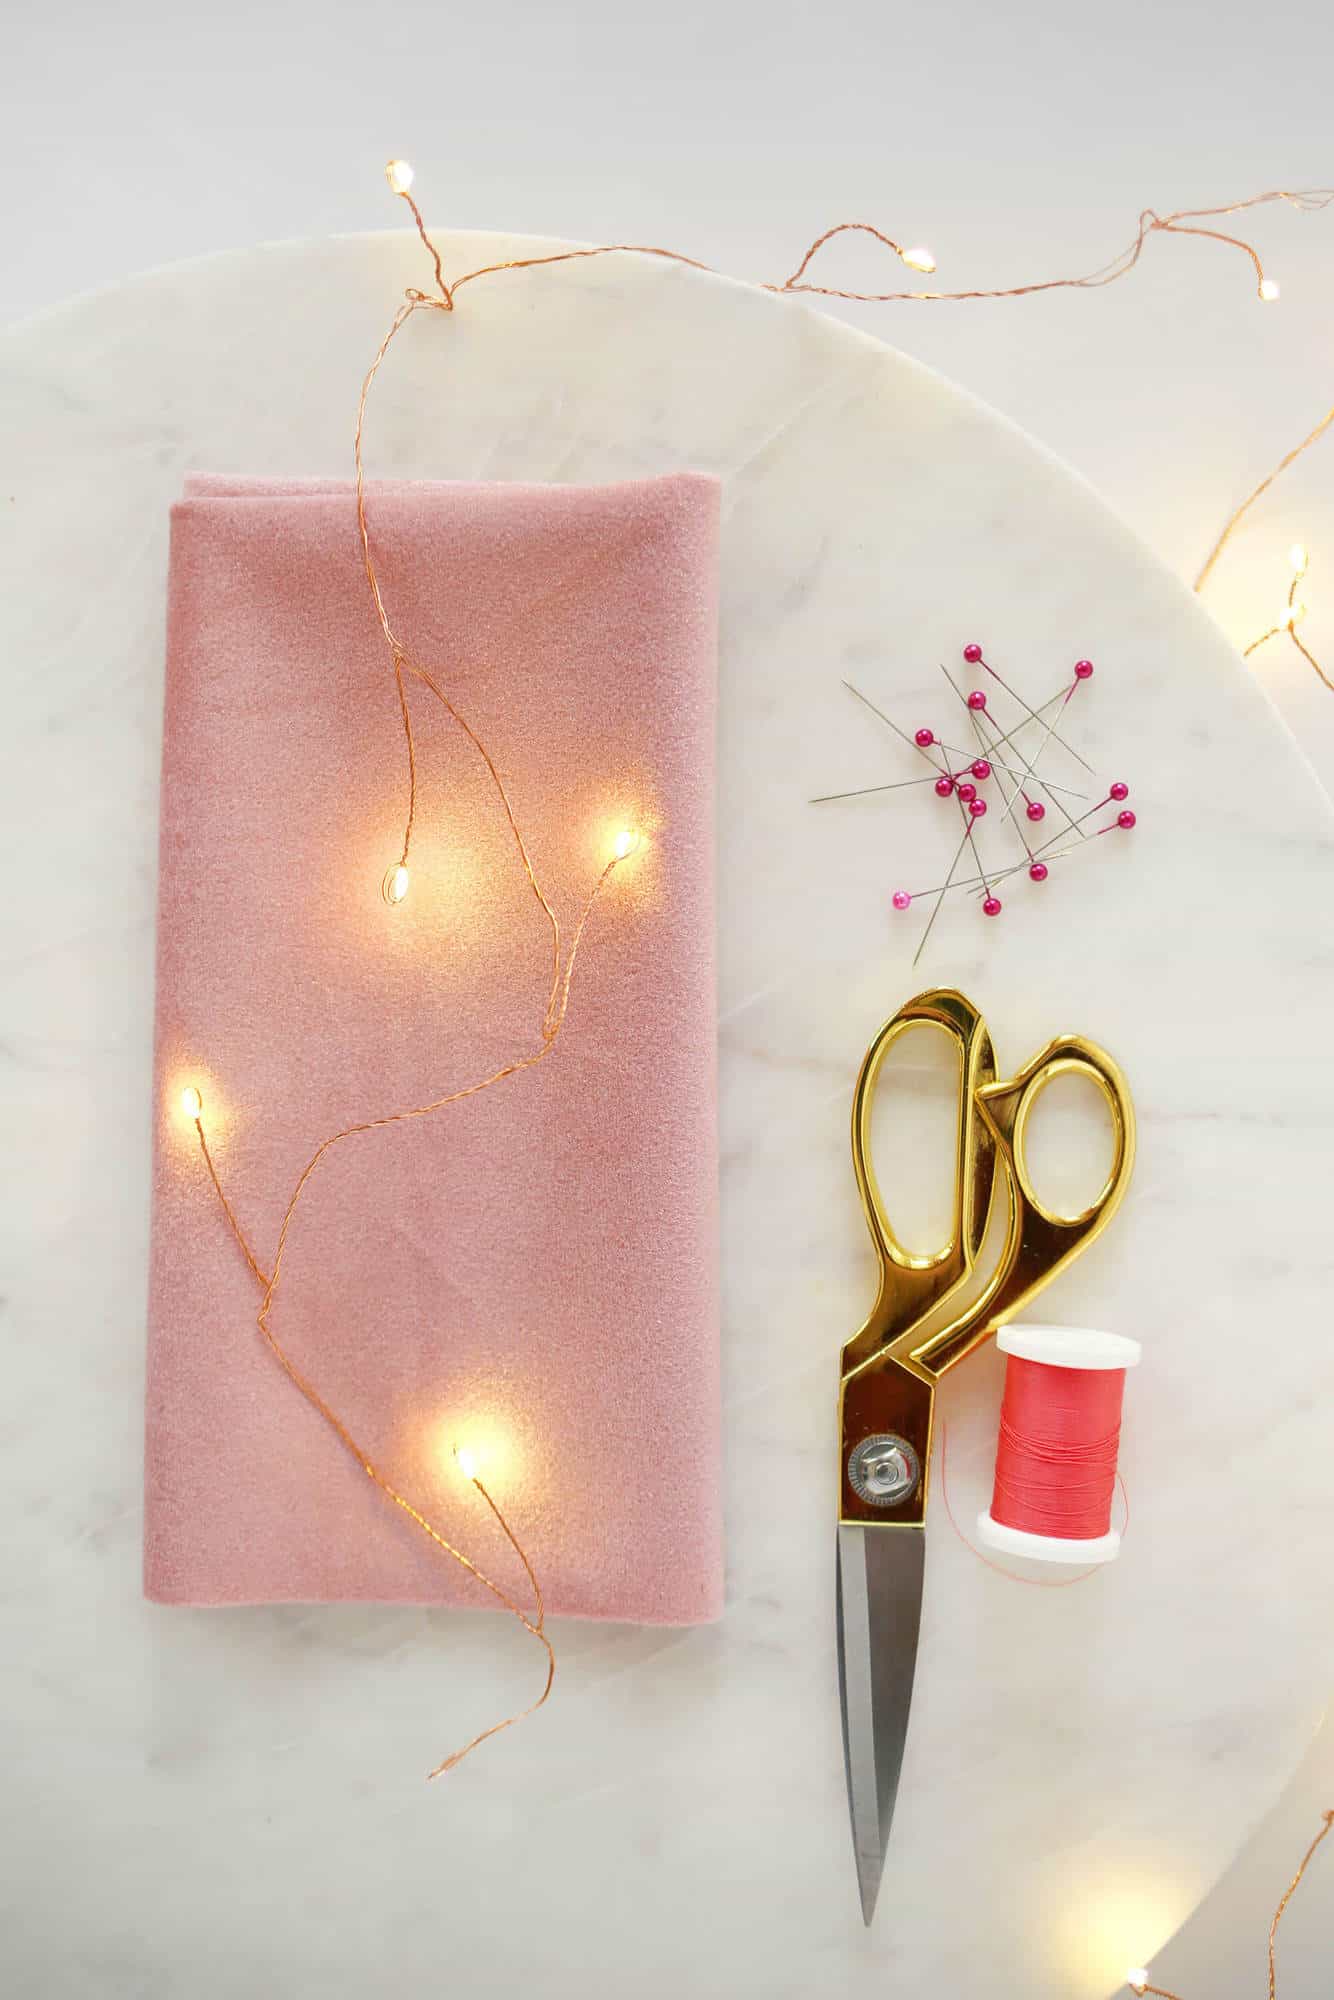
– 2/3 yard wide selvedge pink velvet for 16 ″ pillows and 1/2 yard for 12 ″ pillows
– Cushion insert of the right size (16 ″ cushion insert for 16 ″ cushions, etc.)
-Sewing machine and coordination thread
Fabric scissors
-straight pins
-Calk or marker
-Acrylic ruler
-Cutting mat (optional)
Since these are a bit larger, I’ll be sharing the process of making the gold version of the quilted line pillow using a smaller sample. It’s a 6 “x 6” size instead of 16 “x 16”.
No matter what size pillow you want to create, cut the fabric so that it is the same size as the pillow insert. You don’t want to add an inch to make it fit or it will get loose and limp. Ask me how do I know.
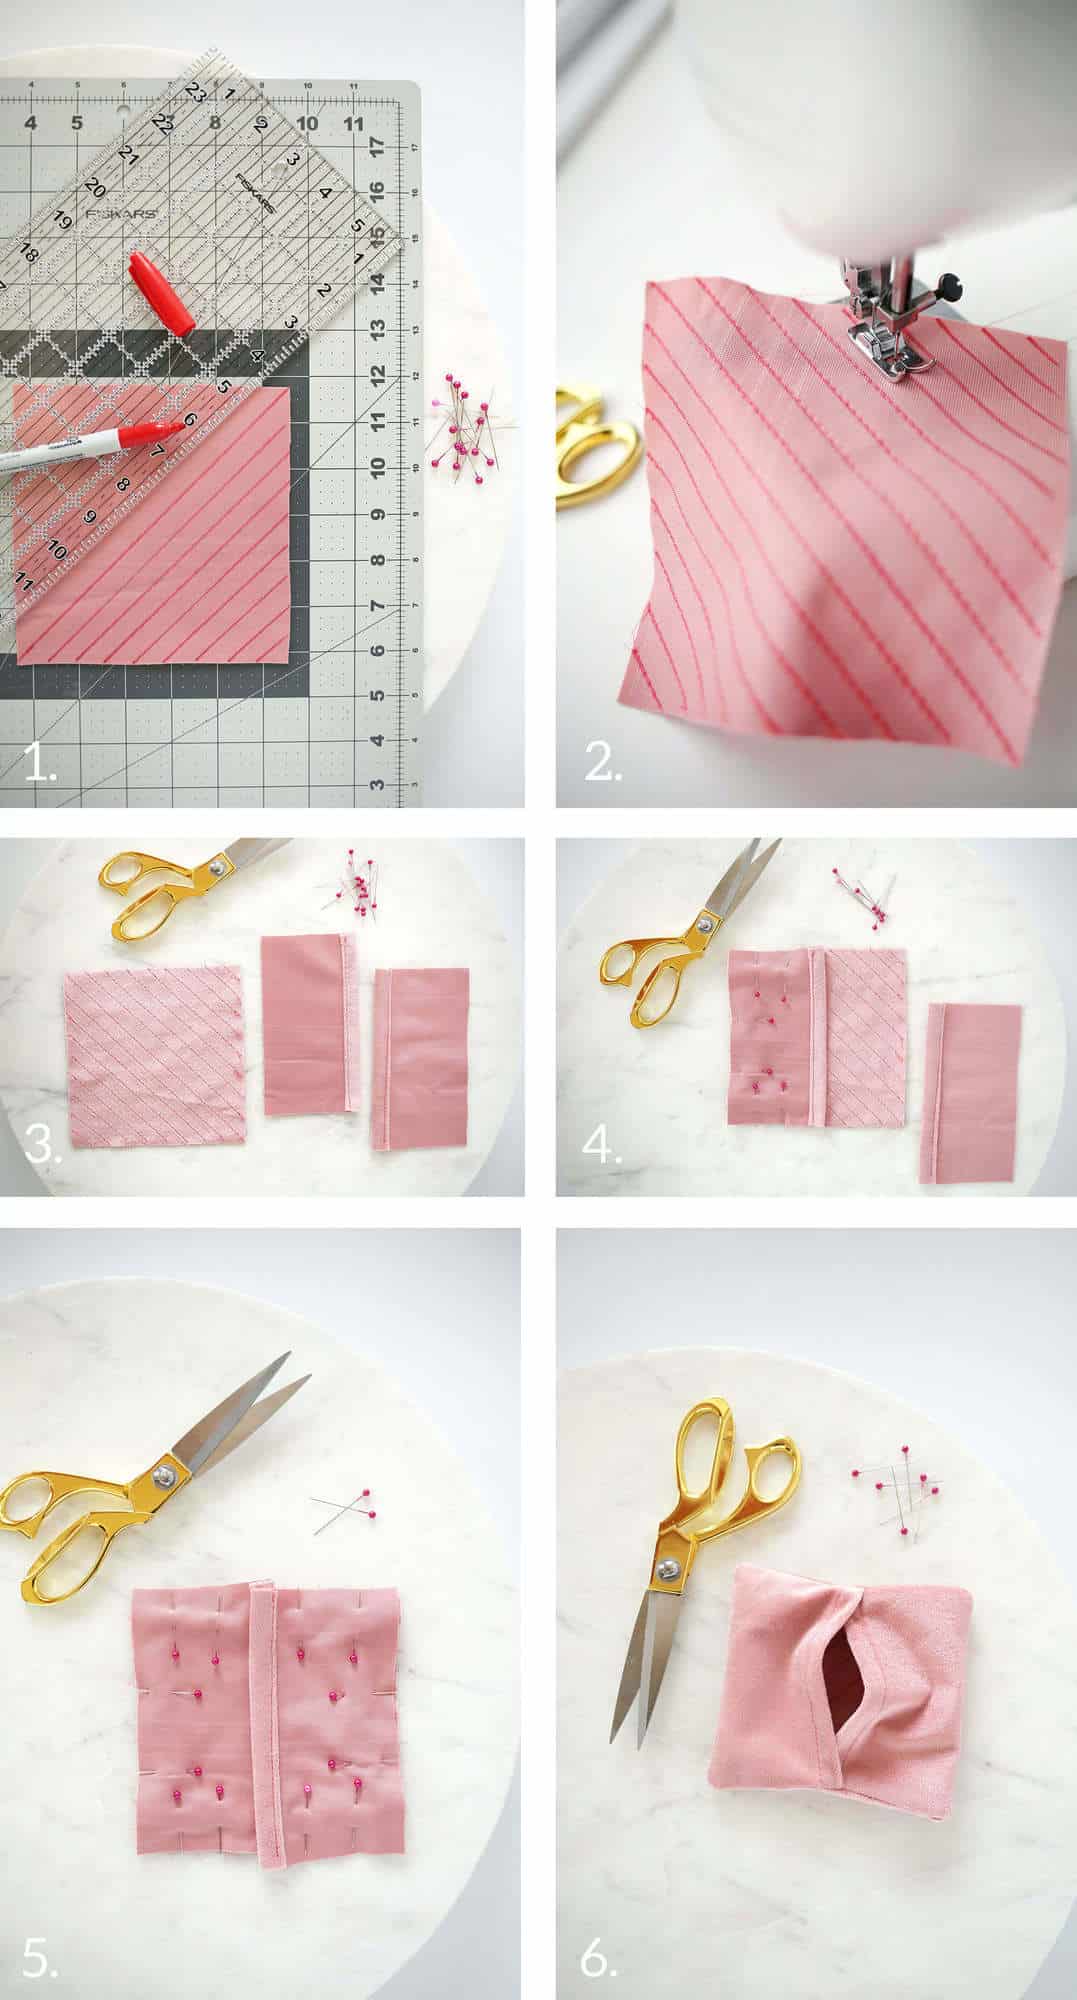
Step one: For a 16 “pillow, cut a 16” x 16 “piece of fabric for the front.
Then cut two more pieces that measure 12 “x 16” for the back pieces. You want your two back pieces to overlap each other by at least 5 ″. For diagonal stripes on your pillow, turn your 16-inch square piece so the velvet side is facing down.
Use your acrylic ruler and cutting mat to draw straight lines as far apart as you want for your design. I suggest either 1/2 “or 1” apart. Just keep it constant and it will look great!
If you want a star design, use your acrylic ruler to draw different star shapes on the back. Just be sure to sew back at the beginning and end of a stitch line so your stitches don’t come apart.
Step two: Follow your stitch lines with your sewing machine and cut your ends off when you’re done.
Step three: For each of the two backsides, fold one of the long edges once 1/2 inch and then down another 1/2 inch. Pin in place. Sew along the folded edge. Make sure that you are folding on the wrong side so that the right side of the fabric is visible after you sew as shown.
Step four: Place one of your backs on top of the front piece so that the right sides are facing each other and three of the edges are aligned as shown. Pin it on the three edges.
Step five: Repeat with the second back. Your hemmed edges should overlap a little more than mine shows in the example. Pin in place.
Sew all the way around the perimeter of your pillow so that you are sewing through both pieces as you go. Remove the pins.
Step six: Turn the pillow over on its right side, poke out the corners and insert your pillow shape. Loosen up and enjoy!
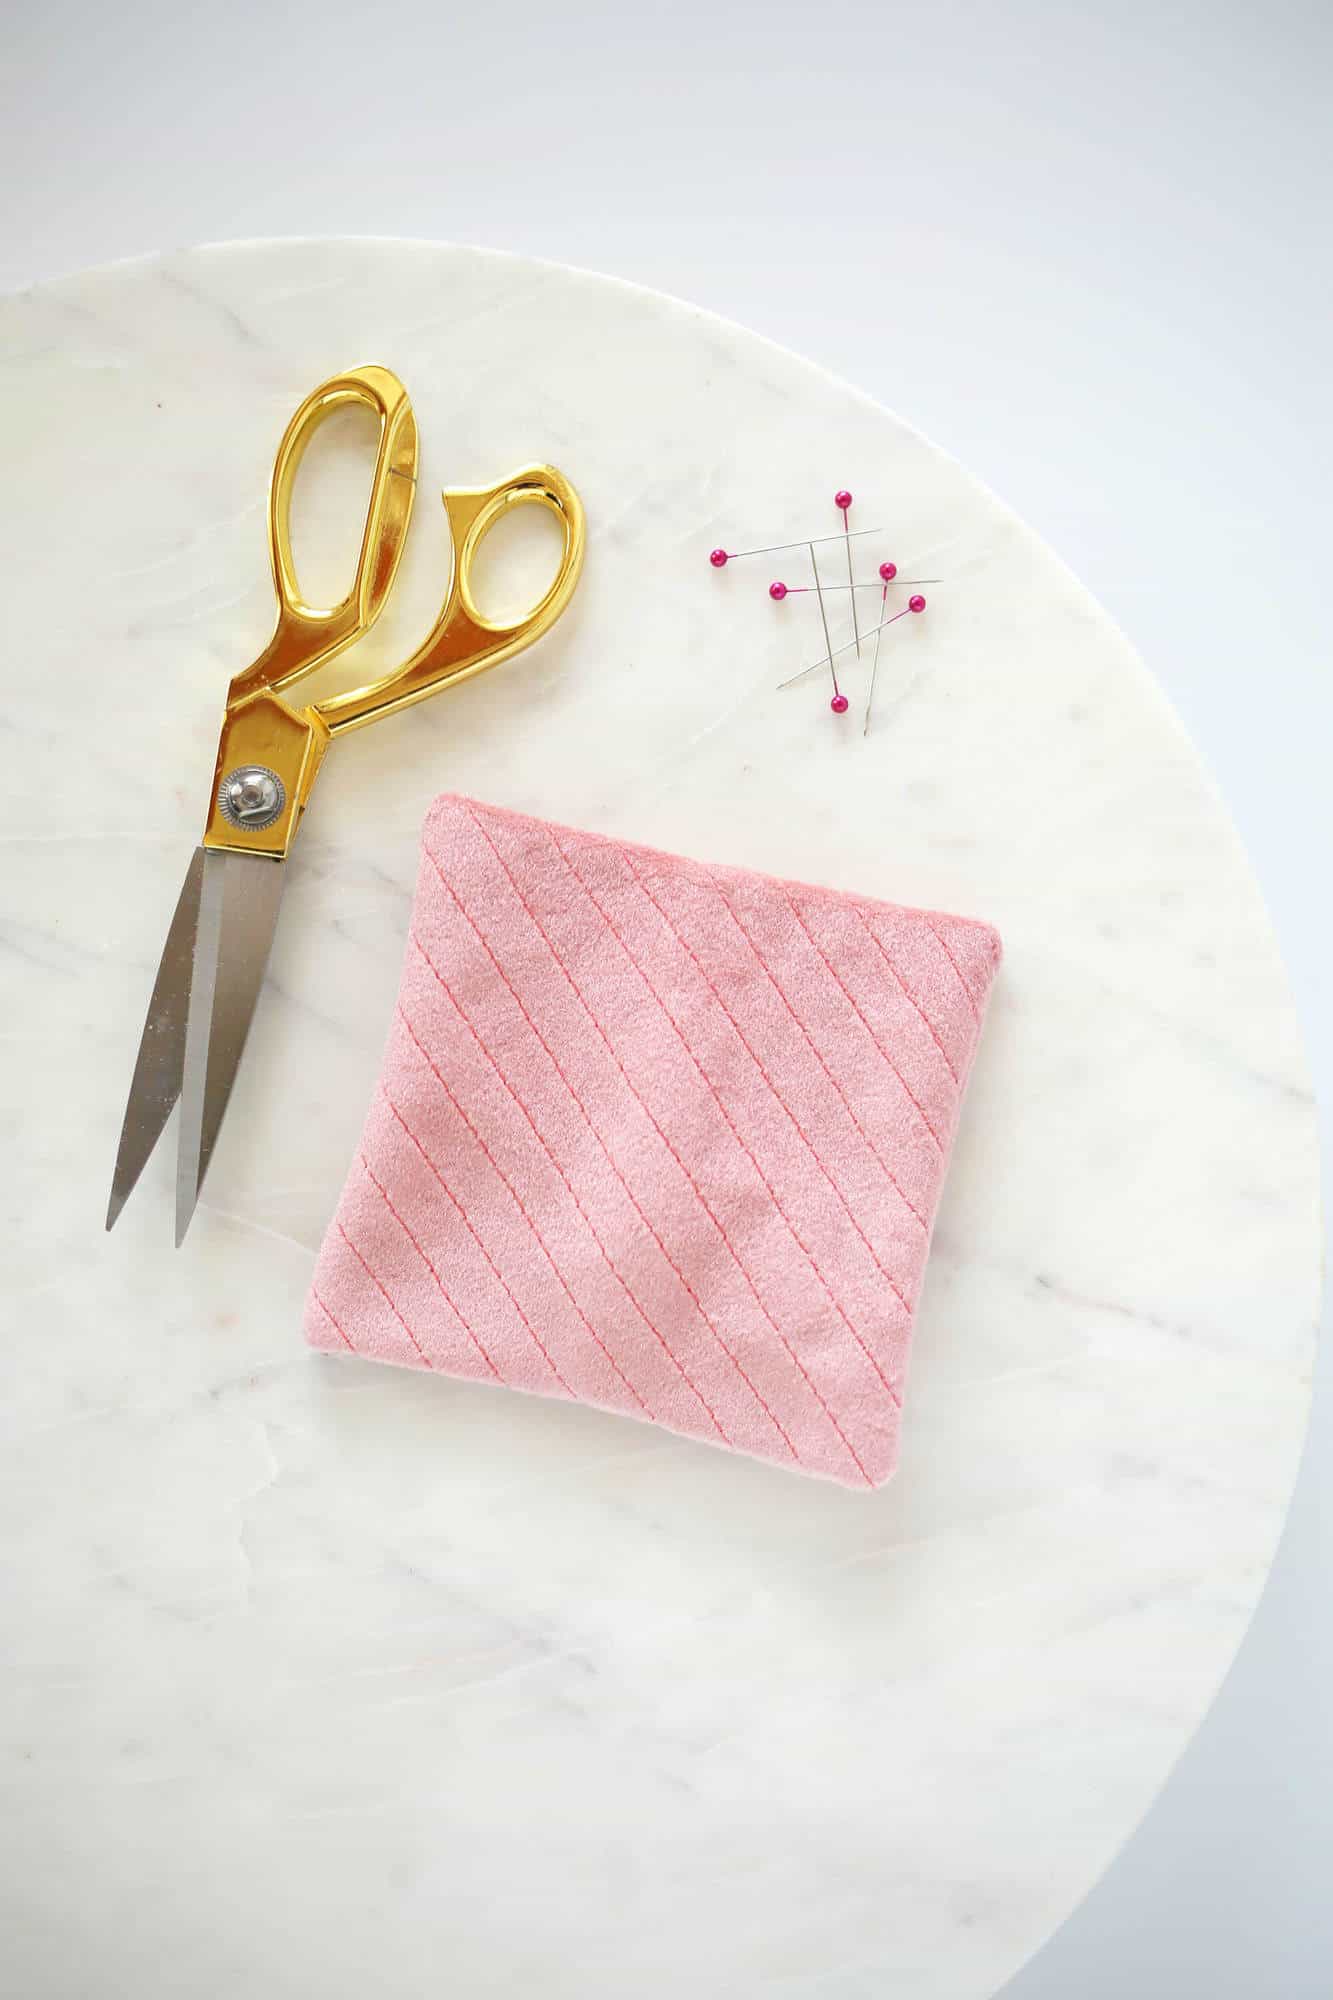
I love the way the light catches the velvet. This makes you want to read a good book and make yourself comfortable for the evening!
 Are we still hacking our pillows with karate? I think these weren’t in enough weight to stay hacked.
Find a faux down insert for an even higher quality effect and everyone will be asking where you bought your pillow! – Rachel
Looking for more cute pillow DIYS?
Quilted velvet pillow DIY
A simple pillow tutorial with velvet fabric
- 2/3 yard wide selvedge pink velvet for 16 ″ pillows and 1/2 yard for 12 ″ pillows
-
Cushion insert in a suitable size
16 ″ pillow insert for 16 ″ pillows etc. - Sewing machine and coordination thread
- Fabric scissors
- straight pins
- Chalk or marker
- Acrylic ruler
-
Cutting mat
Optional
-
For a 16 “pillow, cut a 16” x 16 “piece of fabric for the front.
Then cut two more pieces that measure 12 “x 16” for the back pieces. You want your two back pieces to overlap each other by at least 5 ″. For diagonal stripes on your pillow, turn your 16-inch square piece so the velvet side is facing down.
Use your acrylic ruler and cutting mat to draw straight lines as far apart as you want for your design. I suggest either 1/2 “or 1” apart. Just keep it constant and it will look great!
If you want a star design, use your acrylic ruler to draw different star shapes on the back. Just be sure to sew back at the beginning and end of a stitch line so your stitches don’t come apart.
-
Follow your stitch lines with your sewing machine and cut your ends off when you’re done.
-
For each of the two backsides, fold one of the long edges once 1/2 inch and then down another 1/2 inch. Pin in place. Sew along the folded edge. Make sure that you are folding on the wrong side so that the right side of the fabric is visible after you sew as shown.
-
Place one of your backs on top of the front piece so that the right sides are facing each other and three of the edges are aligned as shown. Pin it on the three edges.
-
Repeat with the second back. Your hemmed edges should overlap a little more than mine shows in the example. Pin in place.
Sew all the way around the perimeter of your pillow so that you are sewing through both pieces as you go. Remove the pins.
-
Turn the pillow over on its right side, poke out the corners and insert your pillow shape. Loosen up and enjoy!
Since these are a bit larger, I’ll be sharing the process of making the gold version of the quilted line pillow using a smaller sample. It’s a 6 “x 6” size instead of 16 “x 16”. No matter what size pillow you want to create, cut the fabric so that it is the same size as the pillow insert. You don’t want to add an inch to make it fit or it will get loose and limp.
Credits // Writer and Photography: Rachel Denbow.


