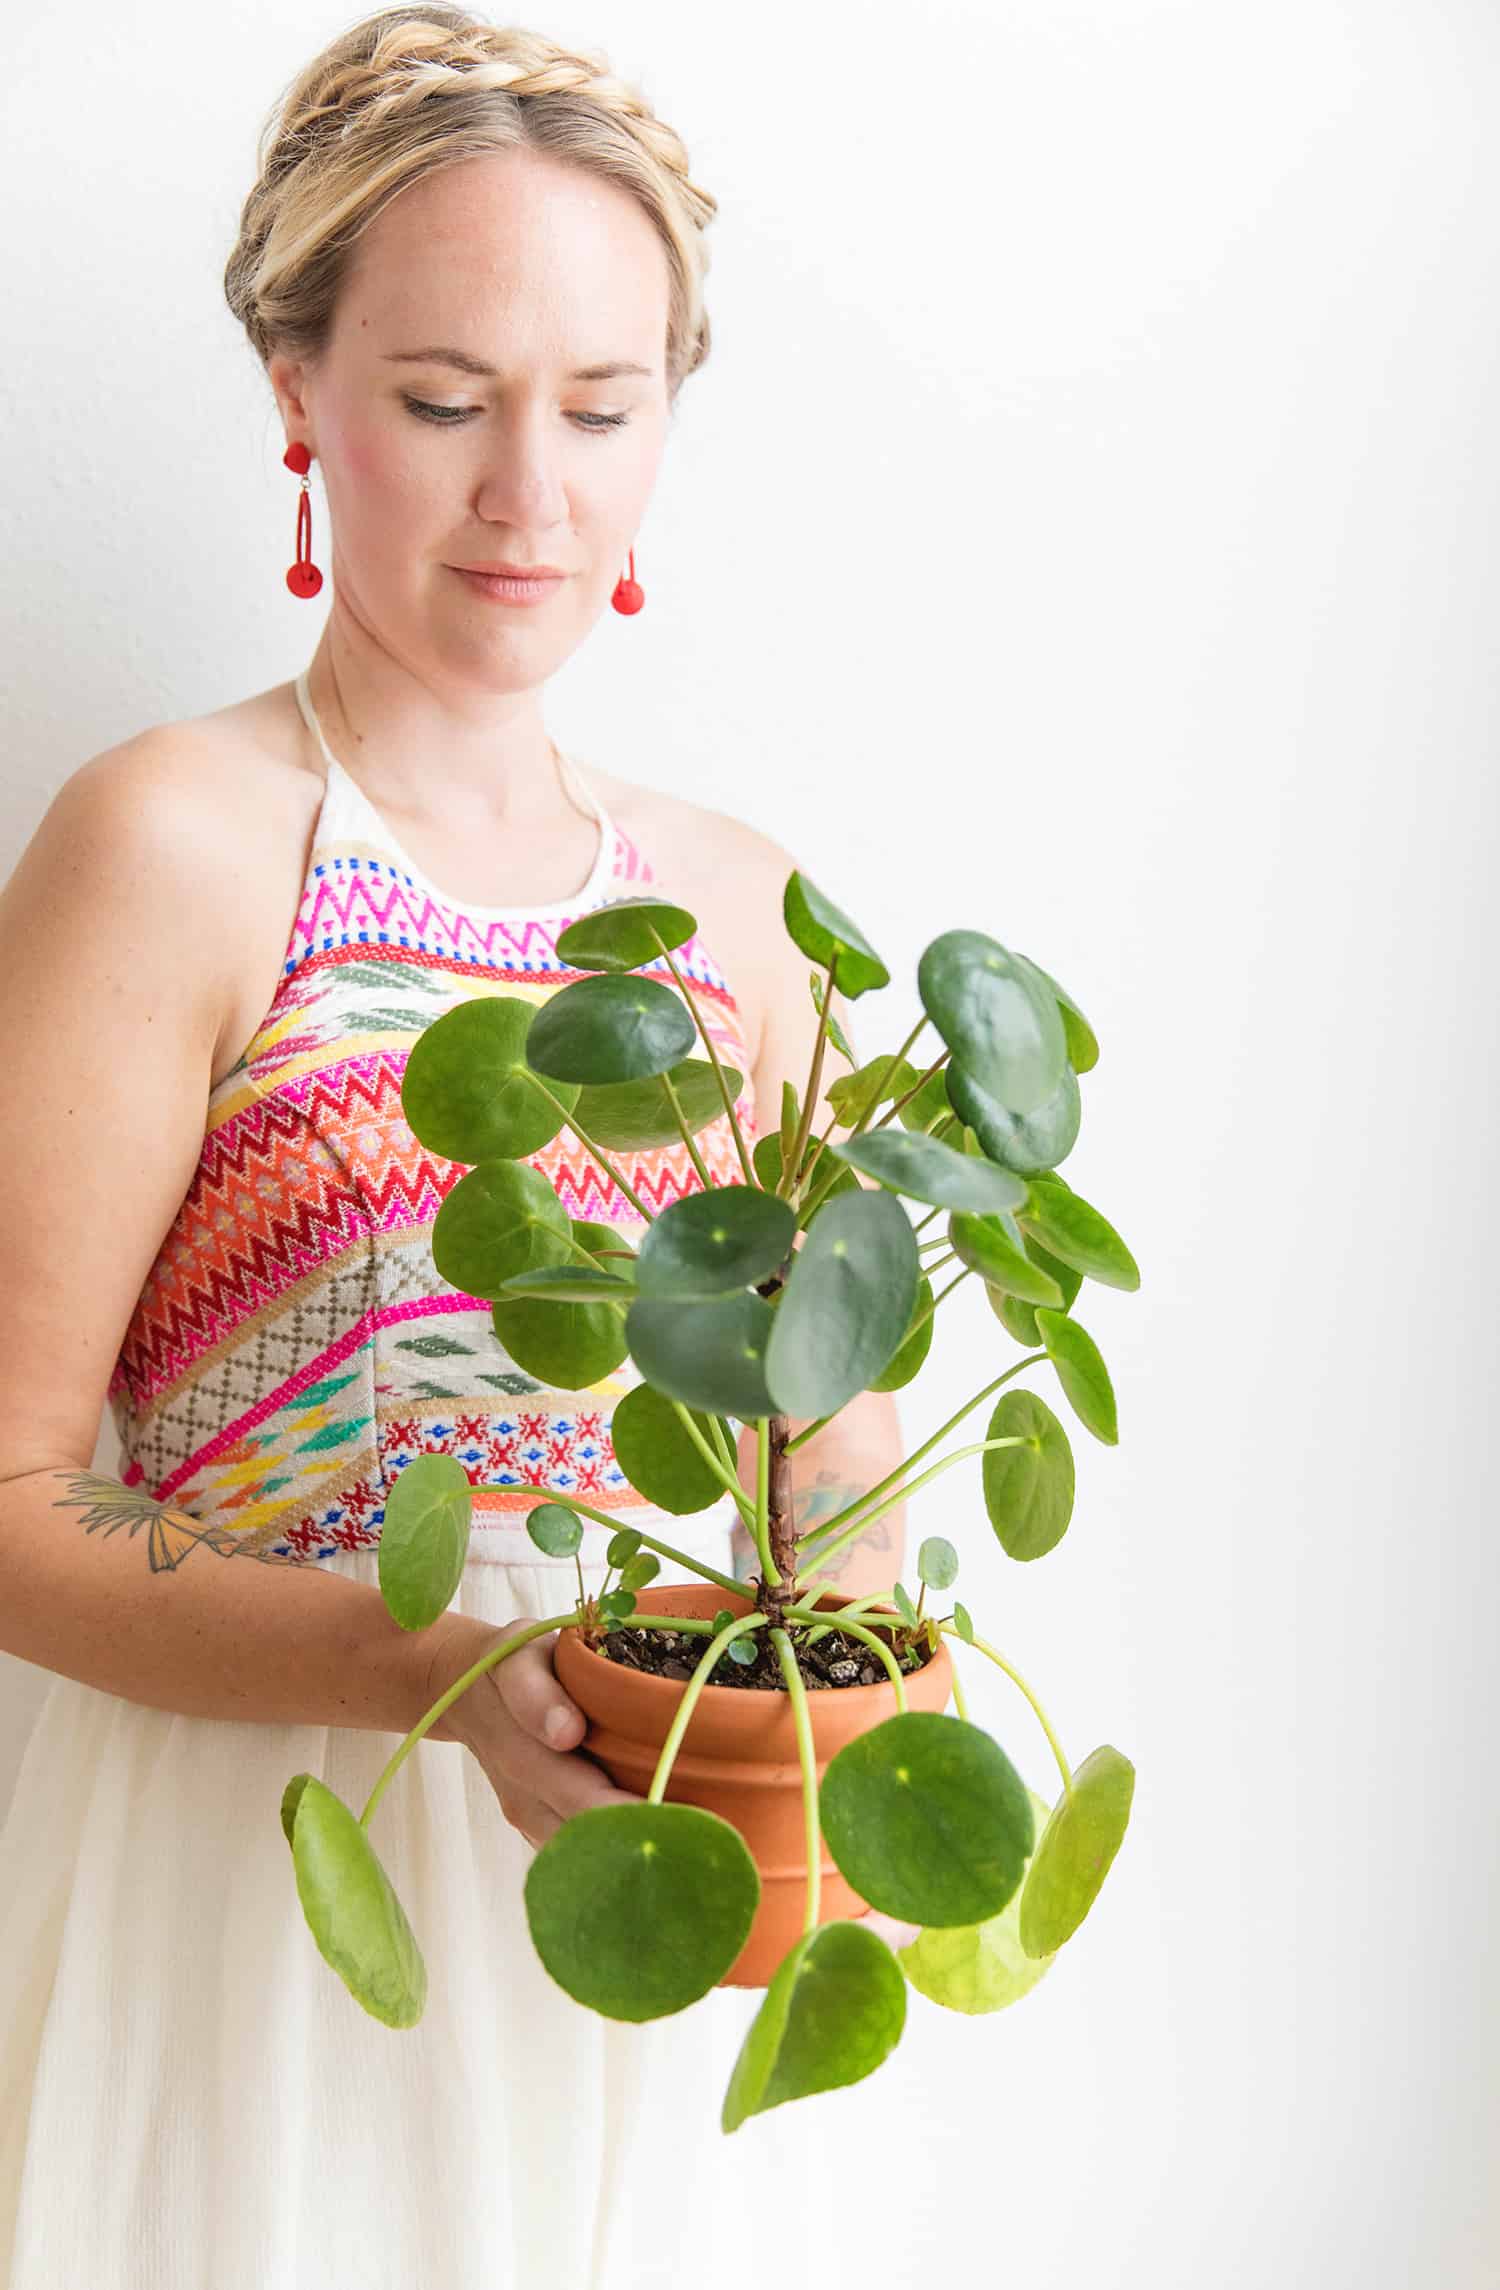
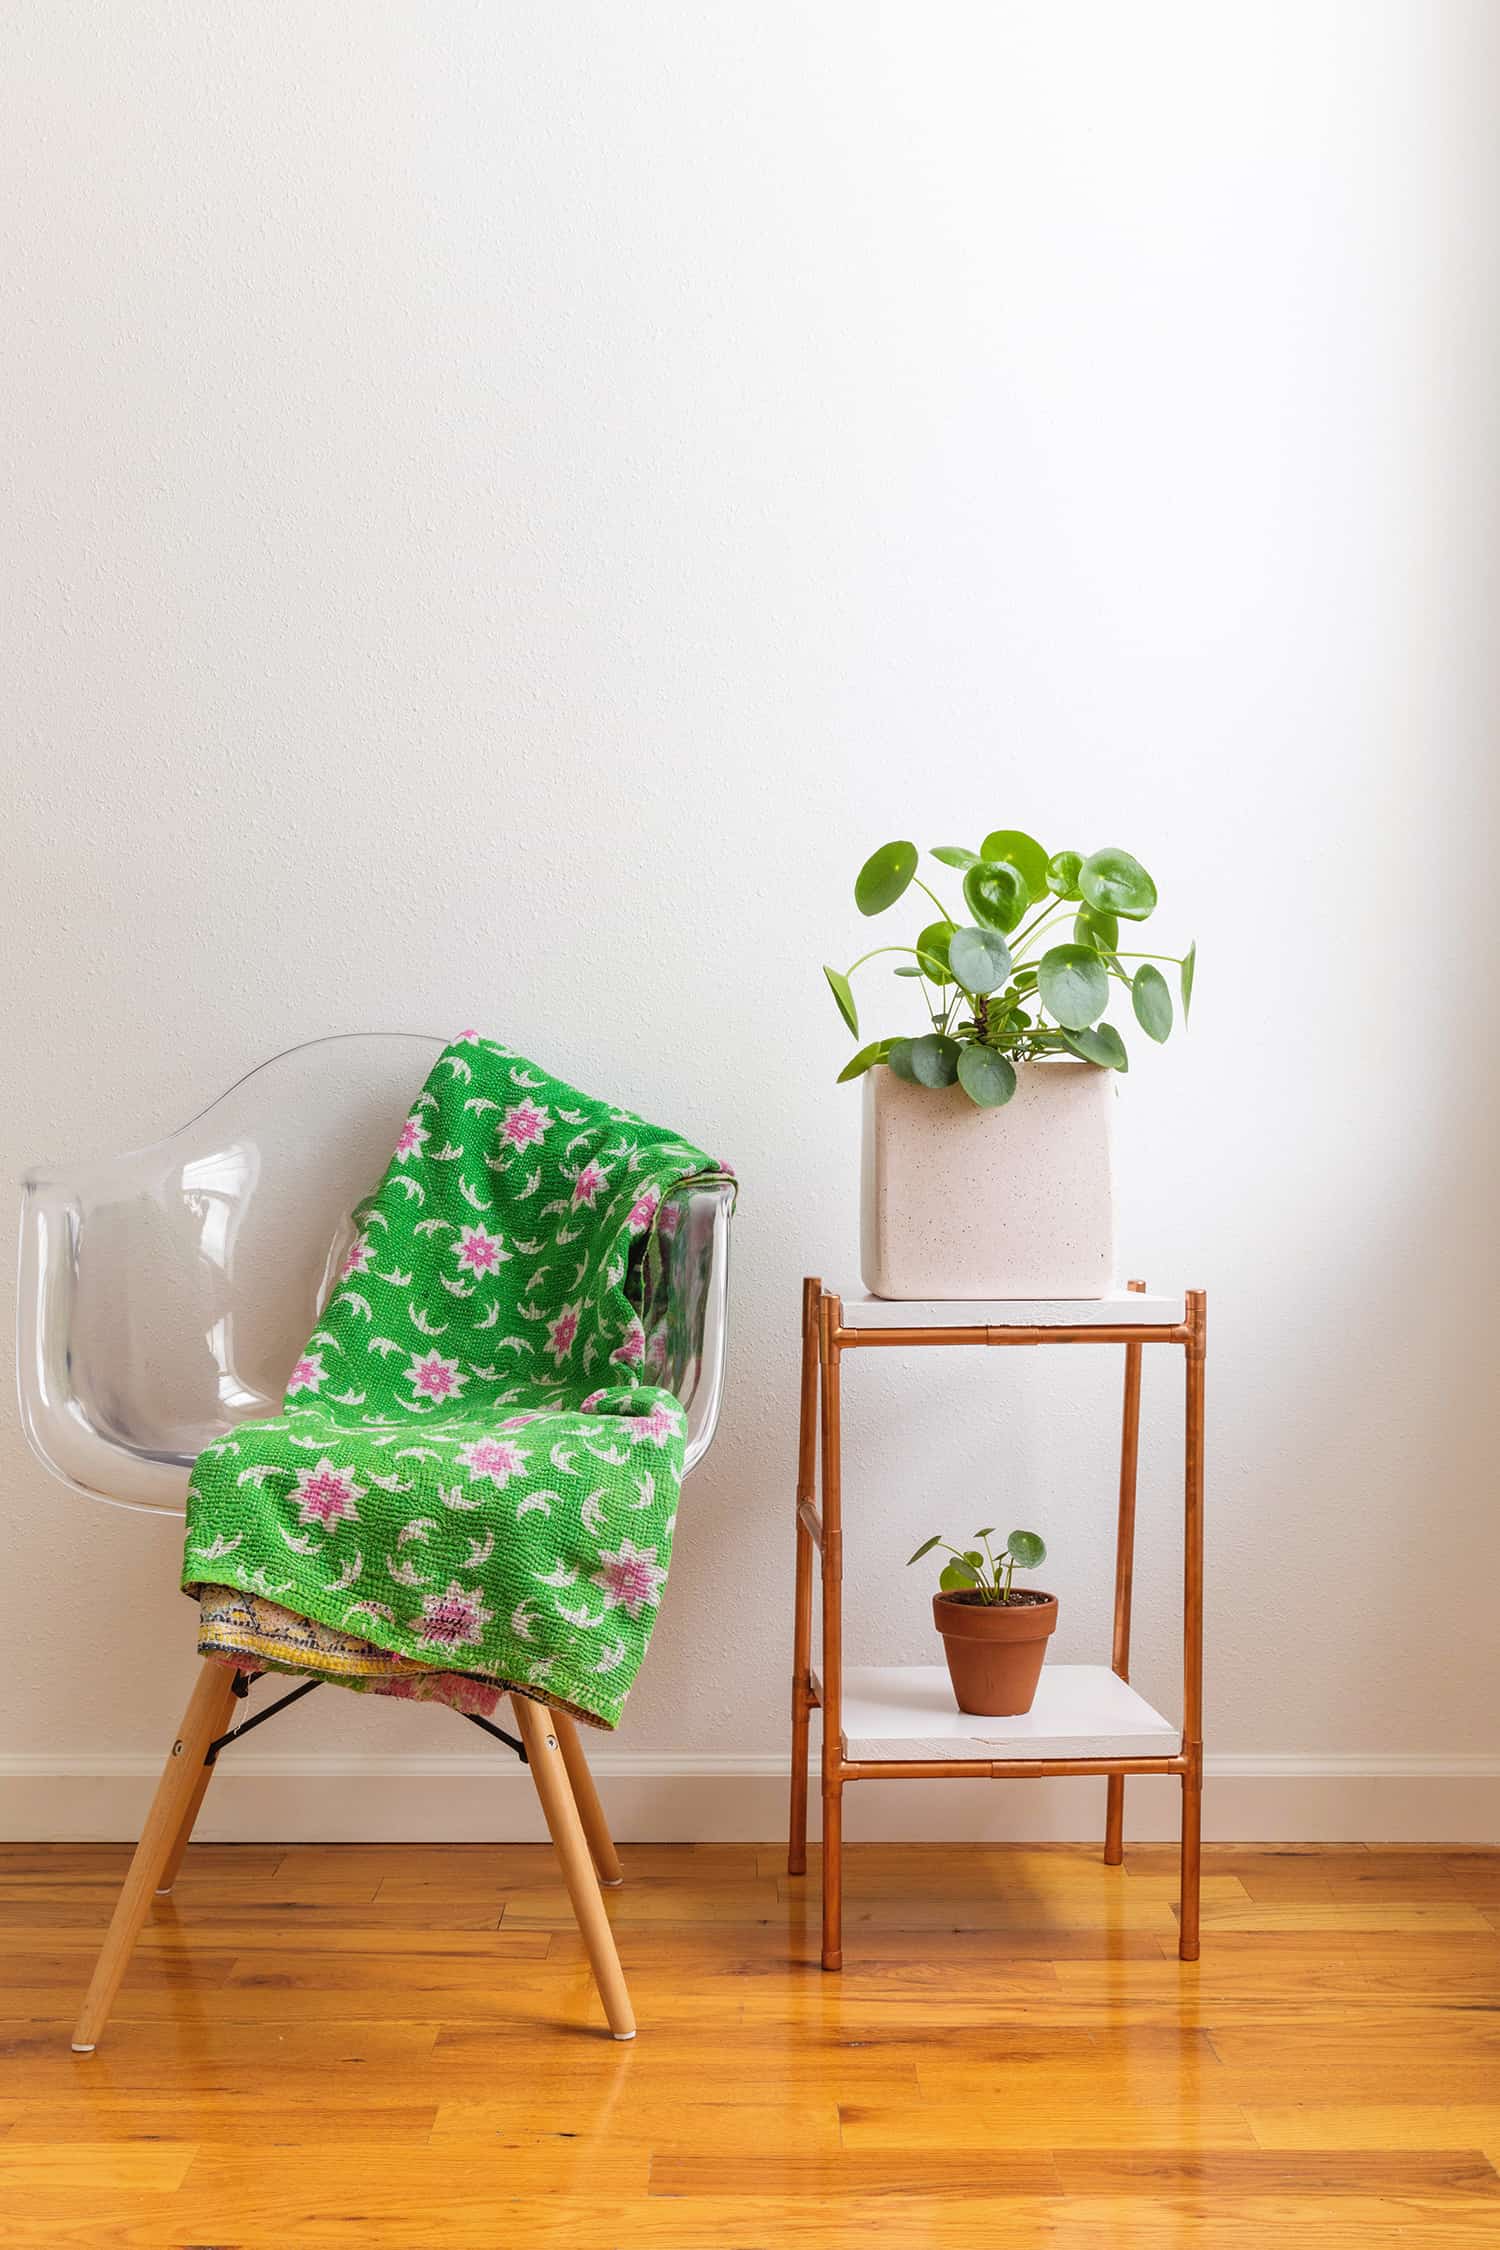
The Pilea peperomioides, also called Chinese ivy, is a real gem. It’s playful, very pleasing to the eye and fairly easy to care for.
The plant grows like crazy and then produces little babies for you to share with friends! Every time I look at mine I can’t help but smile. Their whimsical shape is like no other plant.
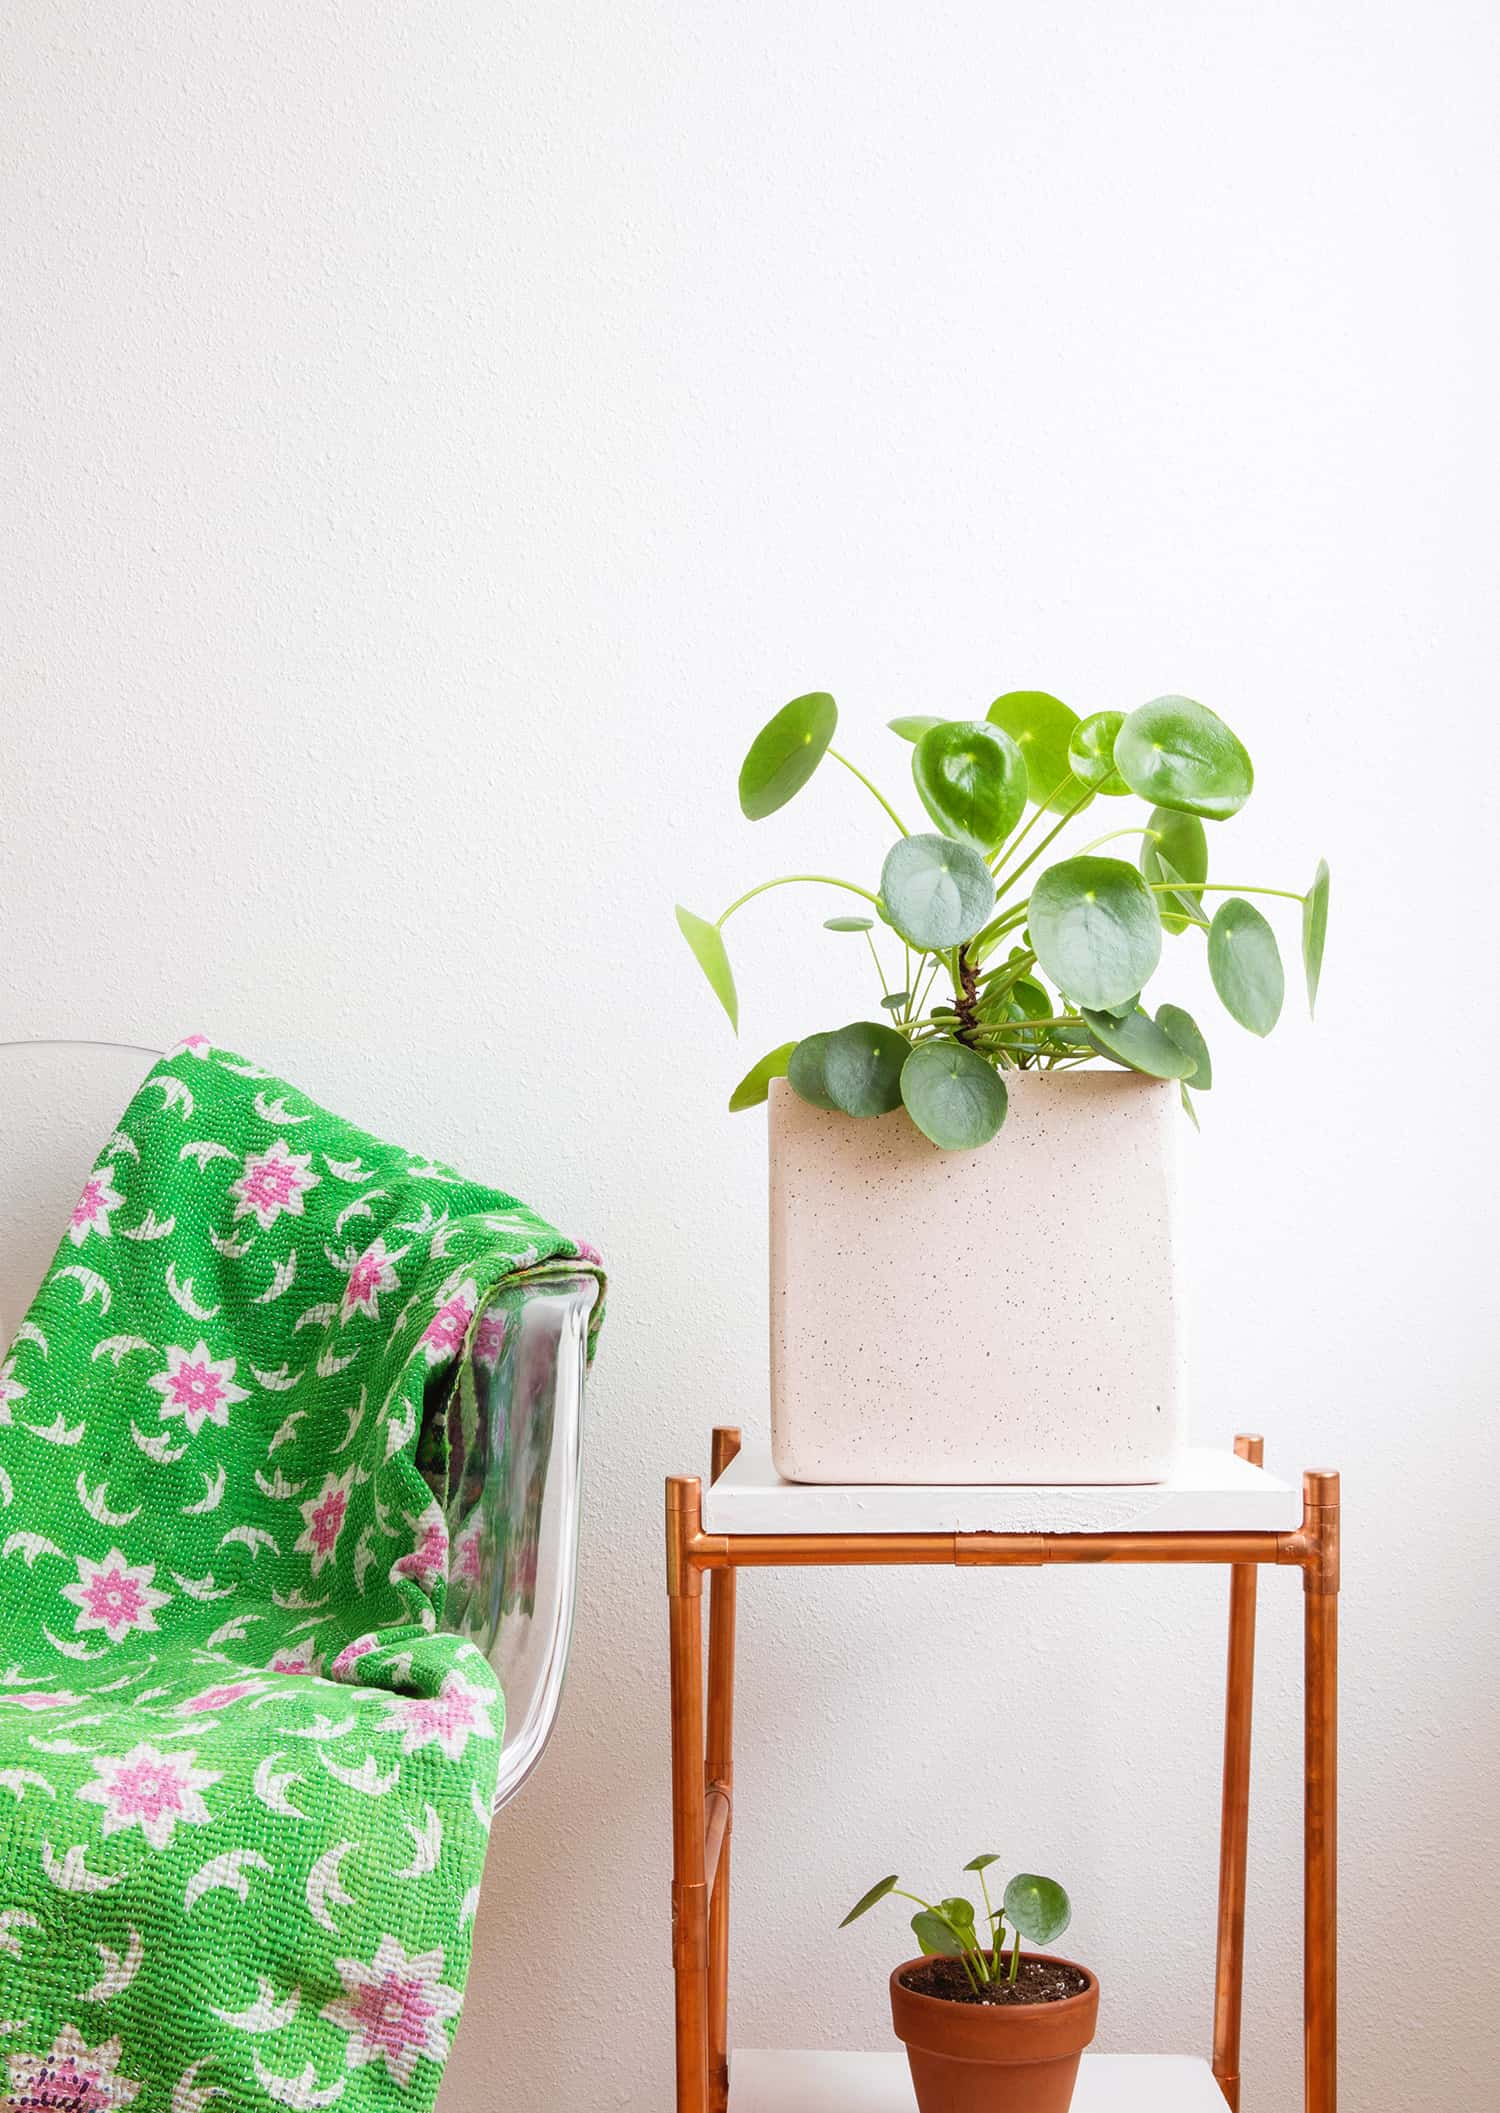
The plant slowly spread through people sharing their “pups,” and in recent years it’s made its way here in the States. I love learning/reading the history of this plant. You can literally trace it back to its exact location and the person who brought and shared it.
Aside from being an aesthetically pleasing plant, she is also very easy to care for and quite hardy! Here are some tips for caring for the Pilea:
stew
I find that repotting a Pilea can really encourage growth – giving it some wiggle room encourages the pups to spread out. To prevent root rot, use a pot with a drainage hole.
If you have a pot you love that doesn’t have a hole, these drill bits are great for drilling a hole in the bottom of a clay pot. I love the trusty terracotta pot as it is practical and simple. The terracotta is excellent because it’s a natural clay and allows the soil to breathe a bit (unlike a plastic pot).
Don’t get me wrong, you can use a plastic pot or a heavily glazed pot with a drainage hole, but if you accidentally overwater your Pilea, the terra cotta will be more forgiving as it will dry out a little faster. If you have a decorative pot that you love, simply pop your terracotta pot into your decorative pot.
I take the terracotta pot out of the decorative pot for watering, let it drain completely and then put it back into the decorative pot.
To repot your Pilea, pour some small rocks about an inch deep into the soil. The stones aid in drainage and help your plant not succumb to root rot. I use a high-quality, well-draining potting soil mix for the soil.
Your local greenhouse should have these, or you can pick some up at your local hardware store. My mix has a bit of fine sand in it. We have some pretty wet months where I live (southern Missouri), so the sand helps the plant dry out a little faster.
irrigation
You need to water your Pilea moderately but not over water. They like to dry out between waterings and they don’t like staying wet. I stick my finger in the soil and pick up the pot to see if it still feels heavy from the last watering.
When it feels dry I water it again. Let it dry out between waterings, but be careful not to let it get bone dry (although it’s pretty sturdy and can handle it). I water mine once a week.
If I check the plant and it still feels damp, I wait a few more days and check again. A friend of mine recently sent me a picture of her fur, which was hanging quite a bit. We concluded that it needed watering. It had dried out a little too long!
The plant will tell you what it needs and when it needs it, so just keep a close eye. I asked a local greenhouse about the Pilea and watering and they said that one of the only ways to kill it is to kill it overhydration.
When watering your Pilea, never leave it standing in water. After watering, make sure you dump out the excess water that gets trapped in your bottom tray. If the dirt stays wet/soaked for too long, the roots will actually rot, which can likely lead to the death of the plant.
I tend to overwater, and it’s cost me a fair bit to rein in my need to “nourish” (aka overwater) the plant.
Bright
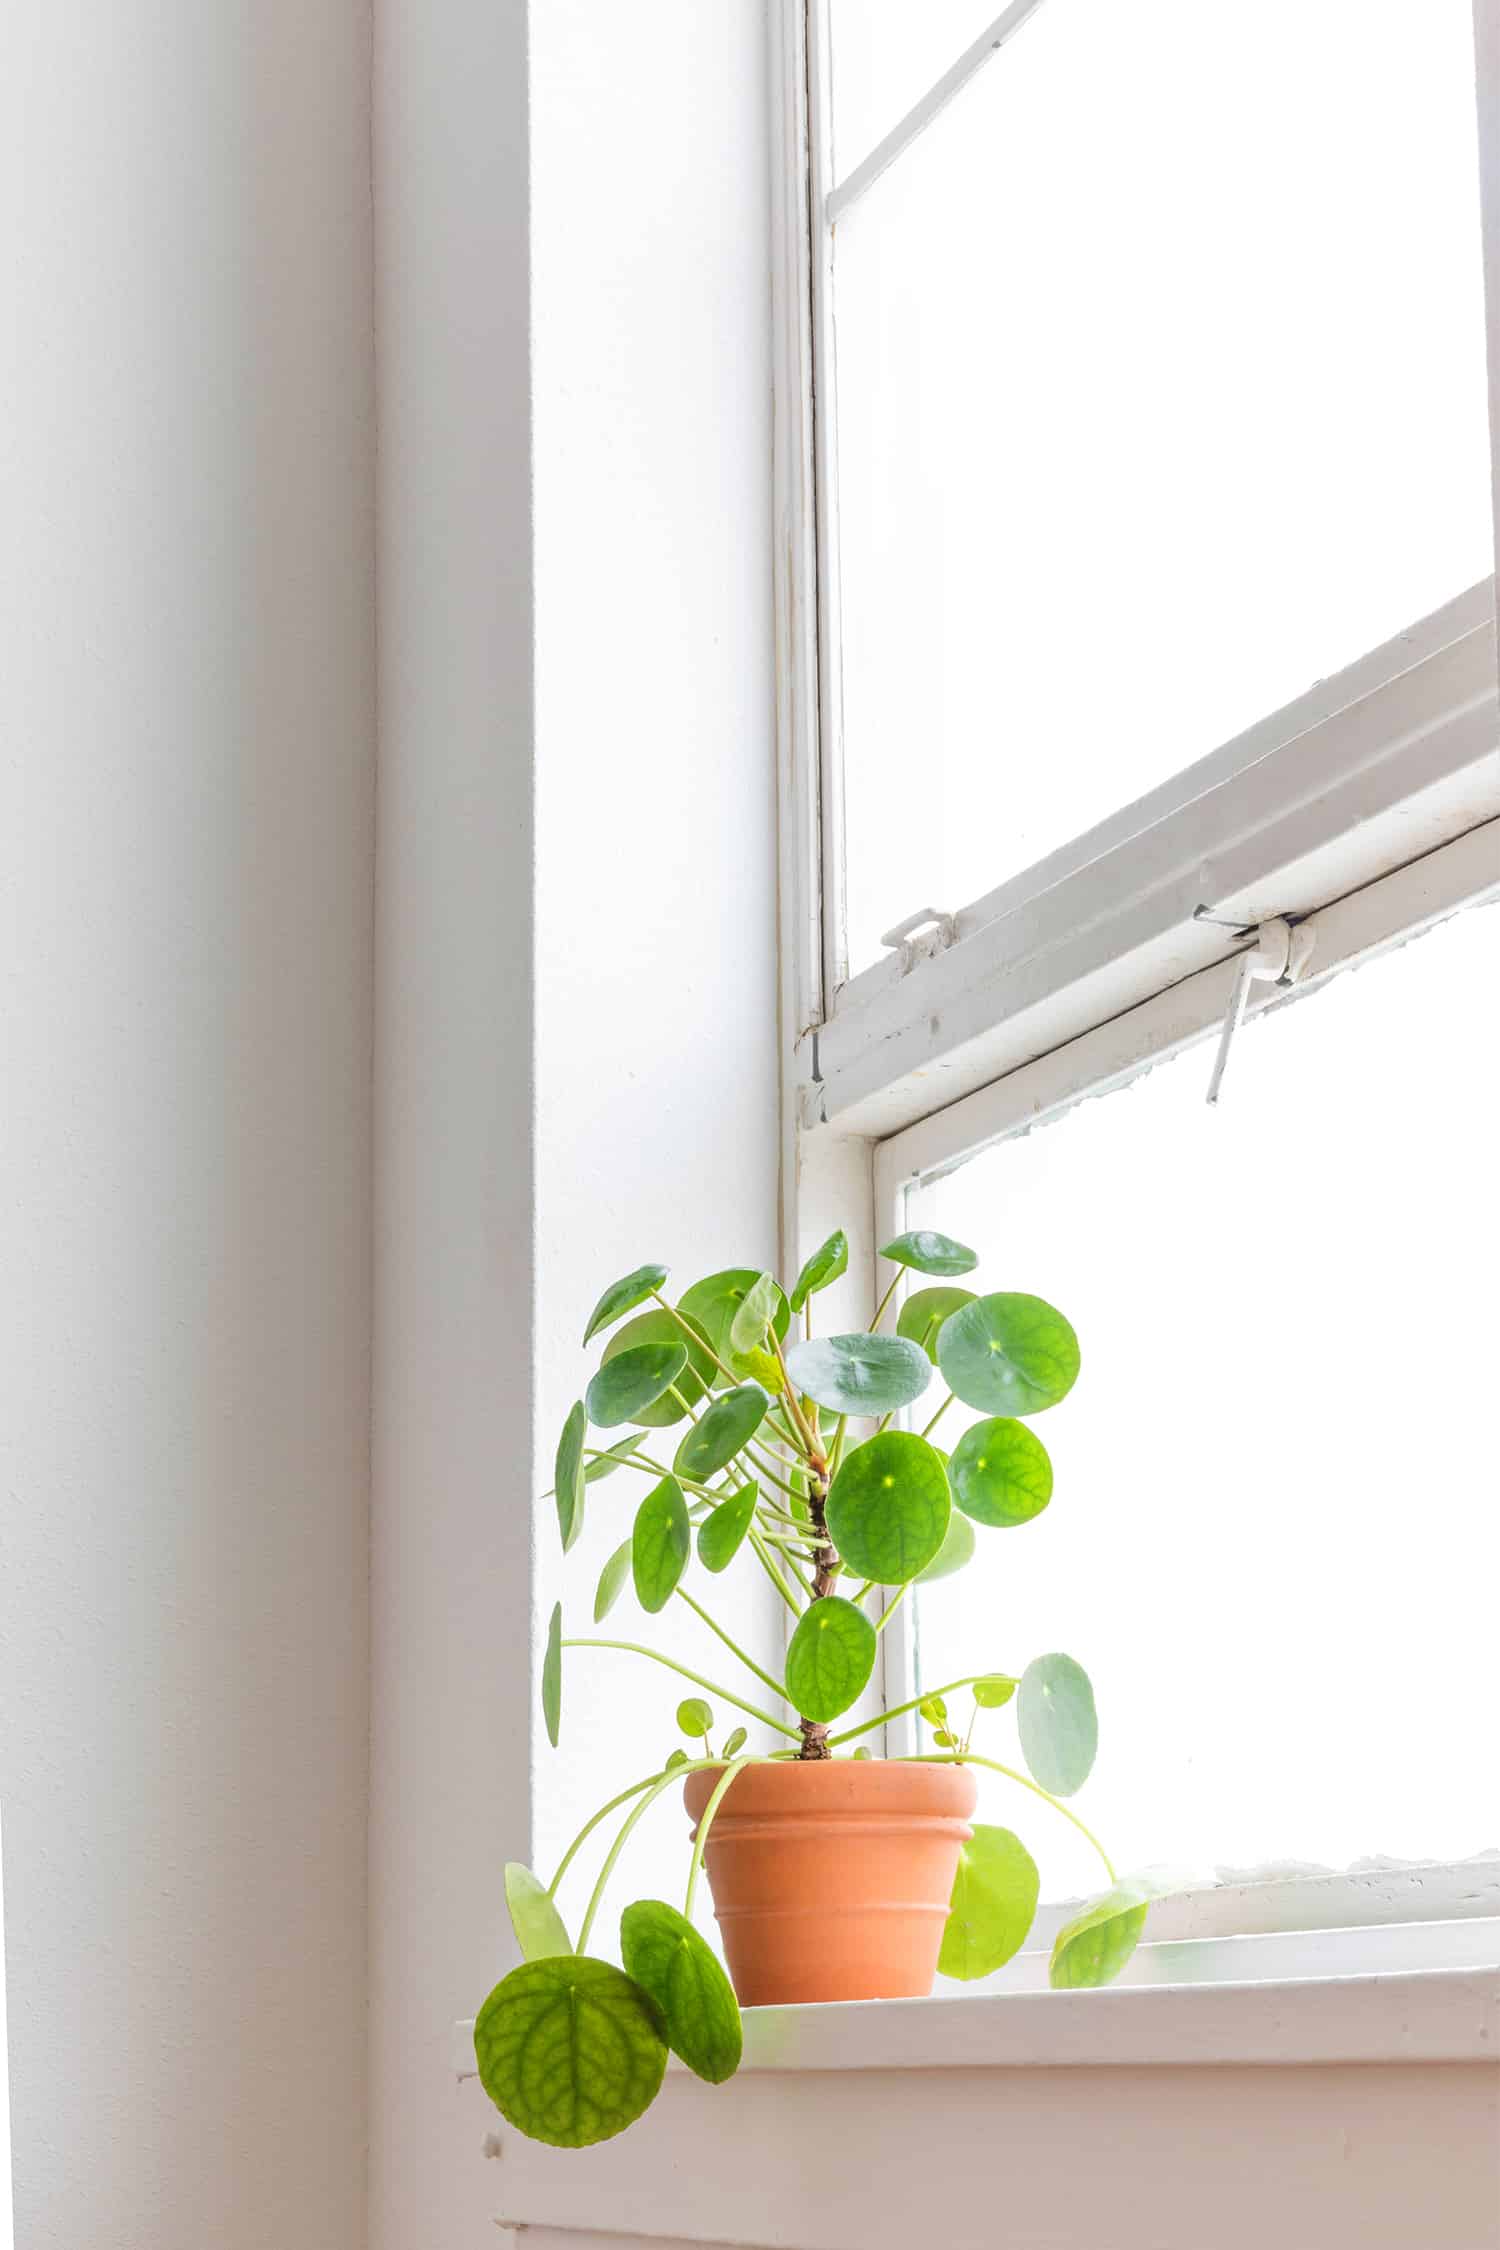
The Pilea loves the light! Bright indirect sunlight is what it needs. What does that mean? If you put your Pilea on your porch and the sun is shining on it, that would be direct light and it will burn.
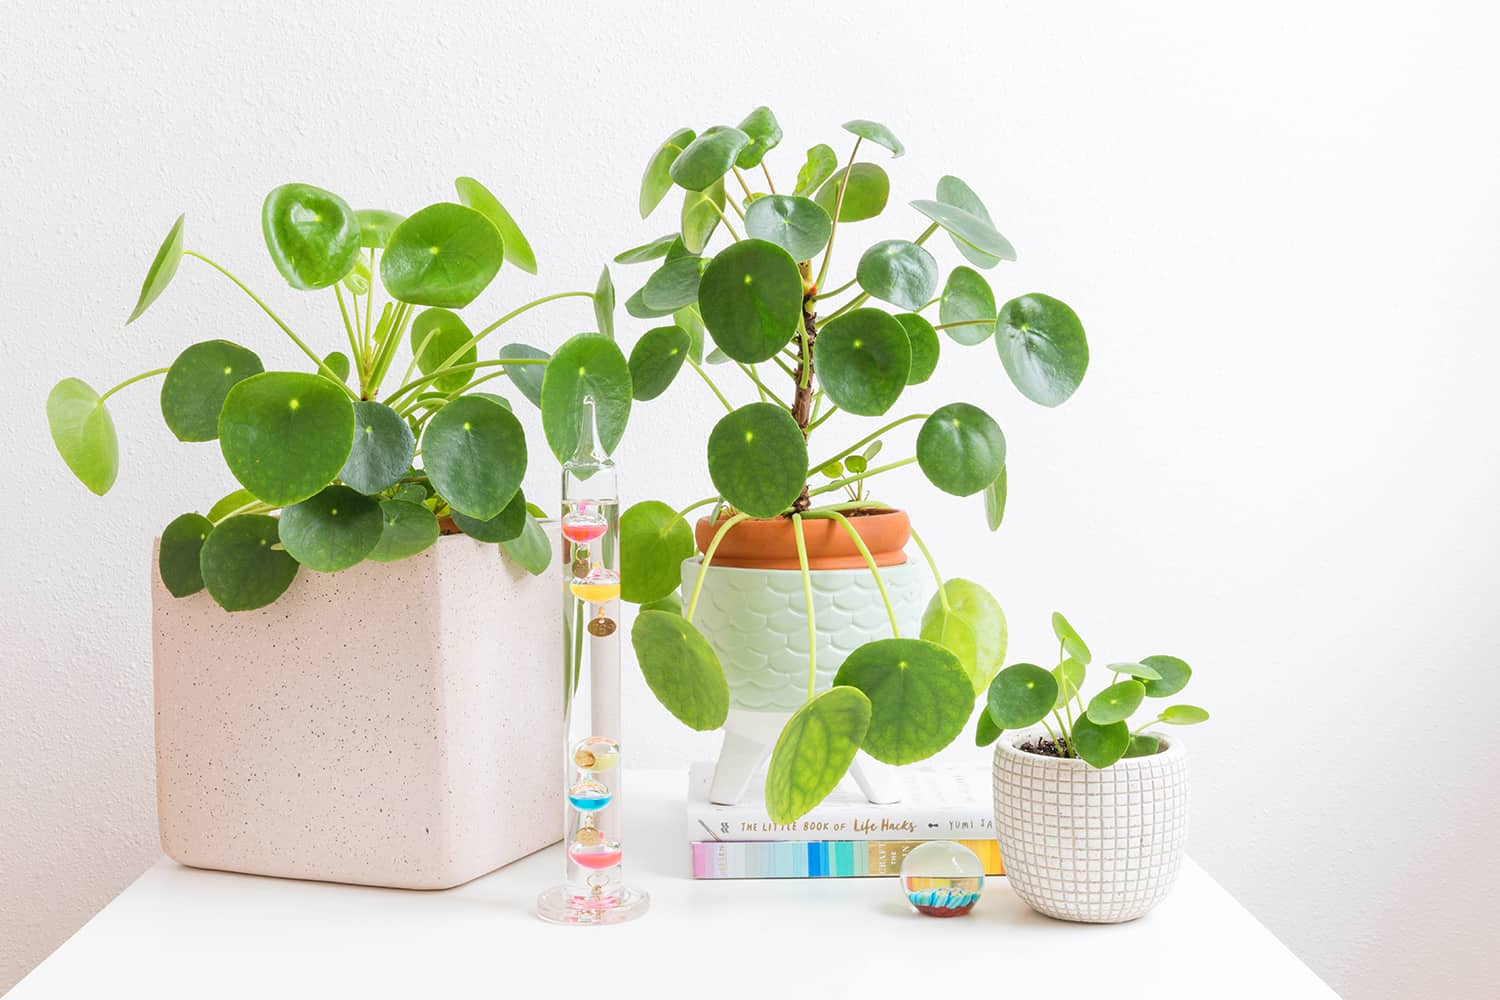
Keep them indoors near a bright window (which is indirect light). I put mine in the brightest window in my house and they love it. My mother had a Pilea on her dining table (it was low light) and it was starting to grow long and leggy – a very long central trunk with only a few branches.
It tried to reach for the light and looked like it wasn’t going to last much longer. She put it outside under her covered porch where it gets lots of indirect light and it will thrive again. It’s no longer long and leggy! It’s amazing how they adapt once you figure out what they need.
I’ve run out of window seat in the house and have put some of my pileas outside under a covered porch. They seem to love the summer air and are growing splendidly! As soon as the temperature drops, I’ll bring them back inside.
Another lighting tip is to have the Pilea follow and tilt towards the light. It’s kinda funny to see them reaching for the window like they’re trying to get free!
I rotate mine with every watering and this helps keep them straight and balanced. Pollinating the leaves will also give them more light. Use a damp cloth and lightly rub dust to keep leaves healthy and shiny.
propagation
One of the best parts of a Pilea plant is how quickly it reproduces baby plants! As it matures, small babies will pop out of the ground or grow out of the stem (near the ground). These babies are called “puppies”. The pups actually grow out of the root system and emerge from the dirt at the top.
When the hatchlings start to grow, you can either cut them off the mother plant or let them grow. Letting her grow will result in a full-fledged mother plant (which is beautiful)!
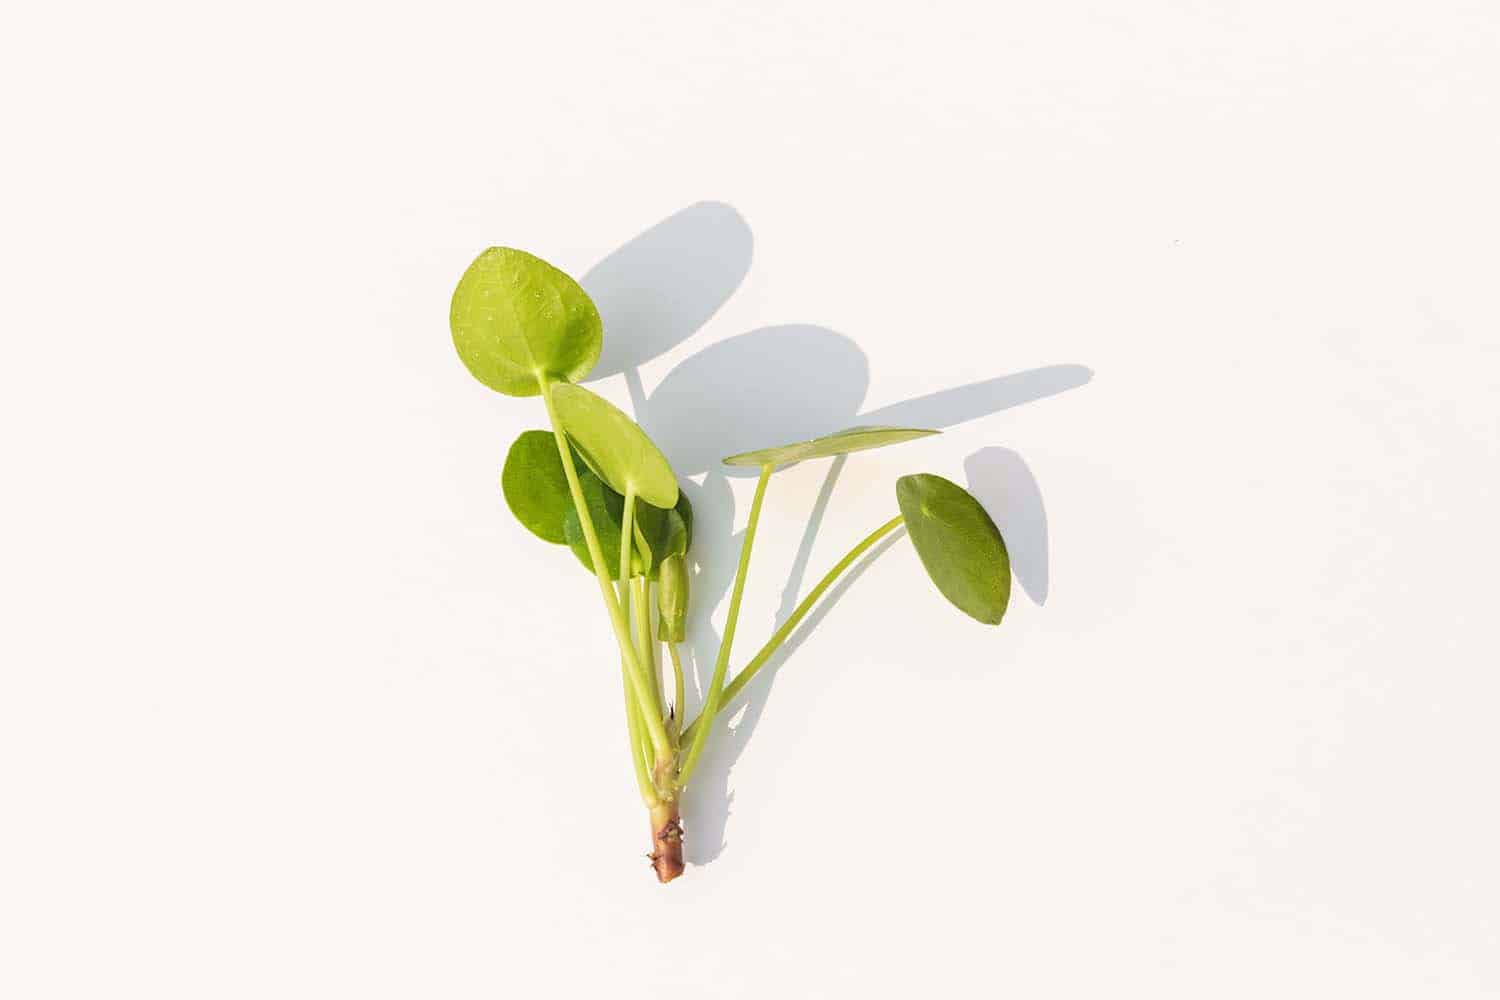
It’s crazy how fast and full they grow if you don’t take cuttings. I also have a Pilea specifically for “sharing” that I will be multiplying and giving to friends. I like to wait until the pup is at least three inches tall before clipping it. My favorite tool is an X-Acto knife, but any sharp utensil will do.
Rinse your cutting tool well before cutting into your hair hat. I once heard that pruning or propagating your plant should be treated like a real operation and you should always wash your tools beforehand. If you’re ready to clip a pup, be aware that the root system is very delicate.
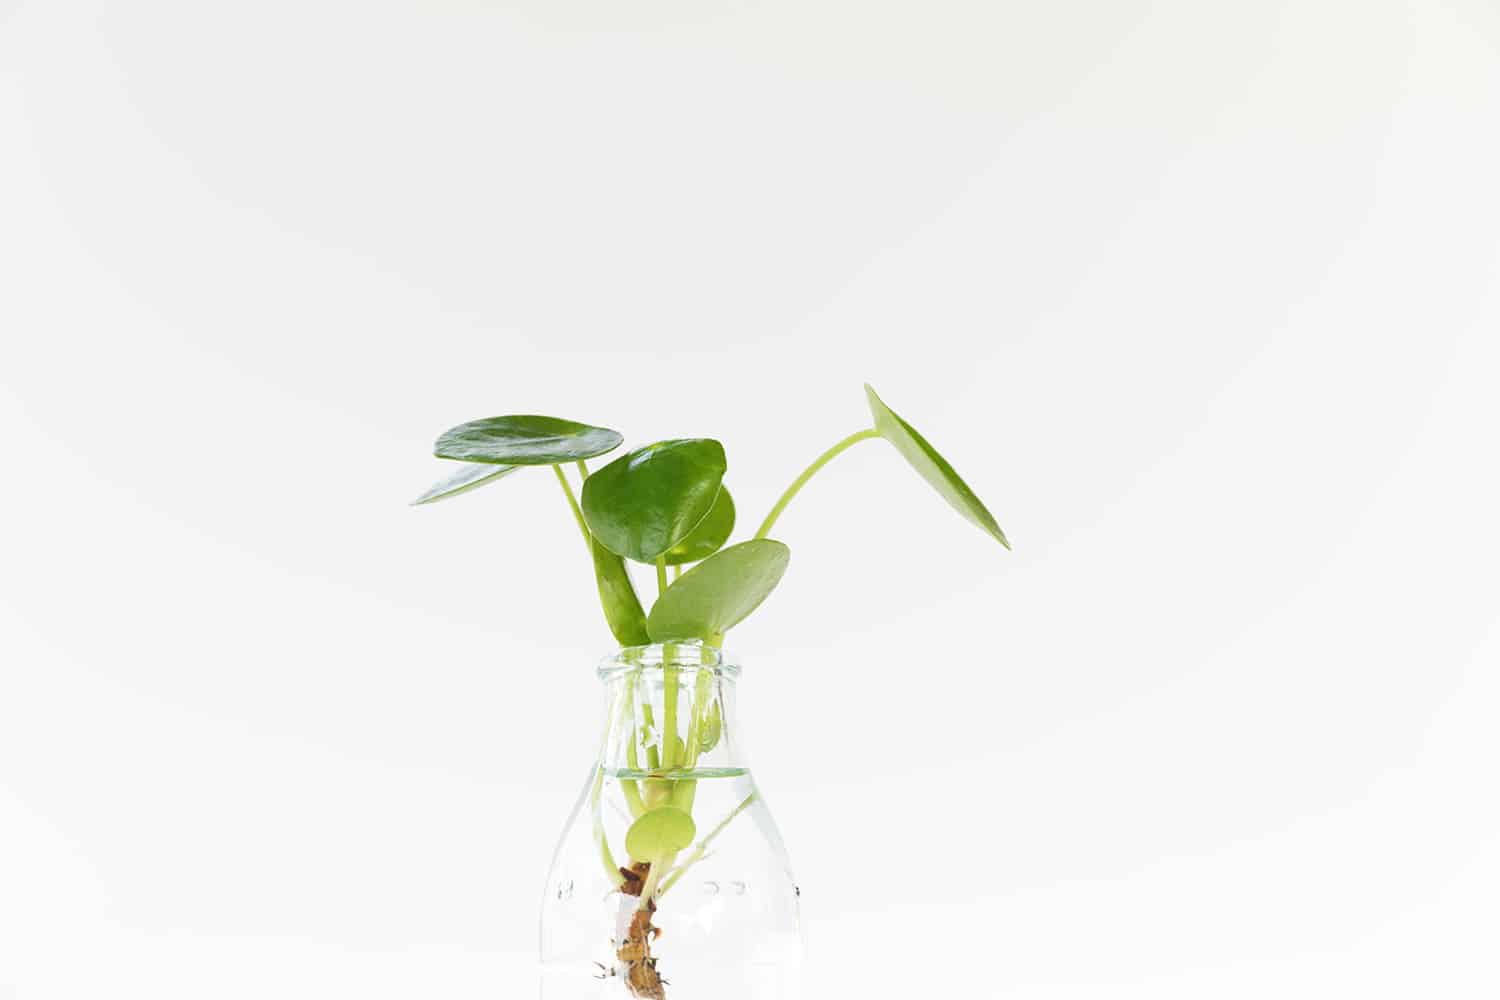
There is no need to tug or tug on the pup. Carefully clip the pup where it hits the dirt and it should come straight up. Once you cut it off you can either stick the pup in water or stick it in soil.
I prefer the water method because I like to see the roots grow through the jar. For best results, place your small jar or vase in indirect but bright sunlight. Once you see some roots growing, you can pot them.
Fertilize
If you want to give your hat an extra growth boost, you can fertilize during the spring and summer months. There is some debate about fertilizer, but I like to use a simple 10-10-10 formula. I prefer a liquid fertilizer because it spreads evenly throughout the plant.
When watering, I put a little liquid fertilizer in the watering can. Make sure you check the back of your fertilizer and follow the label directions.
If you’re into podcasts, Bloom and Grow Radio is super informative and entertaining!
Be sure to leave a comment if you have any favorite tips or suggestions for caring for your Pilea! xo, Janae
Looking for more plant tips? Cash …
Credits // Author and Photography: Janae Hardy.


