This website may contain affiliate links and advertising so that we can provide recipes to you. Read my privacy policy.
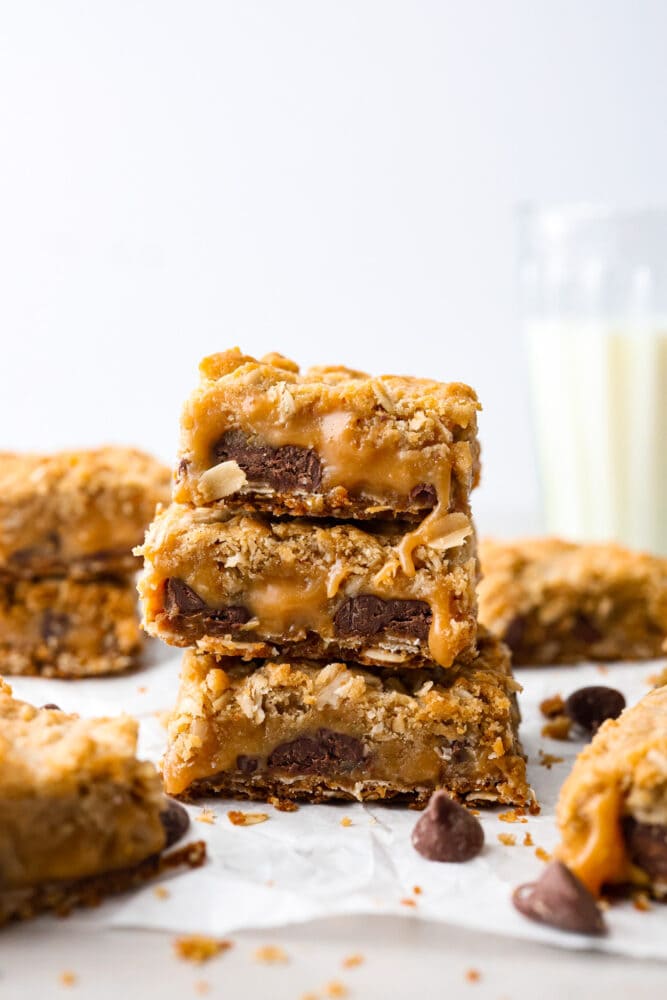
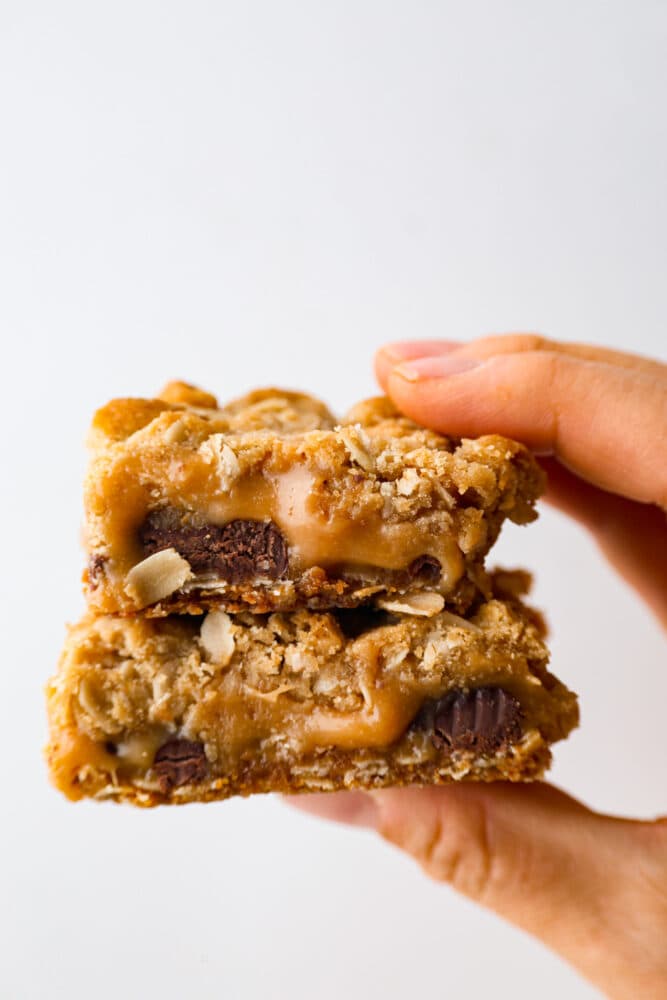
This recipe for Carmelitas is a divine cookie bar that combines layers of buttery oats, gooey caramel, and rich semisweet chocolate. With a perfect balance of sweetness and texture, these bars are a heavenly treat that will satisfy any sweet tooth.
Quick and easy to make cookie bars are delicious and gone in minutes! If you love making cookie bars you must try more of my favorites like these Chocolate Chip Cookie Cheesecake Bars, these tummy Peanut Butter Caramel Chocolate Chip Cookie Bars or these classic Salted Caramel Chocolate Chip Cookie Bars.

Easy Carmelitas Recipe
Have you tried a Carmelita yet?! It is one of the best cookie bars that I have eaten. They are a type of oatmeal bar or cookie bar consisting of layers of caramel, chocolate, and oats. The name “Carmelitas” comes from the word “caramel” due to the prominent caramel layer in the recipe.
Due to how simple and easy they are to make, Carmelitas have become our family’s go-to choice for potlucks, parties, and family gatherings. They are easy to make, and once you try one, you won’t be able to stop! But I will warn you, you should double the batch because these will disappear off your table so quickly!
Carmelitas Ingredients
Combining the rich flavors of caramel, chocolate, and buttery oats, these bars are guaranteed to satisfy your sweet tooth cravings. With just a handful of simple ingredients, you can create a delightful dessert that will impress family and friends. Check out the recipe card at the bottom of the post for exact measurements.
- Caramel: Buy the squares that are wrapped and unwrap them before melting.
- Heavy cream: This makes the caramel sauce rich and creamy.
- Butter: I used unsalted butter in this recipe.
- Brown sugar: Pack your brown sugar when you are measuring it.
- Flour: This acts as the base of the cookie bars.
- Rolled oats: I prefer to use rolled oats over quick oats.
- Baking soda: This helps the crust to ruse.
- Semisweet chocolate chips: I like to use semi-sweet chocolate chips because they balance the flavors and aren’t too sweet.
How to Make Carmelitas
- Prep: Preheat oven to 350 degrees Fahrenheit. Grease an 8×8 pan, (or you can line it with aluminum foil or parchment paper for easier removal).
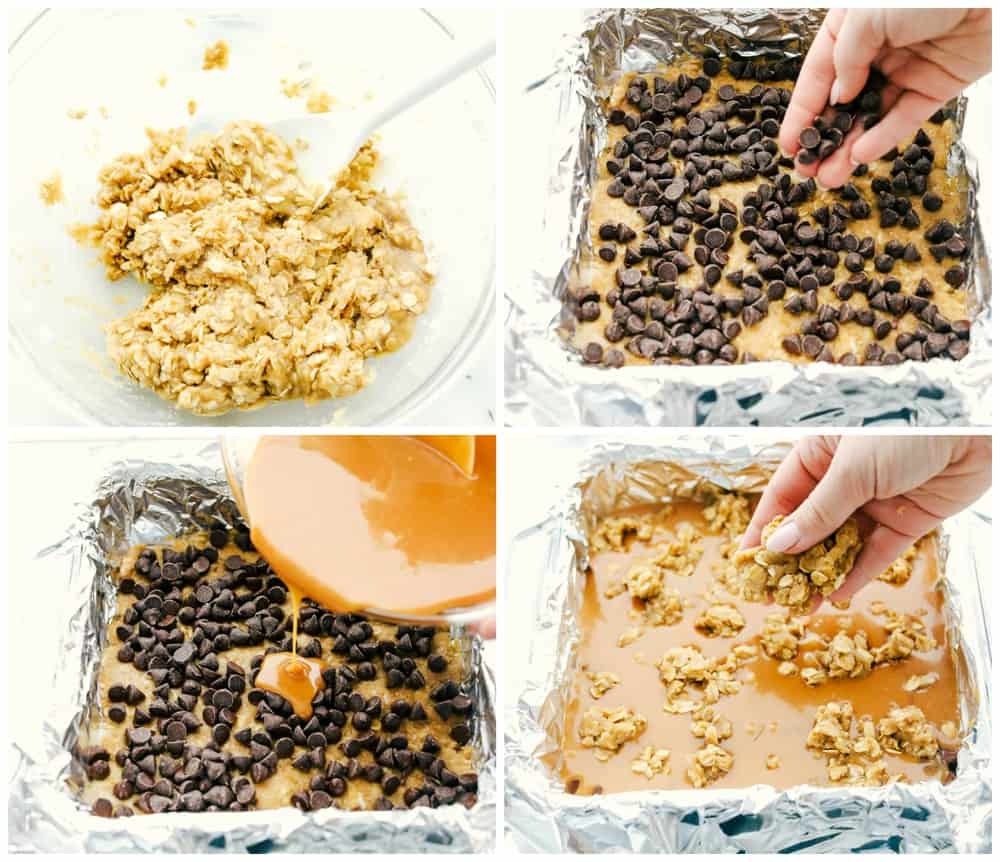
- Mix together caramel filling: In a mixing bowl, combine melted butter and brown sugar. Add flour, oats, and baking soda. Mix until combined.
- Make then bake the crust: Divide the cookie mixture in half and pat half of the mix into the bottom of the 8×8 pan. Bake for 10 minutes and remove.
- Combine caramels: While baking, combine the caramels and heavy cream and stir until completely smooth. You can also melt the caramels in the microwave. Just stir every 30 seconds, being careful not to let it burn.
- Layer the caramel and chocolate chips: Remove the pan from the oven and sprinkle the chocolate chips over the crust. Pour caramel mixture over the chocolate chips and crumble the remaining cookie dough.
- Bake again: Return to oven and bake for 15-20 minutes until the edges are lightly brown.
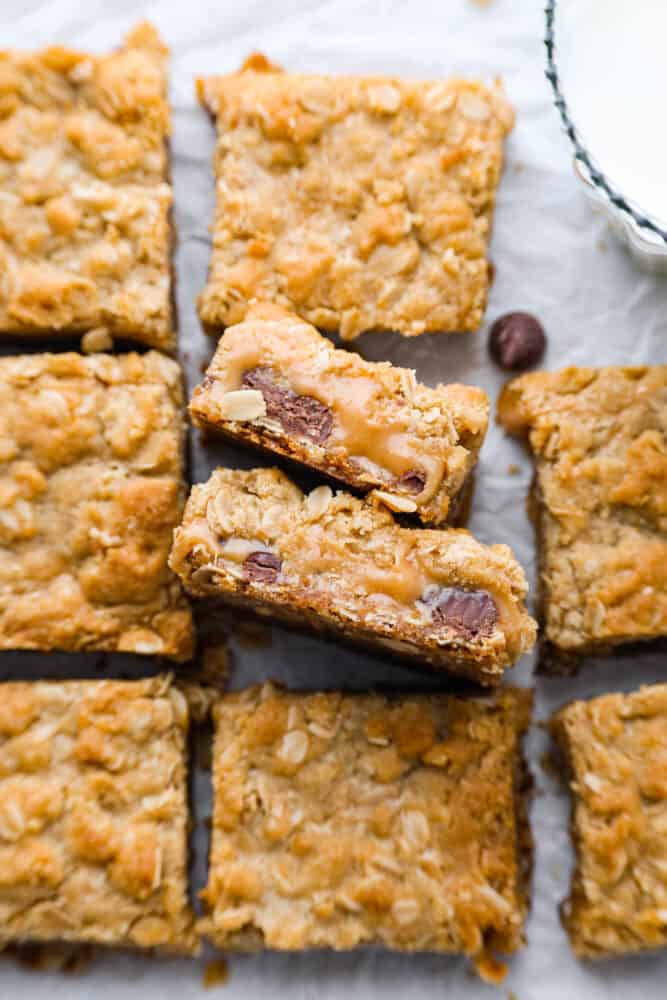
- Let cool before cutting: Once removed from the oven, let them completely cool and set up the caramel. The caramel is like molten caramel right out of the oven, and you want to let it cool. If needed, you can speed up the cooling process by putting it in the fridge.

Tips and Variations
These Carmelitas are so simple to make and taste amazingly good! Combined, this is a one-of-a-kind, melt-in-your-mouth Carmelitas recipe worth every calorie!
- Caramel: Good quality caramel is best for these Carmelitas. I prefer using individually wrapped Worthers caramels.
- Thinner crust: For a thinner crust, you can use a 9×9 baking pan. You do not need to double the recipe or add ingredients to the bigger pan.
- Chocolate chips: Milk chocolate chips will work great. If that is too sweet, use the semi-sweet or dark chocolate chips.
- Parchment paper: The caramel can get sticky so this will save you so much time cleaning up.
- Cool completely: It is best to have the Carmelitas cool completely before cutting them into squares.

Storing Leftovers
I am not really sure who has stored Carmelitas for very long because every time we make them, they are gone before I can move my hand away from the plate! But if you have leftovers, here is how you store them:
- In the Refrigerator: Once cooled, the Carmelitas can be stored in an airtight container in a cool space for 5 to 7 days. If you like a chilled Carmelita, it can be stored in the refrigerator for 7 to 9 days.
- In the Freezer: Layer the Carmelitas on parchment paper and store them in an airtight container or ziplock bag to freeze for up to 1 month.

-
Preheat oven to 350 degrees Fahrenheit. Grease an 8×8 pan (or you can line it with aluminum foil or parchment paper for easier removal).
-
In a mixing bowl, combine melted butter and brown sugar. Add flour, oats, and baking soda. Mix until combined.
-
Divide the cookie mixture in half and pat half of the mix into the bottom of the 8×8 pan. Bake for 10 minutes and remove.
-
While baking, combine the caramels and heavy cream and stir until completely smooth. Can also be melted in the microwave, just stir after every 30 seconds being careful not to let it burn.
-
Remove pan from the oven and sprinkle chocolate chips over the crust. Pour caramel mixture over the chocolate chips and crumble remaining cookie dough on top.
-
Return to oven and bake for 15-20 minutes until the edges are lightly brown.
-
Once removed from oven allow them to completely cool and the caramel to set up. The caramel is like molten caramel right out of the oven and you want to let it cool. You can speed up the cooling process by putting it in the fridge if needed.
Serves: 8
Calories653kcal (33%)Carbohydrates81g (27%)Protein7g (14%)Fat35g (54%)Saturated Fat20g (100%)Cholesterol70mg (23%)Sodium401mg (17%)Potassium303mg (9%)Fiber3g (12%)Sugar54g (60%)Vitamin A778IU (16%)Vitamin C1mg (1%)Calcium108mg (11%)Iron3mg (17%)
All nutritional information is based on third party calculations and is only an estimate. Each recipe and nutritional value will vary depending on the brands you use, measuring methods and portion sizes per household.


